


Whether you’re trying to free up floor space in a cramped apartment or just want a room that stops feeling like a storage problem, wall mounted shelves are one of the best upgrades you can make. They’re versatile, affordable, and when done right, quietly impressive which is the kind of thing visitors notice without knowing exactly what changed.
Here’s the catch, though – installing shelves doesn’t mean just drilling a few holes in the wall and seeing what happens. Whether your shelf will be up on the wall for a decade or quite literally come tumbling downat 2 am, bringing everything with it, depends on the installation. Wall type under paint, the anchors you choose, and what tools you really use matter a lot in the process. We have covered everything in this guide: the tools needed, wall-specific strategies, and what habits will keep things secure long after that drill has gone back into the cupboard.
Essential Tools for Installing Wall Mounted Shelves
Collect your tools before you mark anything. Nothing is more frustrating than a lost drill bit in the middle of an installation. It can make what should only take two hours feel like a full afternoon spent running back and forth to the hardware store.
Measuring and Levelling
A crooked shelf isn’t just an eyesore; it puts uneven stress on the brackets and causes things to slide toward one end. Get the level right from the start and everything else follows.
- Tape measure: For marking exact width and height placement
- Pencil: Light marks only. You’ll want to erase them later
- Spirit level: A 24-inch bubble level handles most standard shelves well
- Laser level: Not essential, but genuinely useful when you’re aligning multiple shelves in a row
Drilling and Mounting Equipment
- Cordless drill: Adjustable torque settings make a real difference. You want control, not just power
- Drill bits: Standard HSS bits for drywall and timber studs; carbide-tipped masonry bits for concrete and brick
- Screwdriver: Manual or electric, depending on preference
- Stud finder: Non-negotiable for drywall installation. Find the studs before anything else
- Wall anchors and screws: Chosen based on wall material and load
- Hammer: For tapping in certain anchor types
Safety Gear for In
Skip this section at your own risk. Drilling into concrete without eye protection is the kind of decision that feels fine until it isn’t.
- Safety glasses: Debris moves fast when you’re drilling
- Work gloves: Raw bracket edges and concrete anchors are sharper than they look
- Dust mask: Worth it for concrete, older plaster, and any wall that might contain older materials
- Step stool or ladder: Positioned properly, never overreaching to hit a mark that’s just slightly too far
How to Mount Shelves on Different Wall Types
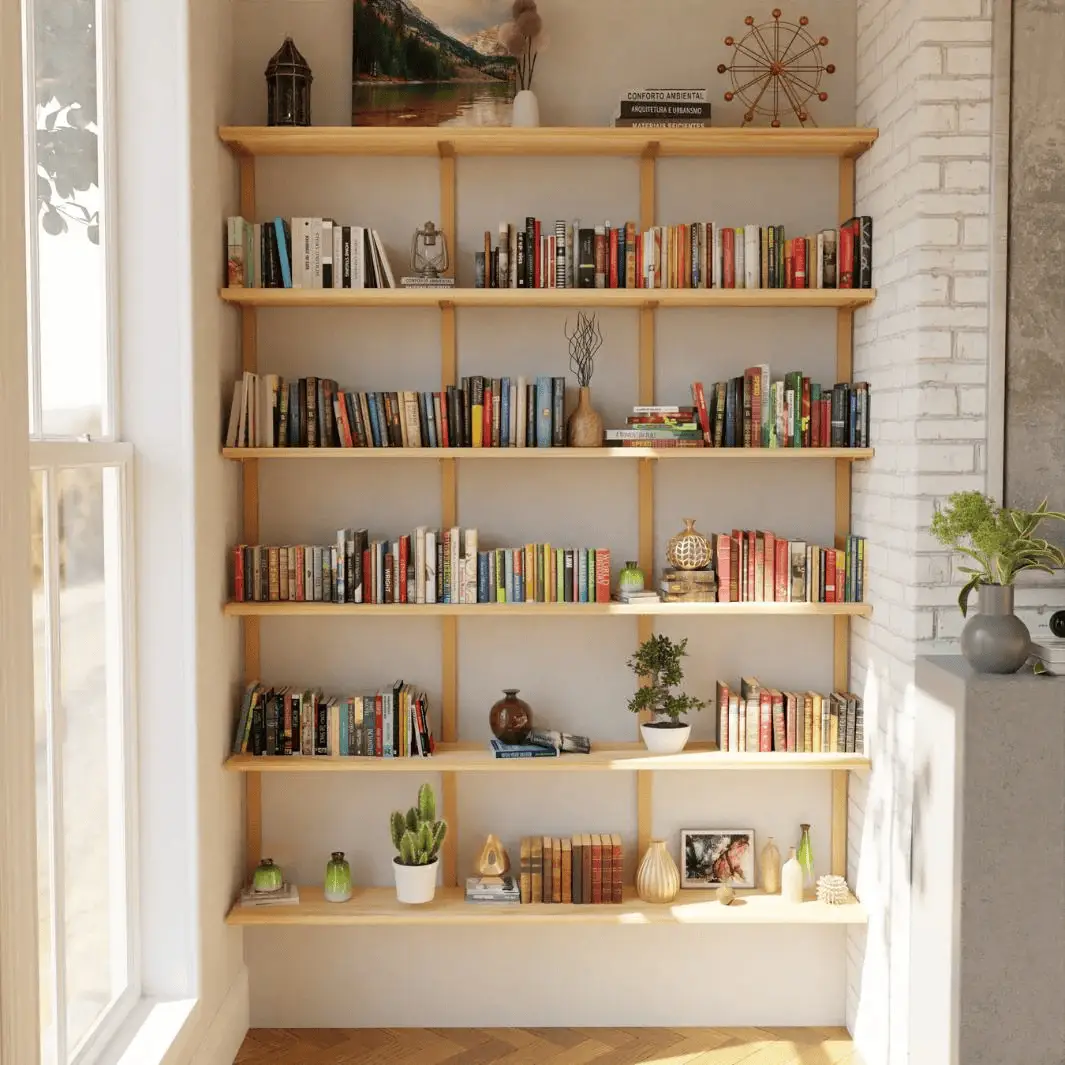
This is where most DIY shelf installations go wrong. The wall type changes everything – the anchor, the drill bit, the speed you drill, and how much weight you can safely hang. Identify what you’re working with before you buy a single piece of hardware.
How to Mount Shelves on Plaster Walls?
Plaster is denser than drywall and more unforgiving. Drill too fast or apply too much pressure and it cracks – not just at the hole, but radiating outward in ways that are expensive to repair and impossible to hide.
Start with a stud finder or tap the wall gently. A solid sound means a stud is behind it; a hollow sound means you’re between them. Hitting a stud is always the preference; standard wood screws into a stud are the simplest and strongest option. Without a stud, you need plaster-specific anchors: toggle bolts or snap toggles that spread the load across a wider area rather than relying on the plaster itself to grip.
One trick that makes a noticeable difference: put a strip of painter’s tape over your drill point before you start. It reduces chipping at the surface significantly. Drill slowly, low torque, and let the bit do the work.
How to Mount Shelves on Drywalls?
Drywall is the most common wall material in modern homes and the one most people have the most to learn about how to mount shelves on wall. It looks solid, but it’s not much. Anchors that seem fine for a picture frame will fail under the weight of a loaded shelf.
Always use a stud finder first. A screw into a timber stud through drywall is a completely different thing from a screw into drywall alone. When there’s no stud at your desired location, the anchor choice matters: plastic expansion anchors are fine for lighter shelving wall mounted designs, but for anything heavier you want toggle bolts or molly bolts that grip behind the board rather than just expanding inside it.
Most drywall anchors are rated 20–50 lbs per anchor. Know your numbers and build in a margin. When in doubt, position your brackets to hit at least one stud.
How to Mount Shelves on Concrete Walls?
Concrete is the strongest surface you’ll install on, and also the most demanding. A standard drill will technically work. A hammer drill makes clean holes with a fraction of the effort and produces a much better result. If you’re doing any serious concrete installation, it’s worth borrowing or renting one.
Use carbide-tipped masonry bits and go slow at the start to avoid the bit skipping across the surface. Once your holes are drilled, sleeve anchors or wedge anchors expand as you tighten the screws and grip the concrete from the inside. The hold is exceptional, and properly anchored concrete shelves can take significant loads safely.
For lighter shelving wall mounted on concrete, plastic masonry anchors and standard screws are sufficient. For heavy wall mounted shelving units, use metal sleeve anchors rated for your intended load and don’t cut corners on the spec.
Step-by-Step Guide to Mounting Floating Shelves to the Wall
Floating wall mounted shelves are the most popular style right now, and the installation is slightly more involved than standard bracketed shelves – mostly because the alignment has to be right before the shelf goes on. Once it’s on, there’s no adjusting. Here is how to mount floating shelves to the wall:
Mark the Placement First
Hold the shelf against the wall at the intended height and step back. Does it look right? Is the height practical for what you’re storing? Once you’re confident, draw a light pencil guideline with a spirit level and mark the bracket positions along it. Space them evenly, and align with studs where possible.
Install the Hidden Brackets
Floating shelves get their clean look from hidden mounting hardware, including metal rods or a ledger system that the shelf body slides over. Hold each bracket in position at your marked points, check alignment with the level again, then drill pilot holes. Insert anchors where needed and drive the screws fully home.
Before moving on, grip each bracket and pull. It should feel completely immovable. If there’s any flex, the anchor isn’t set properly. Find out why and fix the issue before the shelf goes on.
Secure the Shelf
Slide the shelf body onto the brackets. Most floating shelves have pre-drilled channels or holes that align with the mounting rods. Once it seats properly, secure it with the included set screws or fasteners from underneath. Step back, check the level one final time, and make any small adjustments while you still can.
Safety Tips for Wall Mounted Shelves Installation
The installation is just a one-day process. The shelf will stay there for years. These safety habits are what keep the shelf and your family safe.
Know the Weight Capacity
Every bracket and shelf combination has a rated load. Wooden wall mounted shelves on two brackets might be rated for 30 lbs, which sounds like a lot until you start stacking books. Distribute weight across the shelf surface rather than concentrating it at one end, and stay within the rated limit with a margin to spare.
Match the Anchor
A plastic anchor designed for hanging pictures shouldn’t be holding a shelf cluttering your kitchen with equipment. An incorrectly placed anchor in an incorrect wall does not usually fail right away; it fails progressively and then suddenly at the worst possible moment. For a detailed breakdown of different fastener types and their best use cases, refer to this guide on proper wall anchor selection to match the right hardware to your specific wall material and load.
Check the Hardware Every Six Months
Apart from that, screws do tend to loosen and the moisture common in bathrooms and kitchens simply speeds things along. This is the sort of maintenance that prevents problems, rather than responding to them: a two-minute screwdriver check twice-yearly. If it cracks the wall around an anchor point or when any movement is felt by touch on the shelf.
Don’t Concentrate Weight on a Single Anchor Point
Position brackets so the load is shared. A shelf held by two well-placed anchors is dramatically safer than one held by a single anchor in the exact right spot, even if that single anchor is technically rated for the load.
For more ways to maximize your space safely, explore these smart home storage ideas that combine wall shelving with other clever organization methods.
Common Mistakes Worth Avoiding While Installing Wall Mounted Shelves
Even experienced DIYers make these errors. A little awareness goes a long way.
- Not using a level – Obvious, and still the most frequent error. Even a small tilt is visible once you put things on the shelf, and you will notice it every single time you look at it.
- Choosing anchors by size, not by wall type – Drywall anchors in concrete, masonry anchors in plaster, picture hooks holding loaded shelves – these mismatches are more common than they should be. Identify the wall, then choose the hardware.
- Overloading immediately after installation – There’s an impulse to fill a new shelf as soon as it’s up. Resist it. Load it gradually and check the fixings after the first few days under load.
- Ignoring the wall material when drilling – Old walls sometimes have hidden layers. Drilling without knowing what you’re going into is how drill bits break and walls crack unexpectedly.
Room by Room: Where Wall Mounted Shelves Work Best
Living room. Wall mounted floating shelves above a sofa or along an empty wall give the room a focal point that isn’t a television – books, plants, objects, framed prints arranged at eye level.
Kitchen
Open shelves near the stove put spices, oils, and frequently used equipment within reach without the depth of a cabinet. The convenience is immediate and the visual effect is warm.
Bathroom
Moisture-resistant shelves above head height make a small bathroom feel larger and give toiletries a home that isn’t the edge of the bath or the corner of the basin.
Bedroom
Floating shelves beside the bed replace nightstands without taking floor space. A shelf above a desk handles books and accessories without cluttering the work surface below, while a Book shelves walldesign helps keep books neatly organized and adds a stylish focal point to the roo
Home Office
A run of vertical wall mounted shelving units along one wall can double the room’s effective storage capacity without a single piece of new furniture touching the floor.
Final Thought
The wall mounted shelf installation itself takes a few hours. What you get is years of usable, reliable storage, provided the wall type was identified correctly, the anchors were matched to the load, and the level was checked before anything was tightened for the last time.
Those installation steps aren’t complicated. They just require a few minutes of thought before you start drilling. Get all the tools and steps right, and the shelf becomes part of the house for years. Get them wrong, and the shelf becomes a repair job. The difference is almost entirely in the preparation.