


I used to fall into bed without a second thought about my skin. Makeup still on, sunscreen from the morning clinging to my face, I honestly wondered why I always woke up looking dull and tired.
It wasn’t until I started following a simple night skincare routine that I saw the difference for myself. Within a few weeks, my skin felt softer, calmer, and genuinely healthier.
What surprised me most was how little effort it actually took, just a few minutes before bed.
If you’ve been neglecting your skin at night like I once did, this guide is for you. I’ll walk you through everything I’ve learned, step by step, so you can build a routine that truly works.
What is a Night Skincare Routine?
A Night Skin Care Routine is the Set of Steps You Follow Before Bed to Clean, Treat, and Hydrate Your Skin. While You Sleep, Your Skin Goes into Repair Mode, Fixing Damage from the sun, Pollution, and Daily Stress.
A Simple Routine Helps This Process Along. It Usually Starts with Removing Makeup and Washing Your Face, Then Applying a Treatment Like a Serum, and Finishing with a Moisturizer to Lock in Hydration.
You Can Keep It as Short as Three Steps or Add Extras Like Eye Cream or Face Oil. The Key is Doing It Consistently, Night After Night, for Healthier-Looking Skin.
Why Your Skin Needs a Different Routine at Night
Your skin works differently after dark, so it needs different care than it gets in the morning.
- How skin repairs itself while you sleep: at night, your skin isn’t fighting sun or pollution, so it focuses on healing, rebuilding, and soaking up whatever you apply.
- Daytime vs. nighttime skincare: mornings focus on protection, like sunscreen, while nights focus on repair and deep hydration.
- Signs your skin is asking for a night routine: if you notice dullness, dryness, breakouts, or tired-looking skin, that’s your cue.
A review of skin chronobiology notes that repair of UV-damaged skin cells and cell renewal both peak overnight, which is the biological reason “beauty sleep” is more than a saying (Circadian Rhythm and the Skin, Journal of Clinical and Aesthetic Dermatology, 2019).
Think of your bedtime routine as a small gift you give your skin every single night.
What You Need Before You Start
Before diving in, you only need to check three things.
First, know your skin type: oily (shiny all over), dry (flaky or tight), combination (oily T-zone, dry cheeks), or sensitive (easily irritated).
Second, gather a basic beginner checklist: a gentle cleanser, a moisturizer, and a daytime sunscreen (SPF). That is it to start.
Finally, keep expectations realistic regarding time; a solid routine takes less than three minutes in the morning and evening.
Consistency matters far more than a complicated, multi-step process, so starting simple ensures you will actually stick with it every day.
Night Skin Care Routine: Your Simple Step-by-Step Guide
Follow these seven steps in order, from lightest to richest, so each product can do its job and be properly absorbed.
You don’t have to do all of them every night; beginners can stick to the core steps and add the rest over time. Here’s how to build your routine from start to finish.
Step 1: Remove Makeup and Sunscreen
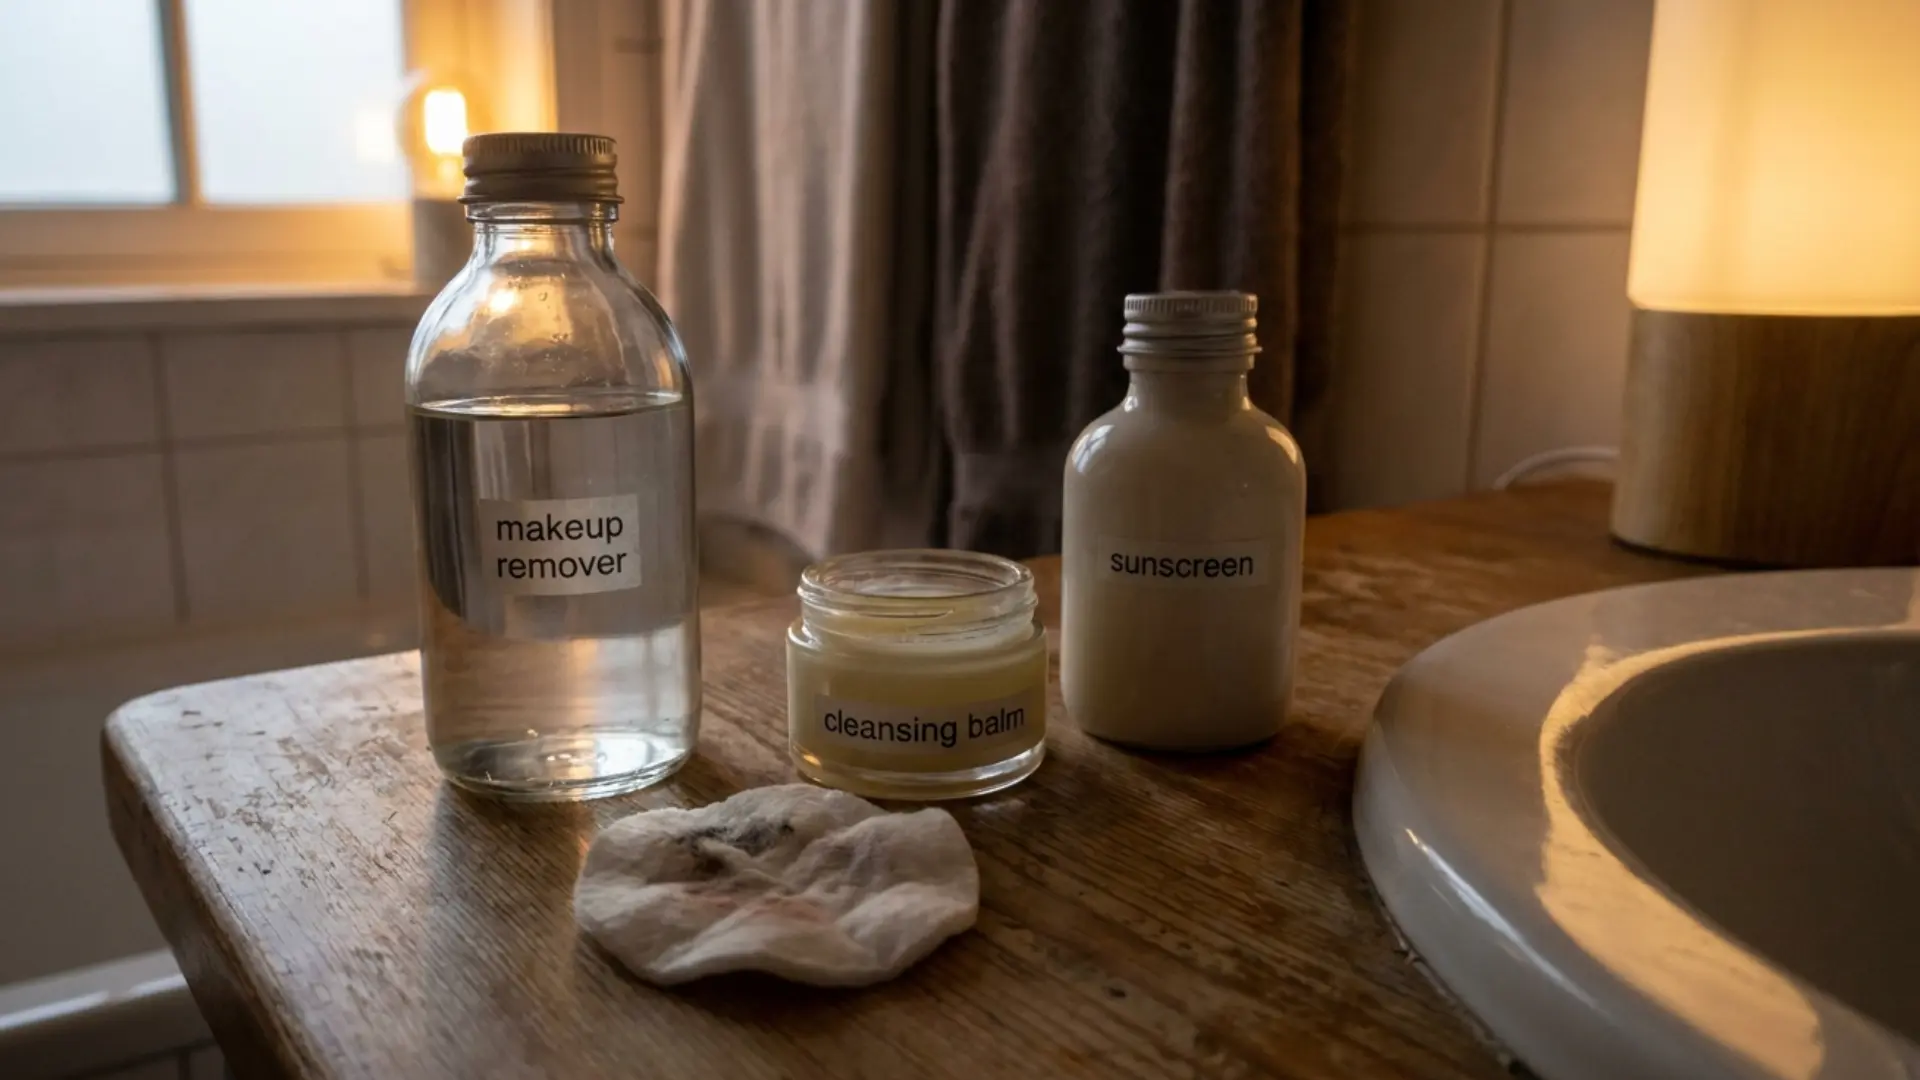
Always begin by clearing away makeup, sunscreen, and the grime that builds up during the day. Use a gentle makeup remover, micellar water, or a cleansing balm to break everything down.
This first pass matters because leftover makeup can clog pores and block the products you apply later.
Sweep it away carefully, paying attention to your eyes and hairline, until your skin feels free of any residue and ready for a proper wash.
Step 2: Cleanse Your Face

Now wash your face with a cleanser suited to your skin type. Massage it in with lukewarm water for about thirty seconds, using small circles to lift away oil, sweat, and any remaining traces of the day.
Cleansing gives you a fresh, clean base so everything that follows can be absorbed more easily. Avoid hot water, which can strip and dry out your skin, and gently pat your face until it’s just slightly damp.
Optional: Exfoliate 2 to 3 times a week
One step nearly every top guide includes and that beginners often miss is gentle exfoliation.
Used two or three nights a week (not daily), a chemical exfoliant like a low-strength AHA or BHA lifts away dead surface cells so serums and moisturizer sink in better.
Step 3: Tone or Use a Hydrating Mist

Next, swipe on a toner or spritz a hydrating mist to balance your skin and add a first layer of moisture. Toners help remove any remaining residue while prepping your skin to absorb serums more effectively.
Choose an alcohol-free formula so you don’t dry out your face. Apply it with clean hands or a cotton pad, then let it sit for a few seconds before moving to the next step.
Step 4: Treat with Serums (Retinol, Vitamin C, or Niacinamide)

This is where you target specific concerns. Retinol supports skin renewal and fine lines, vitamin C brightens, and niacinamide calms redness and controls oil. Apply a few drops and press it gently into your skin.
Beginners should introduce one active at a time and start slowly, retinol just twice a week, to let your skin adjust. Never mix too many strong actives at once, as it can cause irritation.
Retinol is the most studied over-the-counter anti-aging ingredient: a one-year vehicle-controlled trial found that stabilized retinol measurably improved photoaged skin, with results continuing over time (Randhawa et al., 2015).
Step 5: Apply Eye Cream
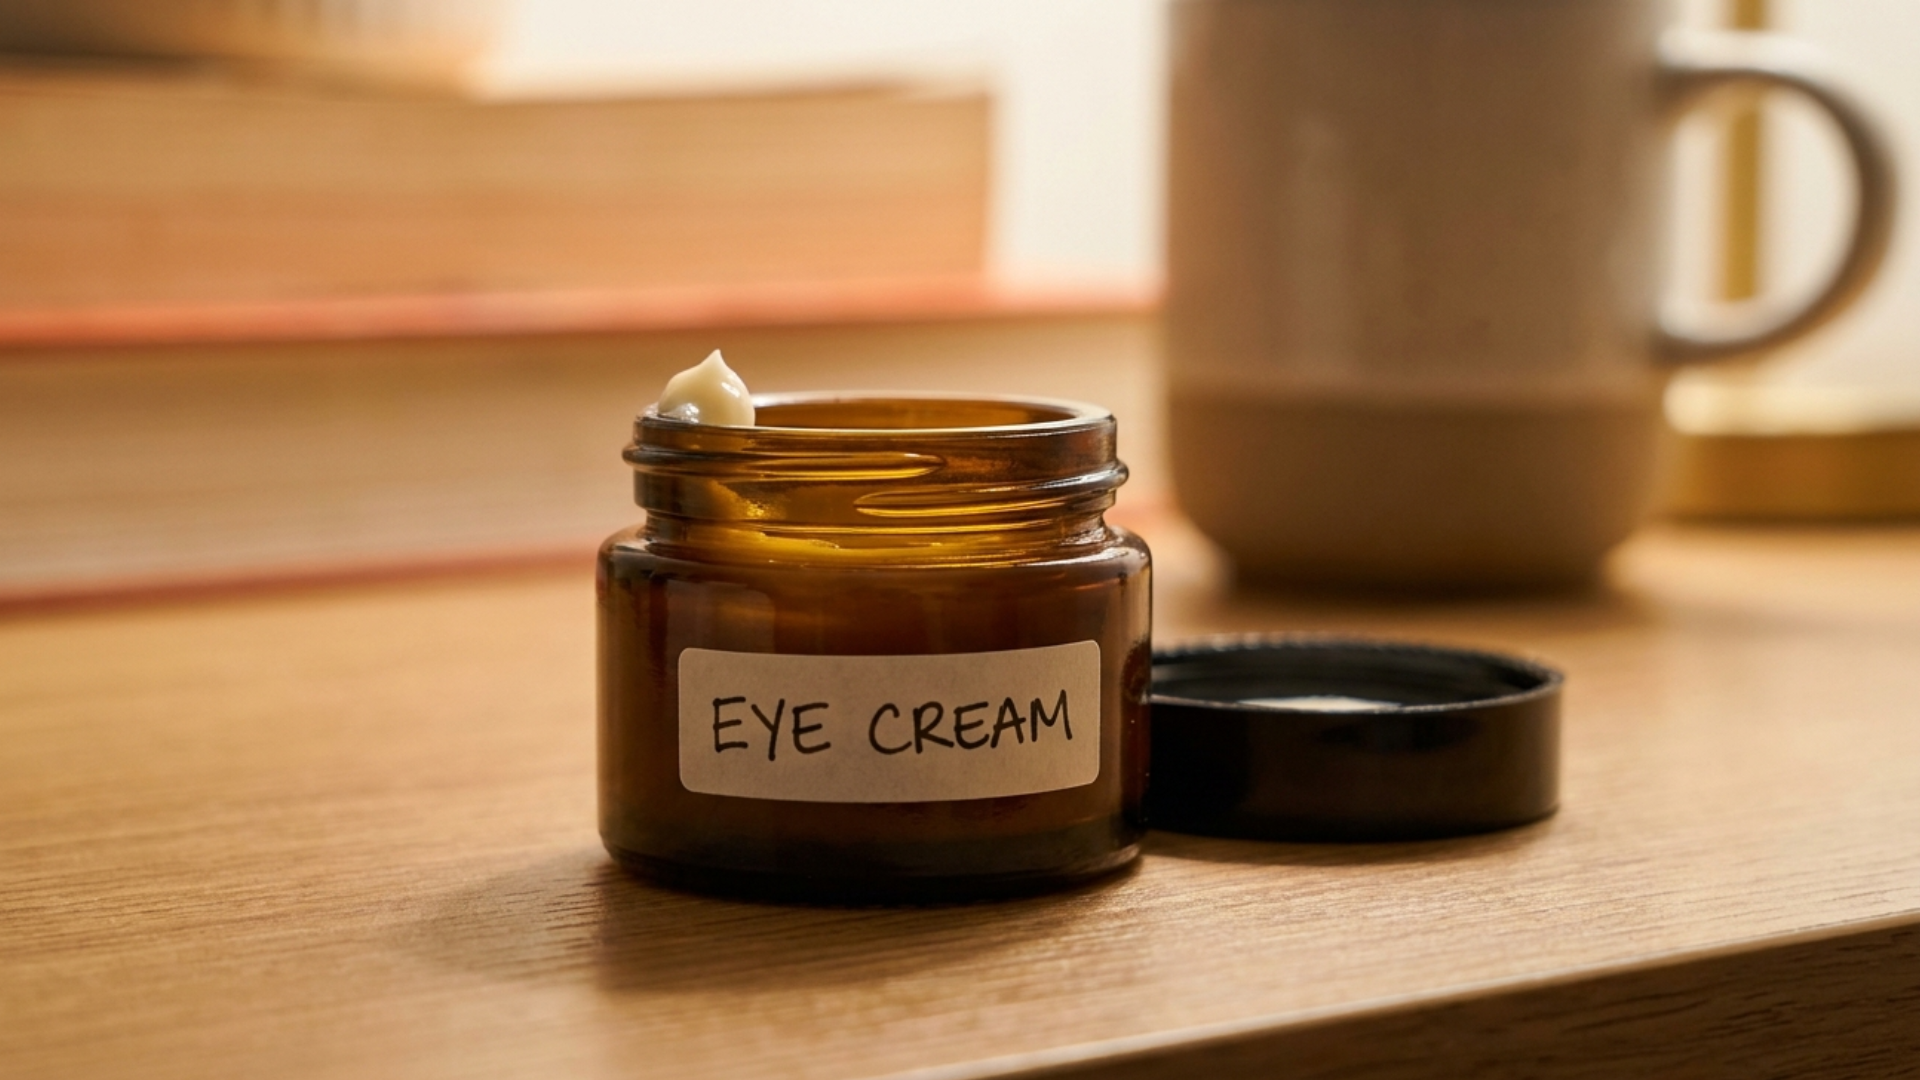
The skin around your eyes is thin and delicate, so it benefits from its own product. Dab a small, rice-sized amount of eye cream using your ring finger, which applies the lightest pressure. Gently tap it around the orbital bone rather than rubbing it in.
Eye creams can help with puffiness, dark circles, and dryness over time. This step is optional for beginners, but it’s useful if you notice fatigue or fine lines starting to show.
Step 6: Moisturize to Lock in Hydration
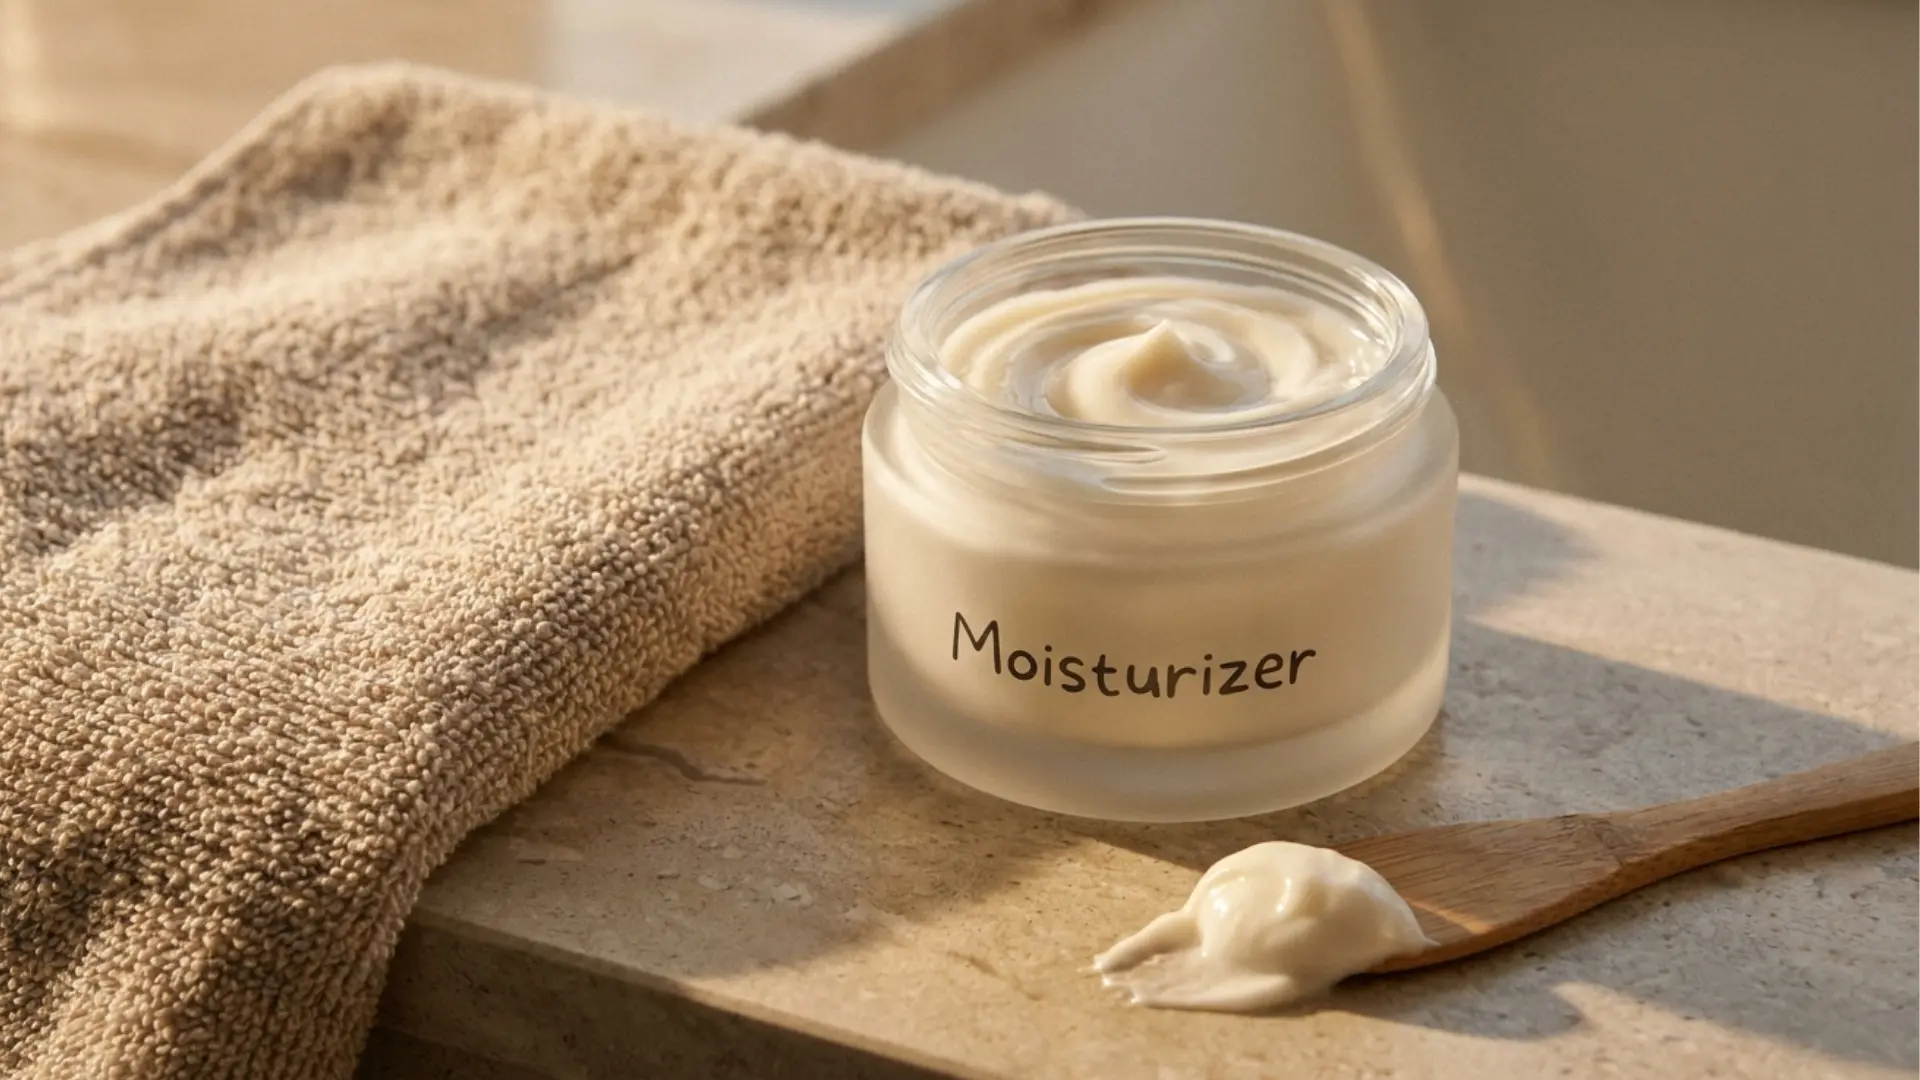
Seal everything in with a moisturizer suited to your skin type, lightweight gels for oily skin, and richer creams for dry skin.
Moisturizer traps all the goodness from the previous steps and prevents water from escaping overnight, so you wake up soft and hydrated.
Smooth it over your face and neck using upward motions. This step is essential for every skin type, even oily skin, and should never be skipped, no matter how tired you feel.
Step 7: Add Face Oil or a Sleeping Mask (Optional)
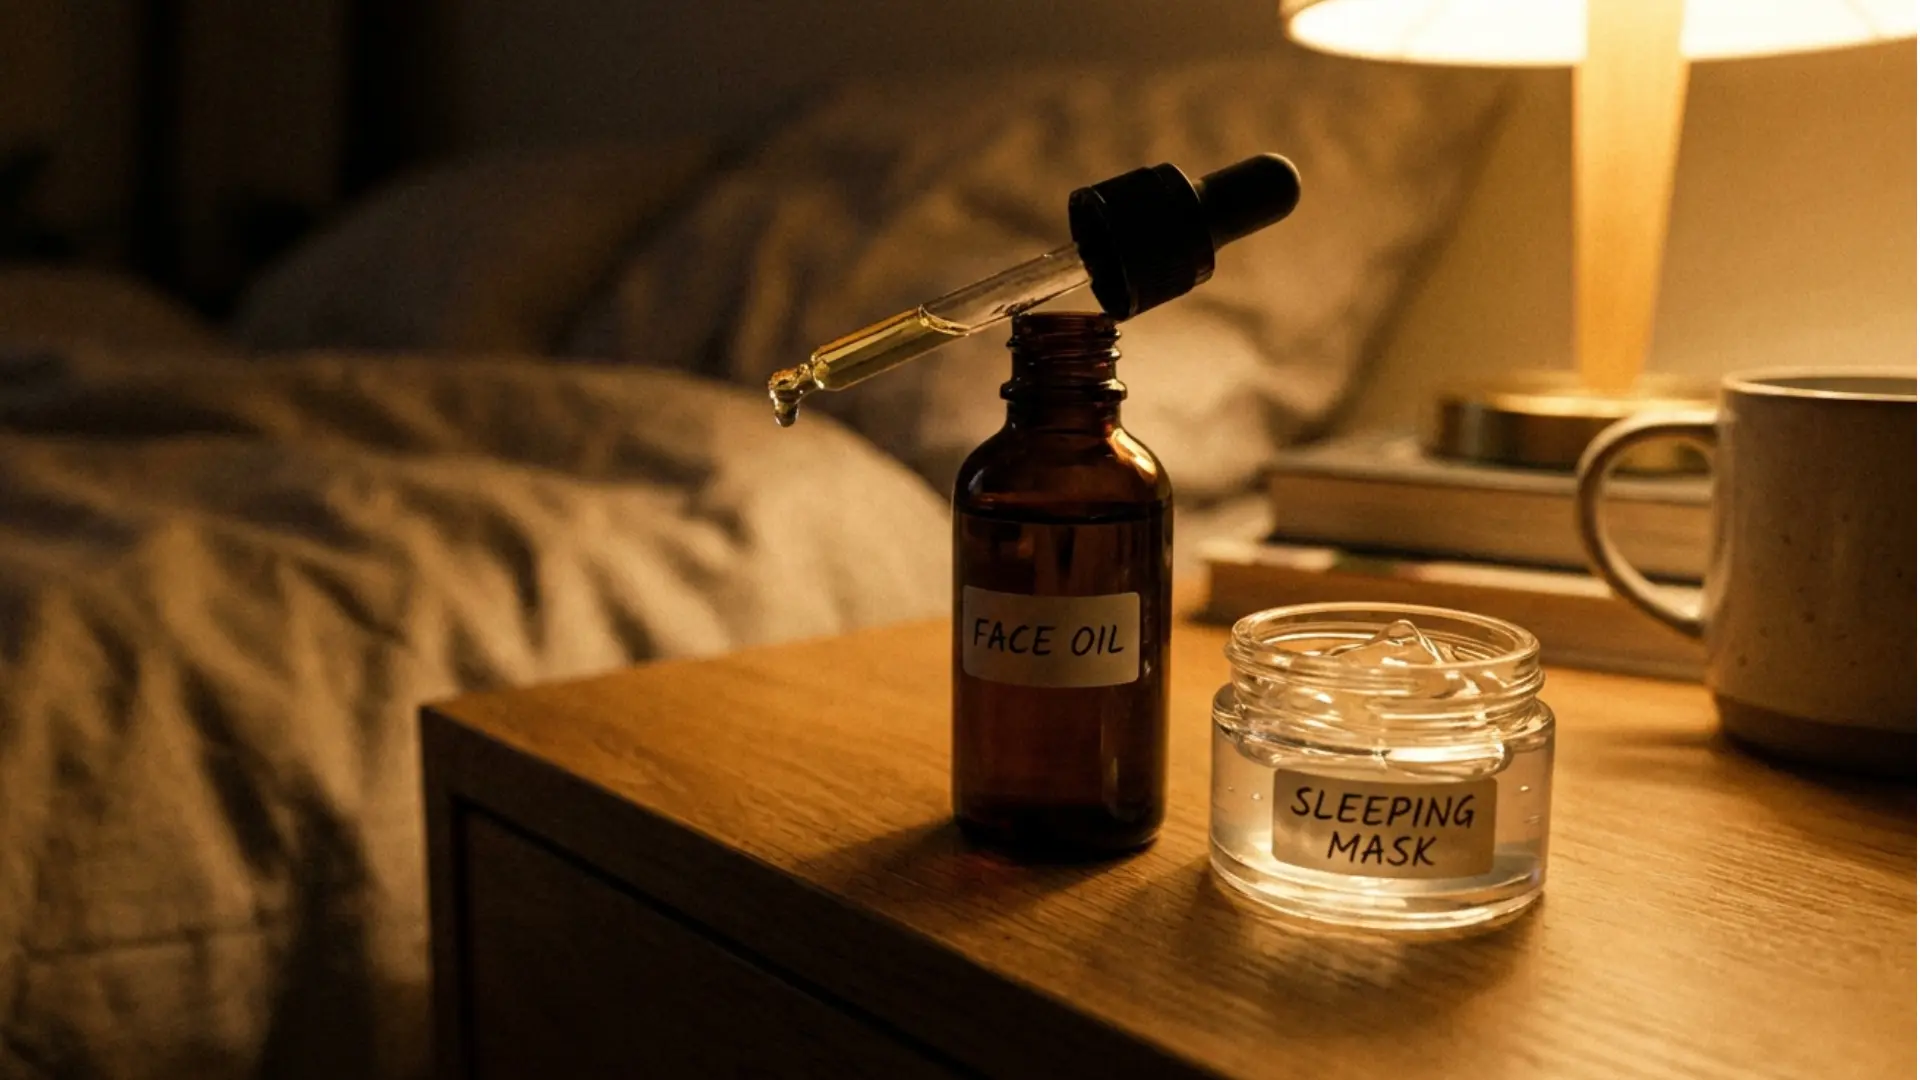
For an extra boost, finish with a few drops of face oil or a sleeping mask as your final layer. These sit on top and lock in moisture through the night, making them great for dry skin or colder months.
Warm the oil between your palms and press it gently onto your skin. A sleeping mask can be used two or three times a week. Skip this step if your skin already feels balanced and comfortable.
Sample Routines for Different Skin Types
Every skin type has slightly different needs, so here are simple routines you can follow based on your skin type.
- Oily or acne-prone skin: foaming cleanser, niacinamide serum, oil-free gel moisturizer, and a spot treatment when needed.
- Dry or flaky skin: a creamy cleanser, a hydrating hyaluronic acid serum, a rich moisturizer, and a few drops of face oil to seal it in.
- Sensitive skin: a gentle, fragrance-free cleanser, a calming serum, and a soothing moisturizer with minimal ingredients.
- A 3-step minimal routine for busy nights: cleanse, moisturize, and dab on eye cream if you have a spare moment.
Pick the one that fits your skin and adjust as you learn what works best.
Common Night Skincare Mistakes to Avoid
Small slip-ups can hold your skin back, even when you’re using great products. Here are four common mistakes and how to fix them.
| Common Mistake | The Simple Fix |
|---|---|
| Skipping cleansing after a long day: sweat, oil, sunscreen, and pollution stay on your skin overnight and clog pores. | Wash your face every night, even when you’re tired. Keep micellar water by your bed for those low-energy nights. |
| Using too many active ingredients at once: mixing strong actives like retinol and vitamin C can irritate and inflame your skin. | Introduce one active at a time and space them out. Start slow, especially with retinol, and let your skin adjust. |
| Applying products in the wrong order: putting heavy creams before serums blocks the lighter products from absorbing. | Go from lightest to richest: cleanse, tone, serum, eye cream, moisturizer, then oil last. |
| Going to bed with wet or damp skin: damp skin can trap bacteria on your pillow and cause products to be absorbed unevenly. | Pat your skin until slightly damp before serums, but let everything settle in for a few minutes before lying down. |
Avoiding these small mistakes helps your routine work harder, so you get better results from the products you already own.
Habits that Boost Your Night Routine
Great skin isn’t only about products; a few everyday habits can make your routine work even better.
- Sleep, water, and diet basics: aim for seven to eight hours of sleep, drink plenty of water, and eat plenty of fruits and vegetables to support your skin from the inside.
- Clean pillowcases and phone screens: wash pillowcases weekly and wipe your phone often, since both collect oil and bacteria that touch your face.
- Setting a consistent bedtime for your skin: going to bed around the same time helps your skin settle into its natural repair rhythm.
Pair these simple habits with your routine, and you’ll notice the difference over time.
How Long Until You See Results of Night Routine
Patience is your best friend here, so don’t worry if you don’t see instant changes overnight. In the first two weeks, your skin will likely feel softer and more hydrated, and you may notice a bit more glow, but bigger changes take time to show.
Around the four-to-six-week mark, your skin naturally renews itself through its turnover cycle, so concerns like dullness, uneven texture, or breakouts often start improving.
This is when consistency really pays off. Keep following your routine each night, take progress photos to track small shifts, and give your skin the time it genuinely needs to transform.
One thing I wish I had known earlier: with retinol especially, skin can look slightly worse before it looks better as it adjusts, so a rough first few weeks is not a reason to quit.
When to See a Dermatologist
A good night routine handles a lot, but some skin concerns need professional help. If you’re dealing with painful or cystic acne that won’t clear up, ongoing redness, or irritation that gets worse instead of better, it’s time to book a dermatologist.
The same goes for sudden changes like new moles, dark patches, or rashes that don’t fade. A dermatologist can look closely at your skin, spot issues you might miss, and recommend prescription treatments or products suited to you.
Think of it as teaming up with an expert; there’s no need to figure everything out on your own.
Bottom Line
Looking back, starting a night skincare routine is one of the small habits I’m genuinely glad I stuck with. I won’t pretend it changed everything overnight, because it didn’t.
But after a few weeks of staying consistent, I noticed my skin looked brighter, felt smoother, and behaved so much better than before. The best part is that it never felt like a chore.
Start simple, be patient with yourself, and let your skin catch up in its own time. Trust me, future-you will thank you for it.
What does your night skincare routine look like? Are you just getting started, or have you been at it for years? Drop a comment below and share your favorite products, tips, or even the mistakes you’ve made along the way.
Frequently Asked Questions
Can I Use the Same Products for My Morning and Night Routine?
Some products, like cleanser and moisturizer, can be shared, but others are for specific times. Save retinol for night to avoid sun sensitivity and keep sunscreen for mornings. Toners and serums are suitable anytime.
How Long Should I Wait Between Each Skincare Step?
Give each product 30 seconds to a minute to absorb before applying the next. Serums need time to sink in; otherwise, moisturizer may pill or slide off. Even a brief pause helps everything settle if you’re in a hurry.
Is It Okay to Skip Toner in a Night Routine?
Yes, toner is completely optional and not essential for healthy skin. If your skin already feels balanced after cleansing, you can move straight to your serum or moisturizer. Toner is more of a helpful add-on than a must-have step.
Does a Night Routine Work for Men Too?
Absolutely, skin behaves the same way regardless of gender, so these steps apply to everyone. Men can follow the same cleanse, treat, and moisturize approach based on their skin type. The core principles of consistency and gentle care never change.