Spinach is one of the rewarding cool-season vegetables to grow, but strong results begin with the right timing and care. I have seen how loose soil, shallow planting, and steady moisture affect early growth.
Learning how to plant spinach properly also means choosing a cool planting window and giving each seed enough space to develop.
In this blog, I will explain the best season for sowing, how to prepare the soil, and the correct seed depth and spacing. You will also learn how to water, thin, and care for plants before harvesting tender leaves.
These steps work well in garden beds, raised beds, and containers, making spinach a crop for home growers.
Quick Answer: How do You Plant Spinach?
Plant spinach seeds directly in loose, well-draining soil during cool weather. Sow each seed about ¼ to ½ inch deep, cover it lightly with soil, and water gently so the seeds stay in place.
Keep the soil evenly moist while germination begins and the first leaves appear. Once the seedlings are established, thin them until they stand about 2 to 4 inches apart.
Spinach grows best when planted in early spring or again before the first autumn frost. Avoid hot weather, as longer days and rising temperatures can cause the plants to bolt and reduce leaf quality.
What You Need to Plant Spinach
These supplies cover the main tasks involved in sowing and early care. The table below explains what each item does and offers a simple tip for choosing or using it correctly.
| Item | Why You Need it | Helpful Tip |
|---|---|---|
| Spinach seeds | Used for direct sowing | Choose a variety suited to your local season |
| Compost | Improves soil texture and fertility | Use finished compost rather than fresh manure |
| Hand trowel | Creates shallow planting rows | Use the edge to make even furrows |
| Watering can | Waters seeds without washing them away | Select one with a gentle rose attachment |
| Plant label | Records the variety and sowing date | Write with a waterproof garden marker |
How to Plant Spinach Seeds
Plant spinach in cool weather using loose, level soil. Sow seeds in shallow rows, cover lightly, and water gently. Keep the soil moist until seedlings appear, then thin them to reduce crowding and support healthy growth.
Step 1: Choose a Cool Planting Period
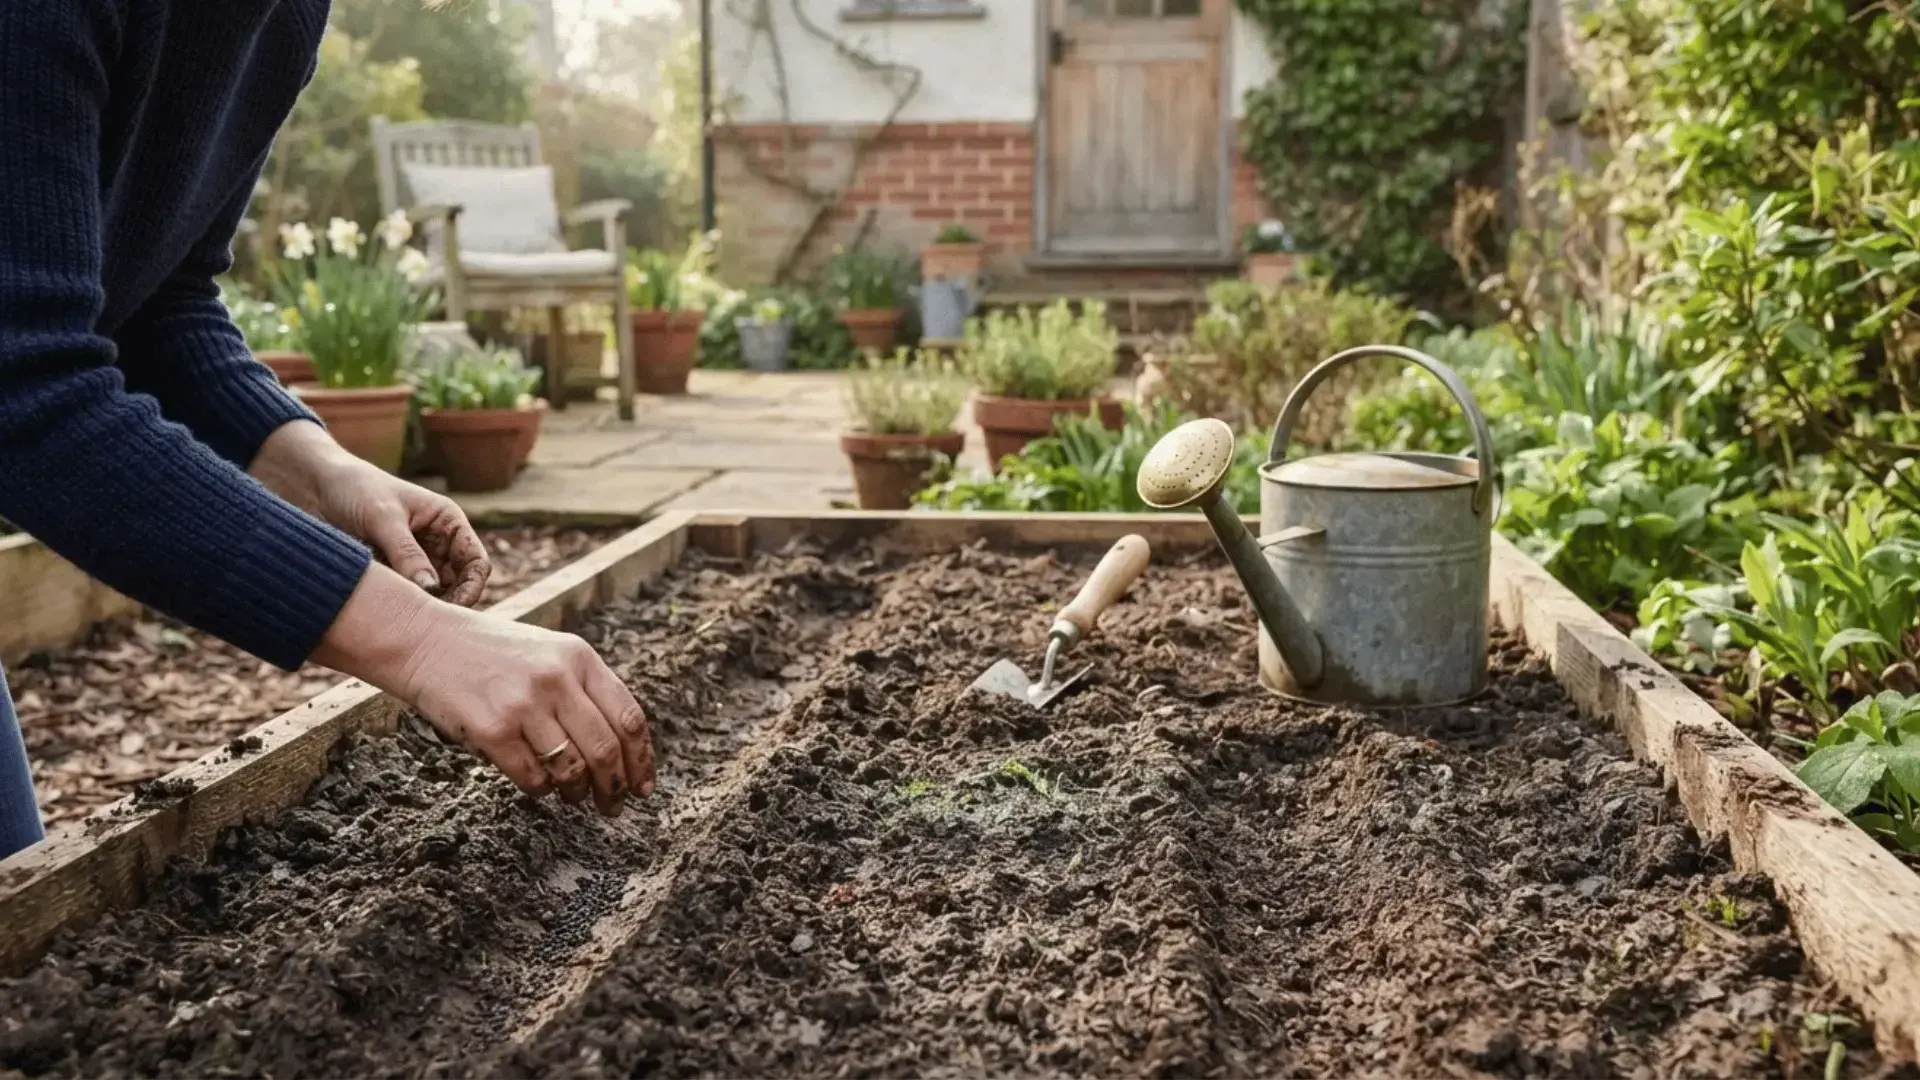
Spinach grows best during the cooler parts of spring and fall. Sow spring seeds as soon as the soil becomes workable and no longer stays heavily waterlogged.
For a fall crop, count backward from your average first frost date. The University of Minnesota Extension recommends planting about two months before that date.
Always check local frost records rather than relying on a single calendar month, since growing conditions vary by region.
Step 2: Prepare the Planting Area
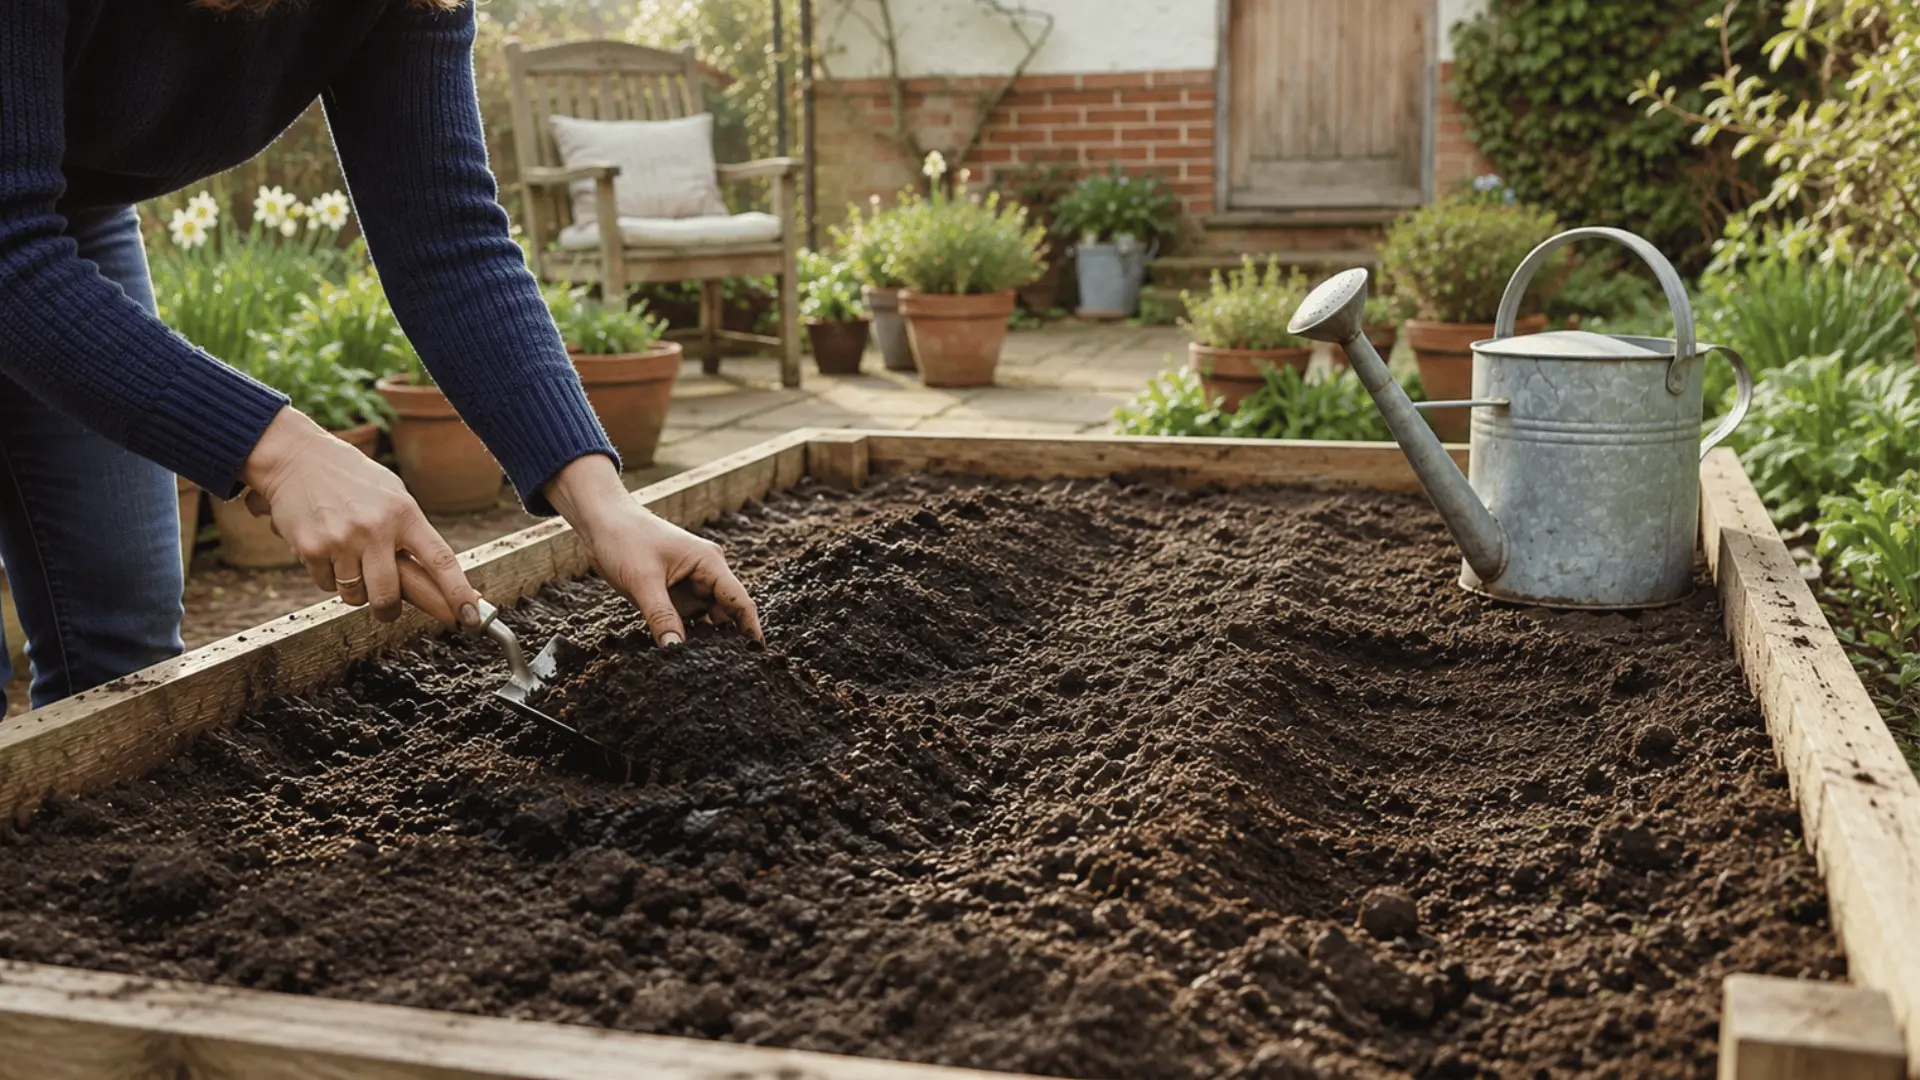
Clear the planting area of weeds, stones, old roots, and other debris. Use a garden fork, hand trowel, or small rake to loosen the upper several inches of soil.
Mix in finished compost if the ground feels hard or lacks organic matter. Break apart large clumps and level the surface so the seeds sit evenly.
Avoid fresh manure because it may contain harmful bacteria or unwanted weed seeds.
Step 3: Make Shallow Planting Rows
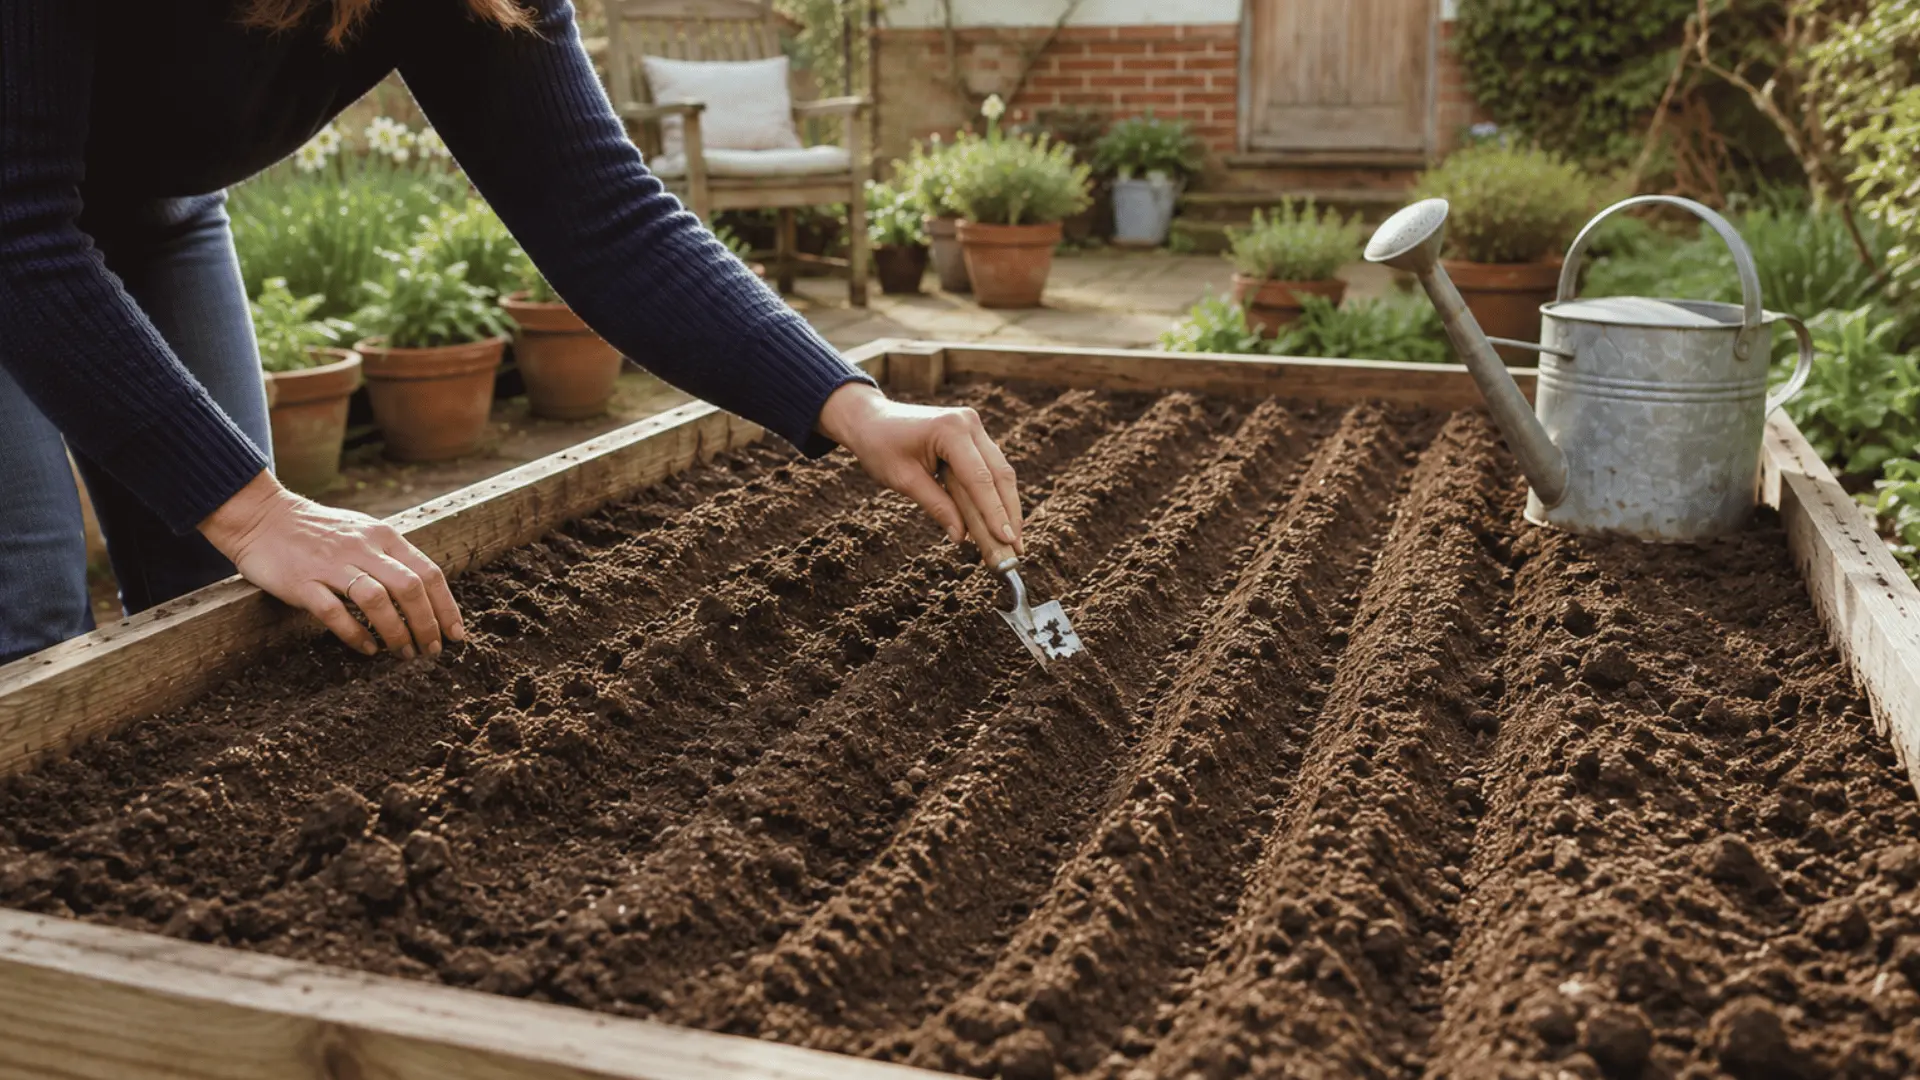
Use the edge of a trowel or a small stick to create straight furrows about ¼ to ½ inch deep. Spinach seeds planted too deeply may germinate slowly or fail to reach the surface.
Leave enough room between rows for watering, weeding, and harvesting. In a compact garden bed, rows can be placed closer together. For containers, make shallow individual holes instead of long planting furrows.
Step 4: Sow the Spinach Seeds
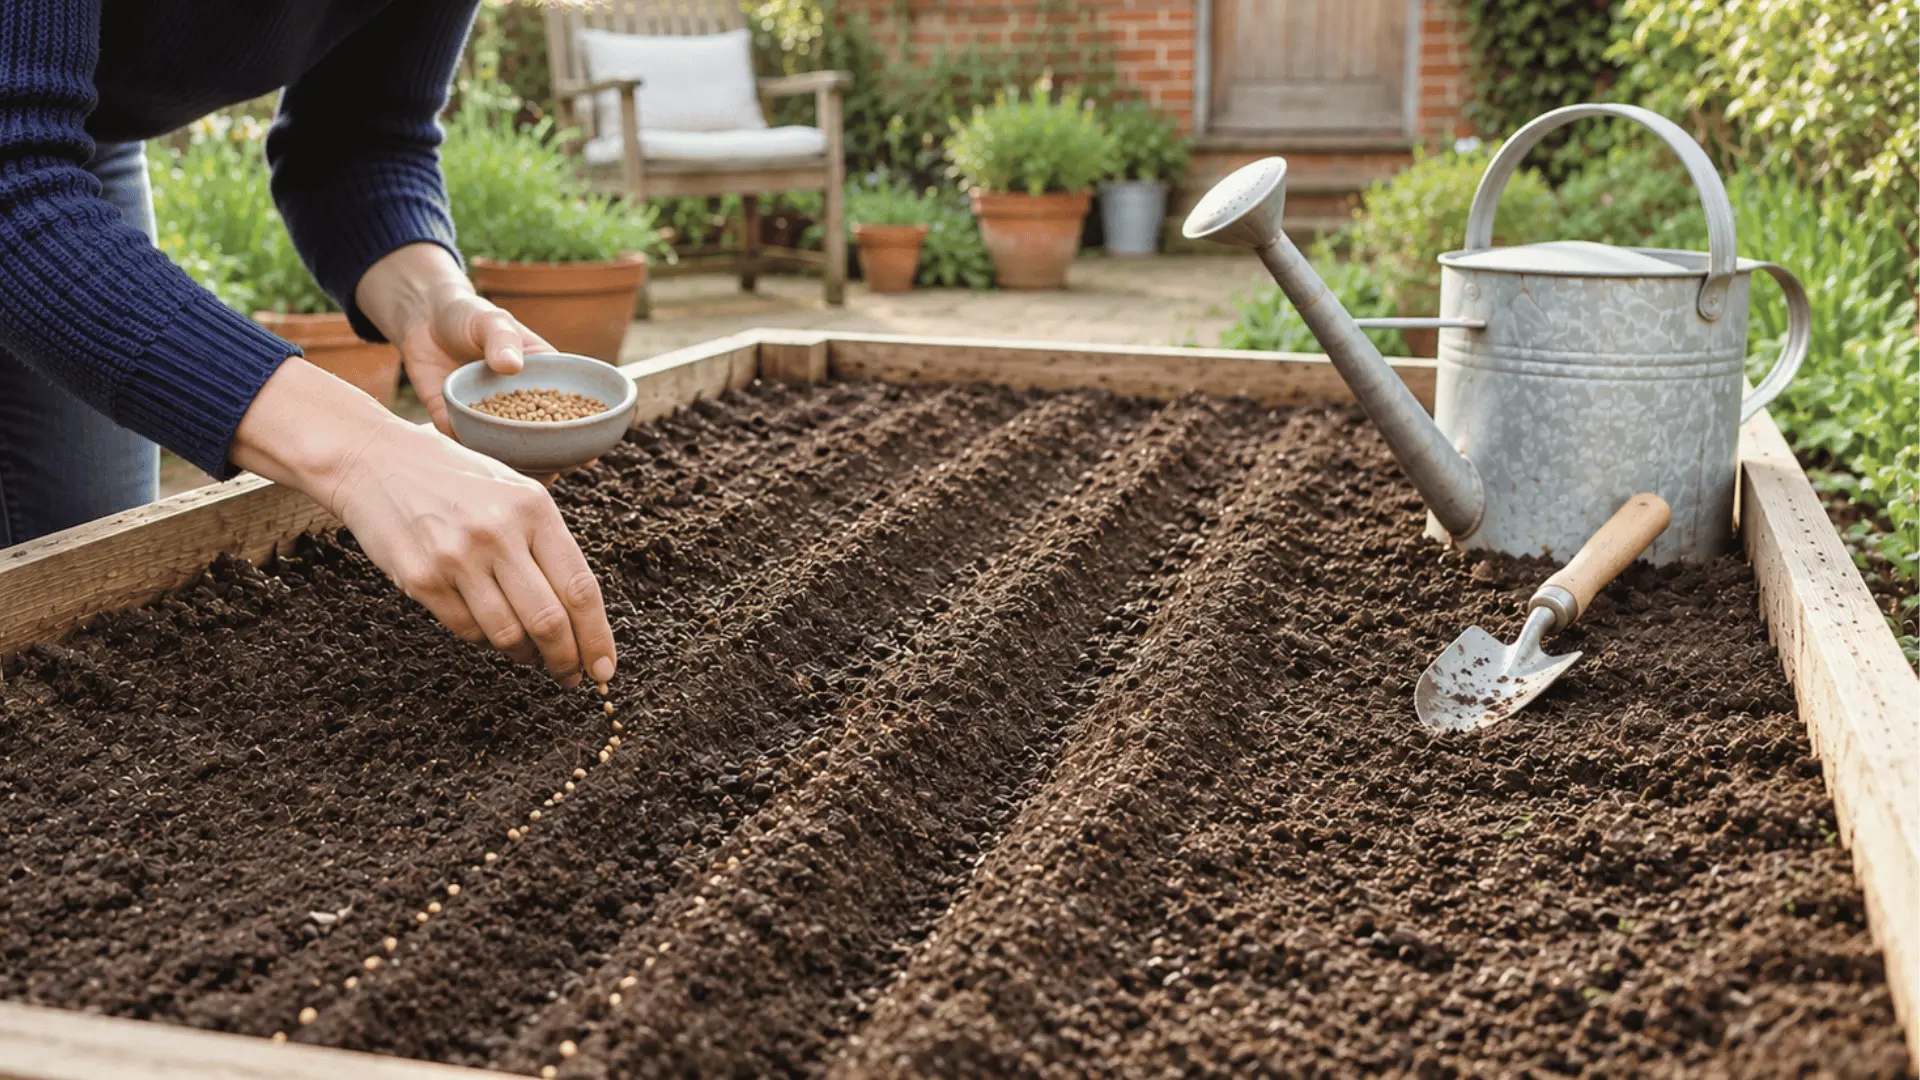
Place the spinach seeds evenly along each prepared row rather than dropping them in tight clusters. Crowded seeds create extra thinning work and may compete for light and moisture.
Cover them with a light layer of fine soil, then press the surface gently to improve soil contact. Do not pack the ground firmly.
Step 5: Water the Soil Gently
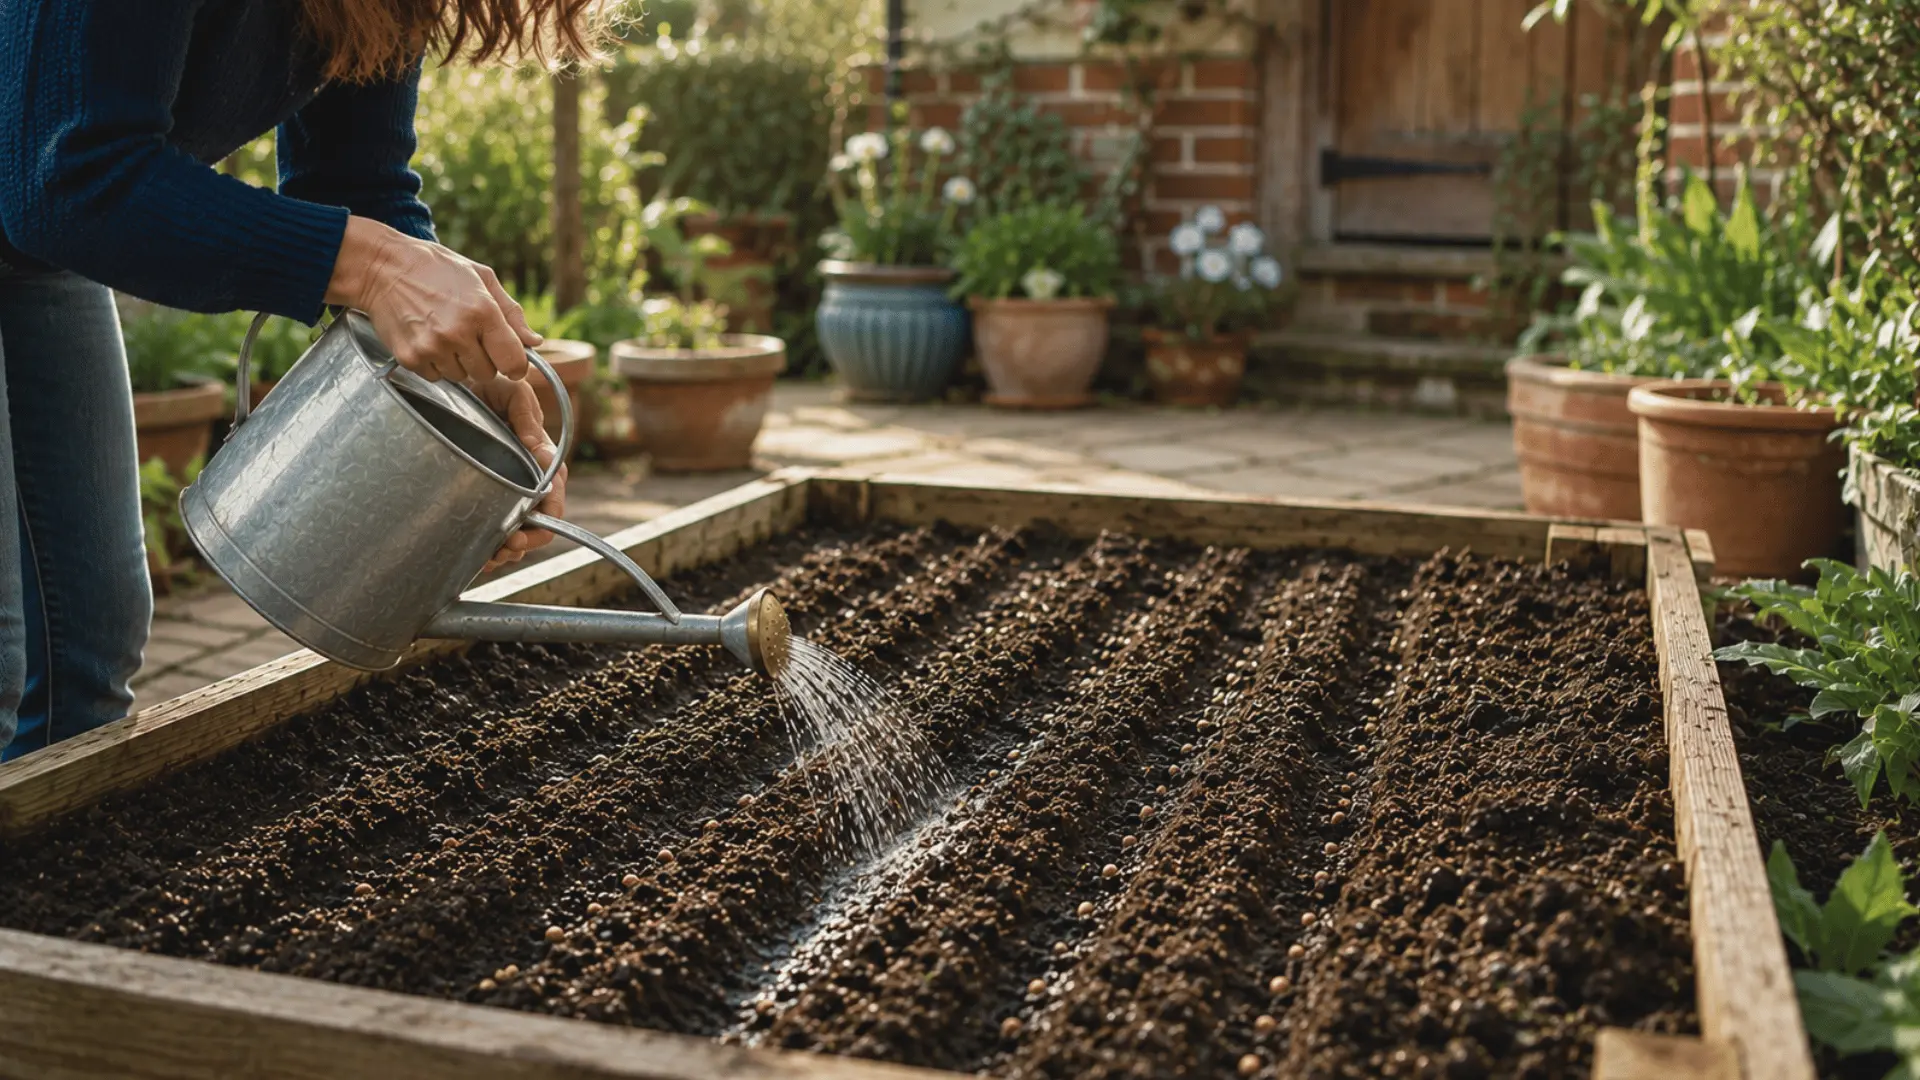
Water the planting area immediately after sowing. Use a watering can with a gentle rose or a soft spray setting so the water does not wash the seeds out of their rows.
Keep the top layer of soil consistently moist throughout germination, but never leave it soaked.
Check the bed each day during dry, warm, or windy conditions because shallowly planted spinach seeds can lose moisture quickly.
Step 6: Thin the Seedlings
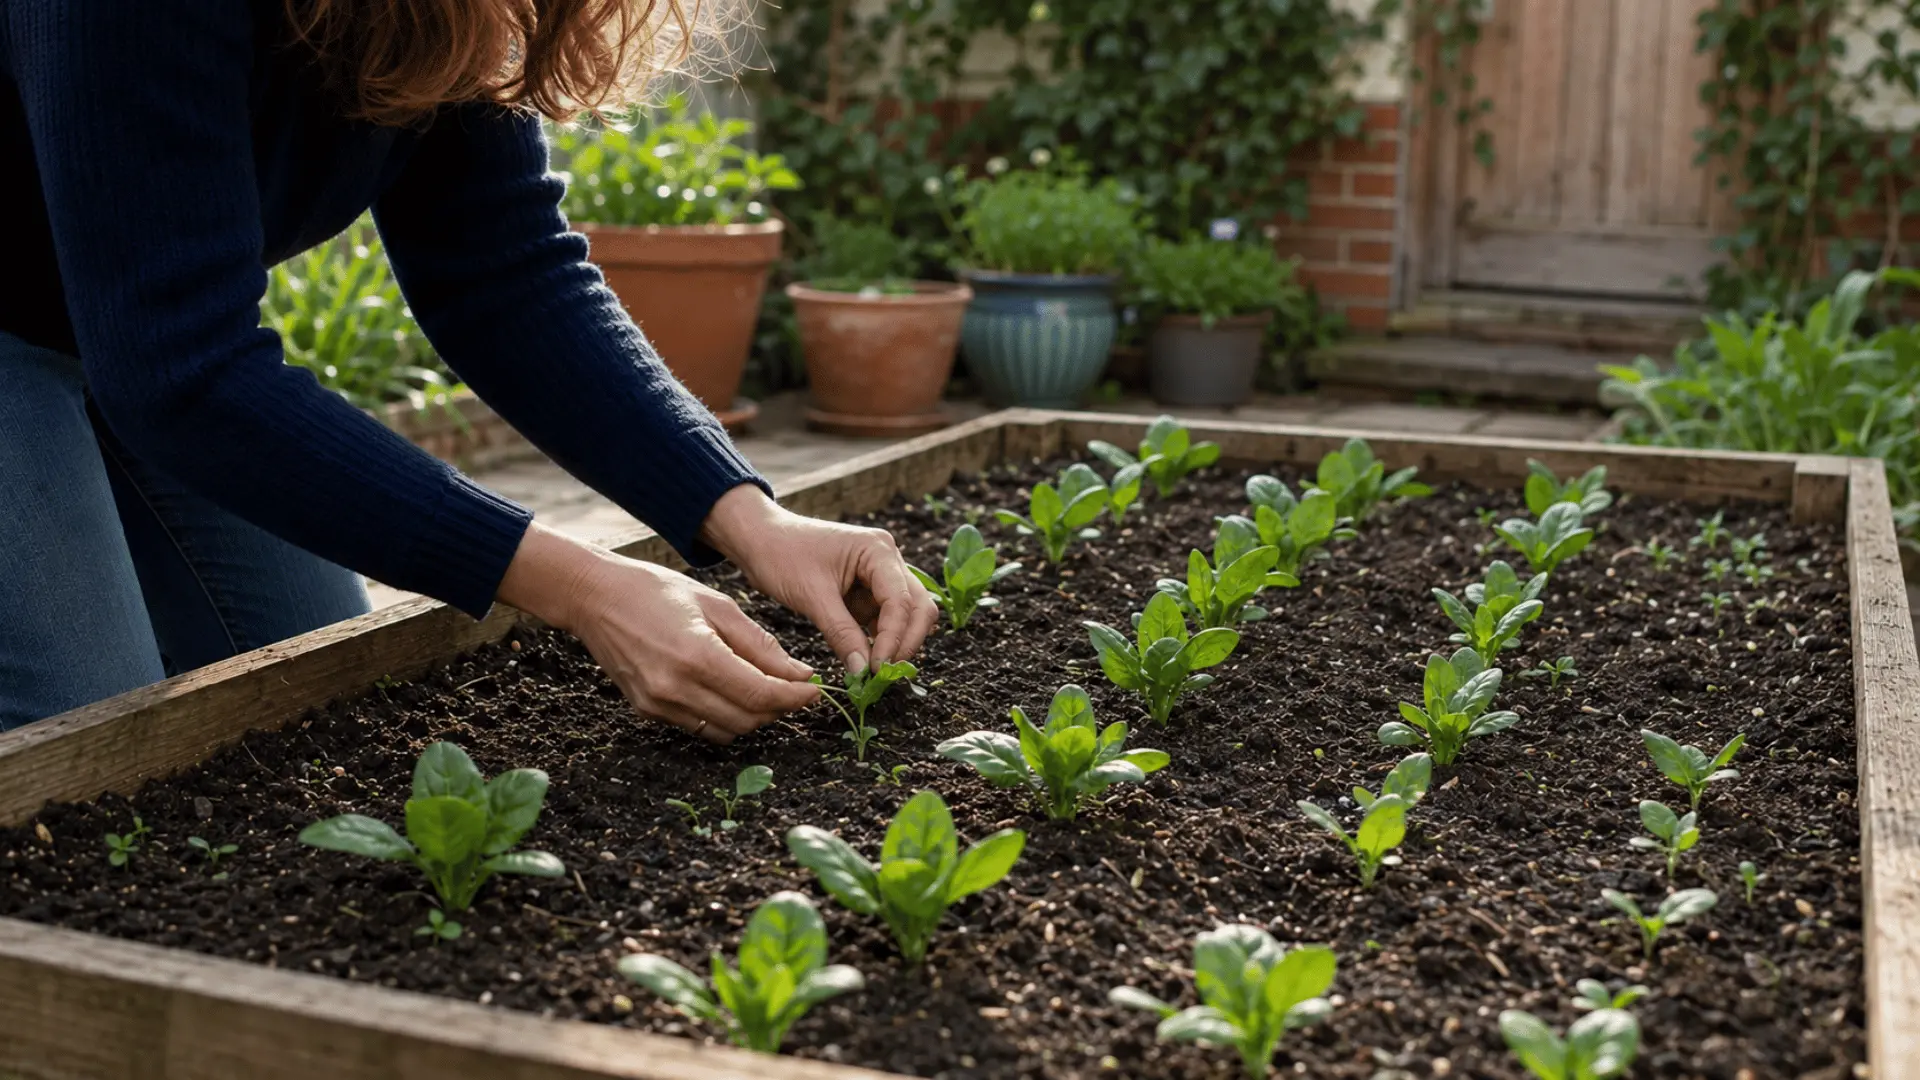
Thin the seedlings after they become established and begin producing true leaves. Leave about 2 to 4 inches between plants for regular spinach.
Wider spacing allows each plant to produce larger leaves, while closer spacing works well for baby-leaf harvesting.
When is the Best Time to Plant Spinach?
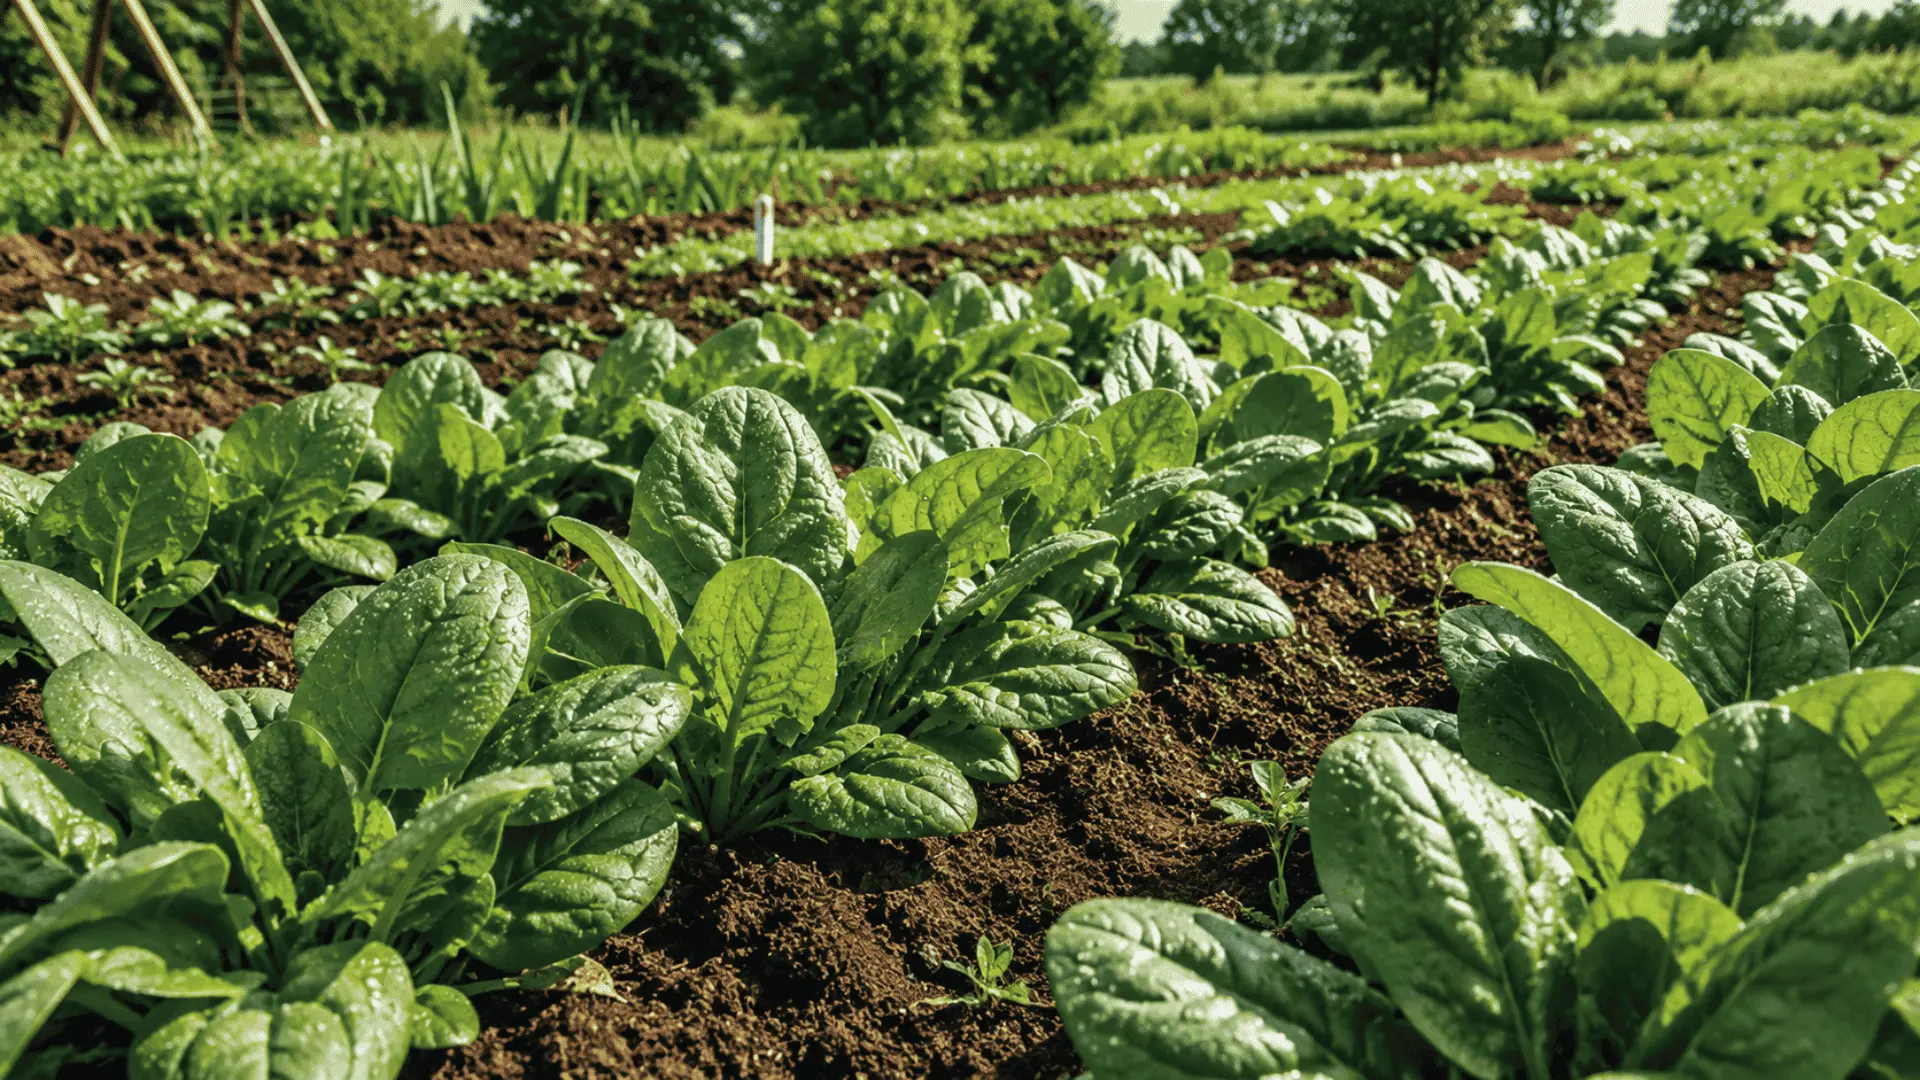
Spinach planting time depends on temperature, daylight, and soil moisture.
Longer days, warm weather, and dry conditions can trigger bolting, so check your local frost dates and seasonal temperatures rather than following a single fixed planting month.
Planting Spinach in Spring
Plant spinach as soon as the soil can be worked without sticking heavily to your tools. For a longer harvest, sow small batches every one or two weeks while conditions remain cool.
Stop making new sowings once hot weather becomes consistent, because young plants may bolt before producing enough leaves.
Early spring planting gives spinach more time to develop tender leaves before longer days and rising temperatures slow its growth.
- Choose a sunny spot.
- Keep the soil moist.
Planting Spinach in Fall
Sow fall spinach early enough for seedlings to become established before cold weather arrives. Count backward from your average first frost date rather than choosing a single fixed month.
Cooler temperatures and shorter days can reduce the risk of bolting and support steady leaf growth. Planting dates should still match your local climate, since autumn temperatures and frost timing can differ greatly between regions.
- Plant before frost.
- Protect young plants.
Can You Grow Spinach During Summer?
Traditional spinach often struggles during hot weather and long summer days, even when watering remains consistent.
In milder areas, afternoon shade, shade cloth, slow-bolting varieties, and steady soil moisture may help extend the growing season.
Results can still be limited once temperatures remain high. Malabar spinach and New Zealand spinach handle summer heat better, although they are warm-season leafy alternatives rather than true spinach.
- Provide afternoon shade.
- Harvest leaves early.
Choosing the Right Spinach Variety
Choose a spinach variety based on your climate, preferred leaf texture, and how you plan to use the harvest. Seed packets can also help you compare maturity time, disease resistance, and tolerance to warmer spring conditions.
1. Savoy Spinach
Savoy spinach has thick, deeply crinkled leaves with a firm texture. It works well for cooking because the leaves hold their shape when heated.
The uneven surface can trap soil, grit, and water, so it may take longer to wash thoroughly after harvesting.
Savoy varieties often produce substantial mature leaves, making them a suitable choice when you prefer cooked spinach rather than small salad leaves.
2. Smooth-Leaf Spinach
Smooth-leaf spinach has flat, tender leaves that are easy to rinse and prepare. It is commonly grown for salads, sandwiches, smoothies, and baby-leaf harvests.
The flat surface holds less soil than heavily crinkled leaves, which makes cleaning quicker. This type is a practical choice for beginners or container growers who want tender leaves that require little preparation after picking.
3. Semi-Savoy Spinach
Semi-savoy spinach sits between deeply crinkled savoy and flat, smooth-leaf types. Its lightly wrinkled leaves are easier to wash than savoy spinach and work well in salads or cooked dishes.
Savoy varieties suit mature harvests and cooking, while smooth-leaf spinach is better for baby leaves and quick preparation.
Semi-savoy is a practical choice for general home growing, especially when you select slow-bolting or disease-resistant varieties.
Where Should You Plant Spinach?
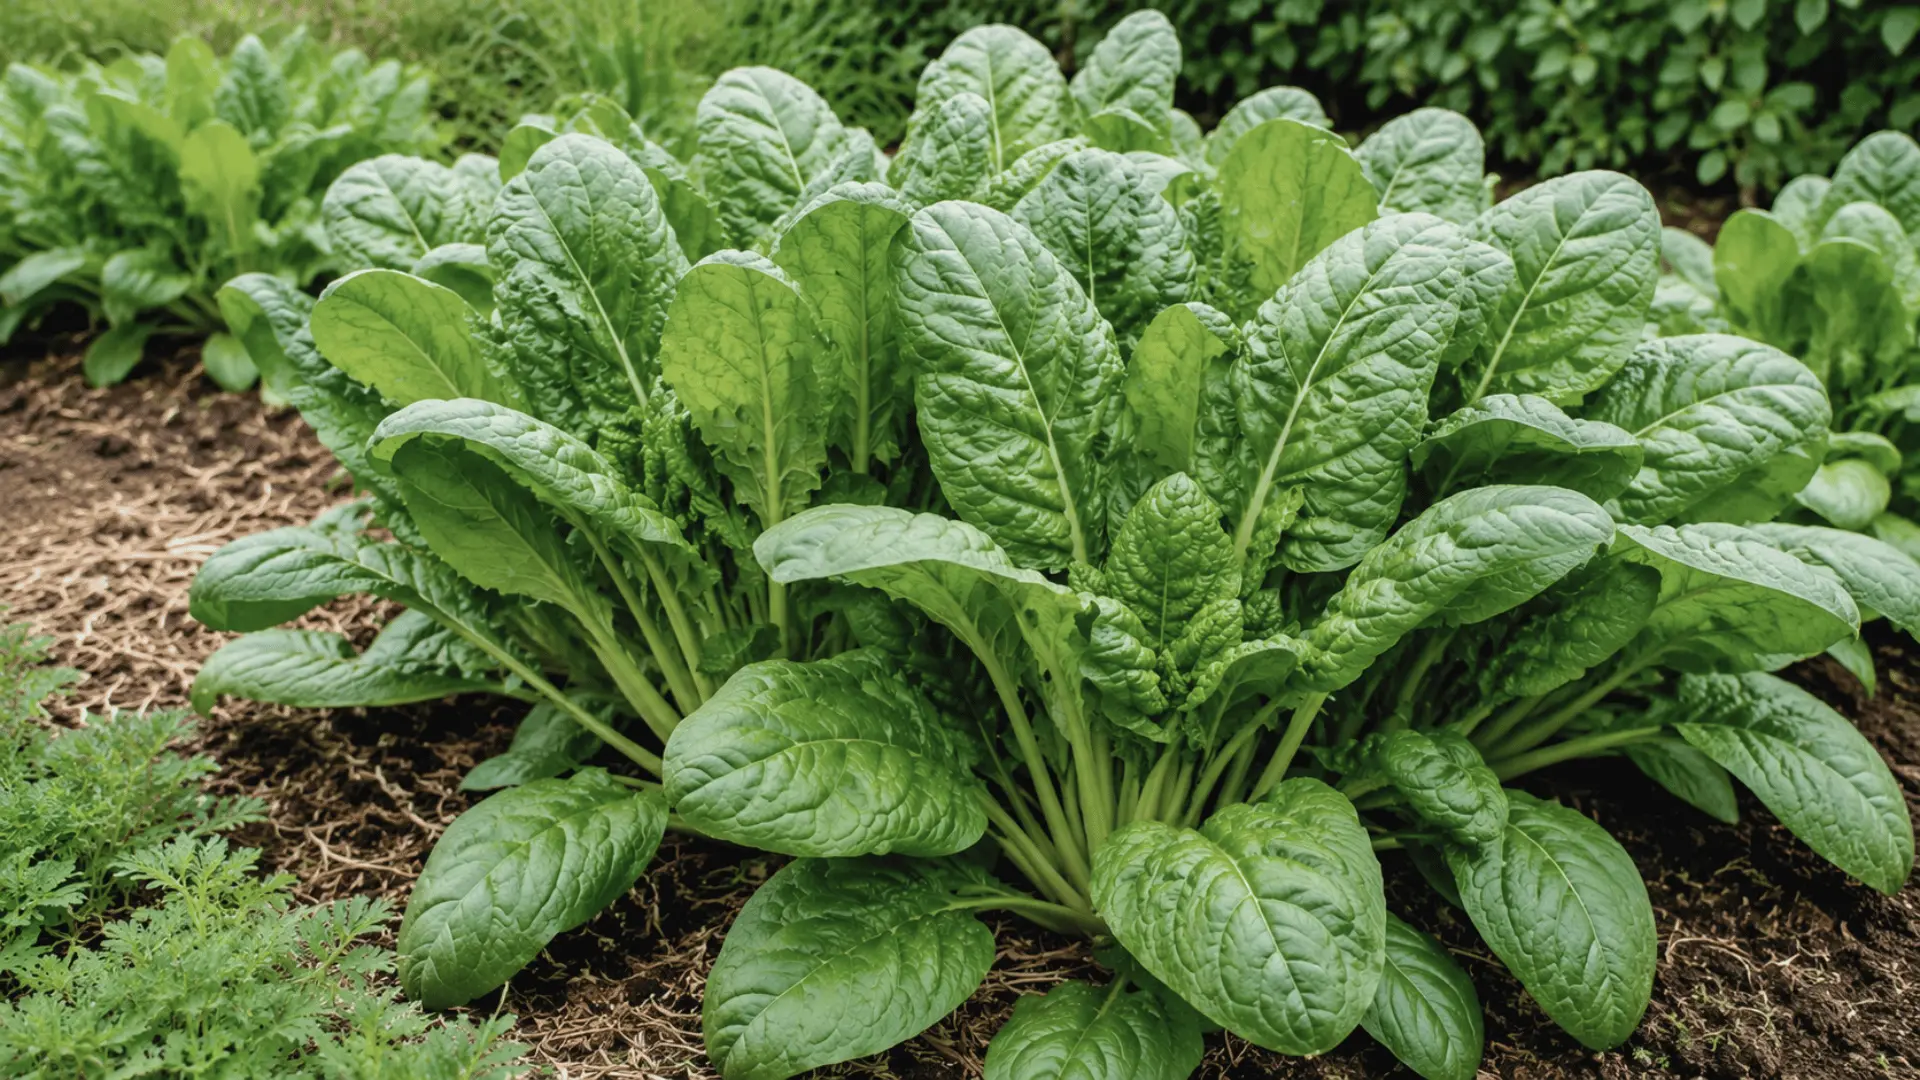
Plant spinach in a sunny spot during cool weather, with afternoon shade as temperatures rise. Choose loose, well-draining soil near a water source, and avoid large shrubs or trees that compete for moisture and nutrients.
Growing Spinach in Garden Beds
Choose a garden bed with loose, weed-free soil that drains well after watering or rainfall. Spinach roots do not perform well in ground that stays soggy for long periods.
Remove weeds before sowing because they compete for moisture and nutrients. If the soil is heavy or compacted, a raised bed can improve drainage.
- Benefit: Garden beds provide more space for larger plantings.
- Drawback: Weeds and soil pests may require more attention.
Growing Spinach in Containers
Use a wide container with drainage holes so excess water can escape easily. Fill it with fresh, lightweight potting mix rather than heavy garden soil.
Place the container where it receives morning sunlight and protection from strong afternoon heat.
- Benefit: Containers are easy to move when conditions change.
- Drawback: The soil can dry out faster than garden beds.
How to Prepare Soil for Spinach
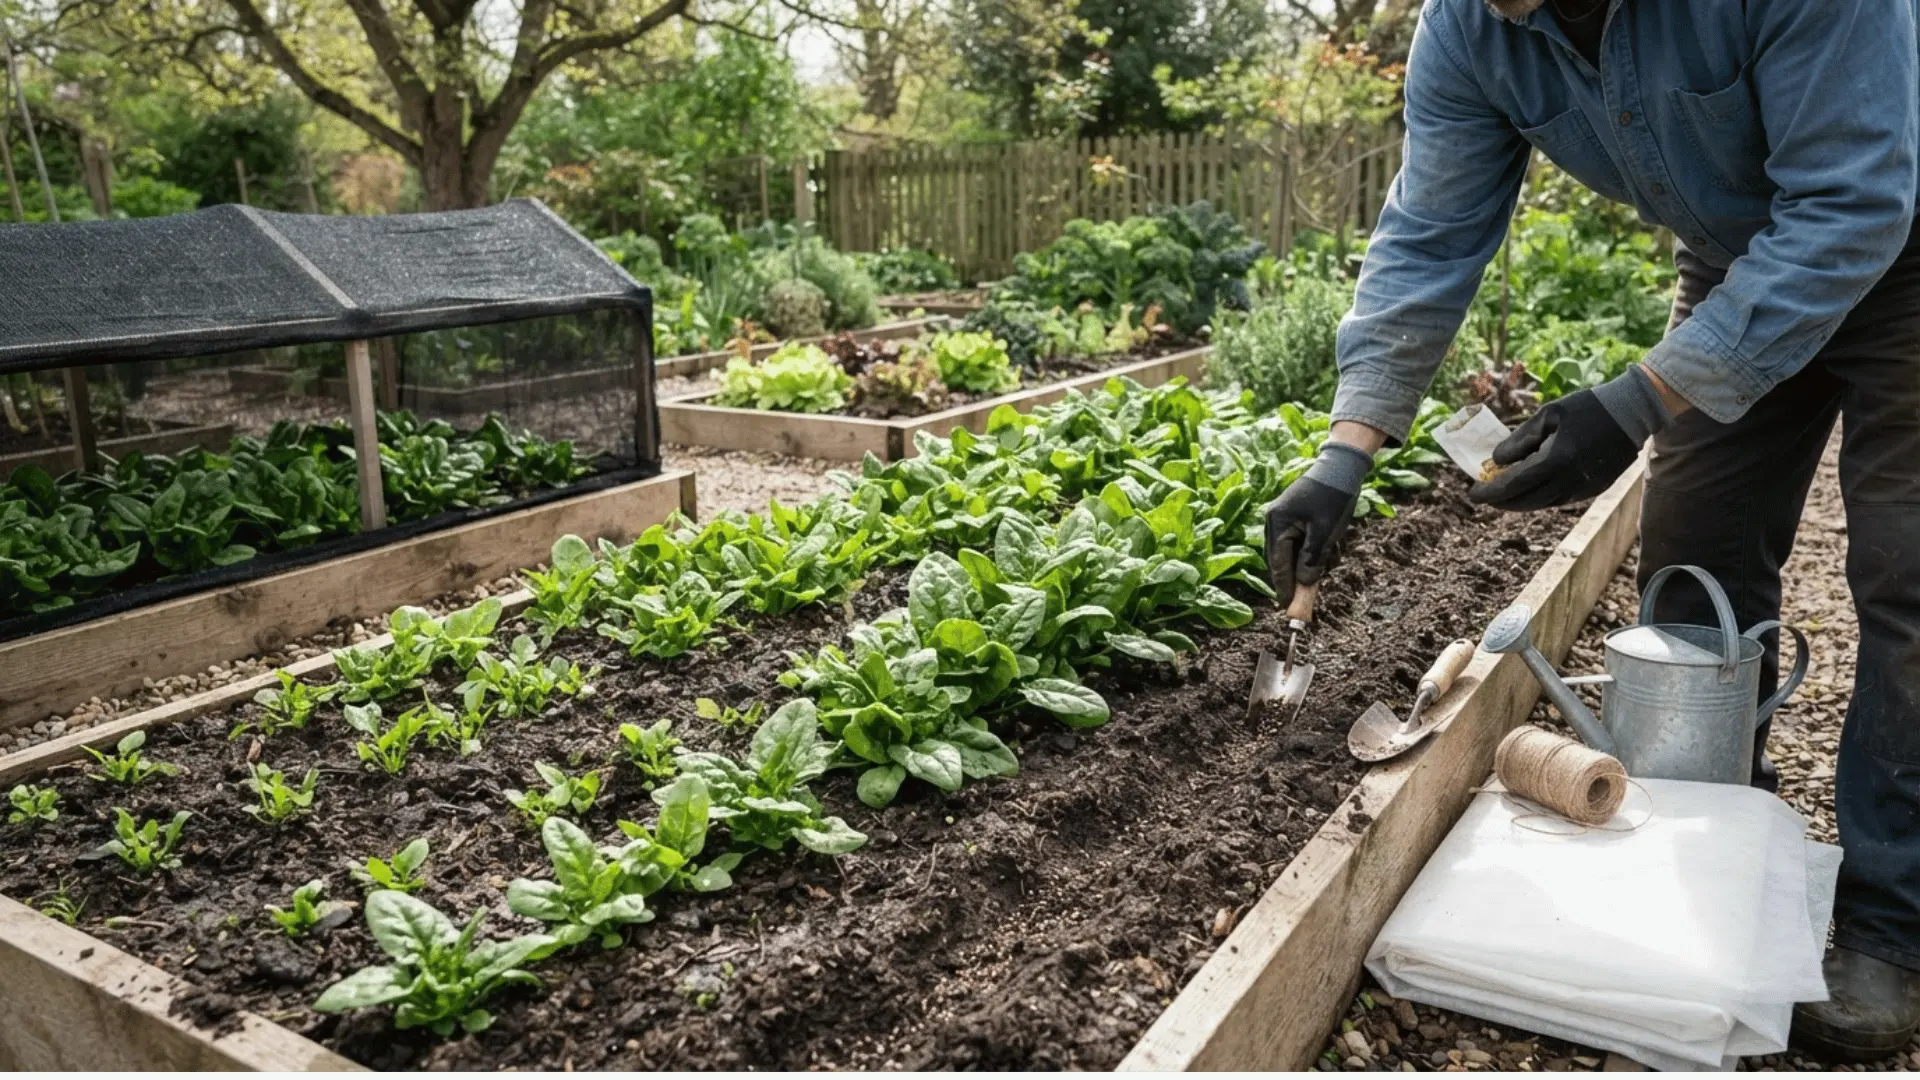
Spinach grows best in fertile, well-draining soil that stays evenly moist without becoming waterlogged. Before planting, loosen the soil and mix in finished compost to improve its texture and nutrient content.
A soil test can help you understand whether any amendments are needed before adding fertilizer. Spinach generally prefers a soil pH between 6.5 and 8, although local recommendations may vary depending on soil type and climate.
Follow your soil test results rather than automatically feeding plants, since excessive fertilizer can affect growth.
The finished planting area should feel loose and crumbly, allowing small seeds to germinate and young roots to spread easily.
Improve Heavy or Compacted Soil
Heavy or compacted soil can restrict root growth and hold too much water. These simple improvements can create a looser planting area where spinach seeds germinate more evenly, and young roots spread easily.
- Loosen the soil: Use a garden fork to break apart hard clumps.
- Add organic matter: Mix in finished compost to improve drainage and structure.
- Avoid adding sand: Small amounts can make heavy clay denser.
- Consider raised beds: They offer a simpler option for compacted or poorly draining soil.
Prepare Soil in Containers
Fill containers with a lightweight potting mix that drains freely yet retains enough moisture for steady growth. Avoid using dense garden soil because it can compact inside the pot and restrict drainage.
Make sure the container has open holes at the bottom so excess water can escape. Gravel beneath the potting mix cannot replace proper drainage holes and may leave the roots sitting in wet soil.
Why Soil Condition Matters
Soil condition affects spinach germination, root growth, moisture, and nutrient uptake. Checking texture and drainage before sowing helps prevent weak growth. The table below shows common problems and practical fixes.
| Soil Condition | What It May Cause | What to do |
|---|---|---|
| Loose and crumbly | Even root development | Plant normally |
| Hard and compacted | Poor germination | Add compost and loosen the soil |
| Constantly wet | Root problems | Improve drainage |
| Very sandy | Fast moisture loss | Add organic matter and water more often |
| Nutrient-poor | Pale or slow growth | Test the soil before fertilizing |
Spinach Seed Spacing and Planting Depth
Proper depth and spacing help spinach seeds germinate evenly, improve airflow, and give each plant enough room to grow. Use these measurements to plan rows, containers, and different harvest sizes.
- Seed Depth: Sow spinach seeds about ¼ to ½ inch deep and cover them lightly with fine soil.
- Regular Spacing: Thin established seedlings until they stand 2 to 4 inches apart.
- Mature Plants: Leave 4 to 6 inches between plants when growing larger leaves.
- Baby Spinach: Use closer spacing, as the leaves are harvested before the plants become crowded.
- Row Spacing: Leave enough room between rows for watering, weeding, and harvesting.
- Crowded Seedlings: Harvest removed seedlings early, when tender baby leaves, instead of discarding them.
- Container Crops: Keep plants 2 to 4 inches apart and thin them as they grow.
How Often Should You Water Spinach?
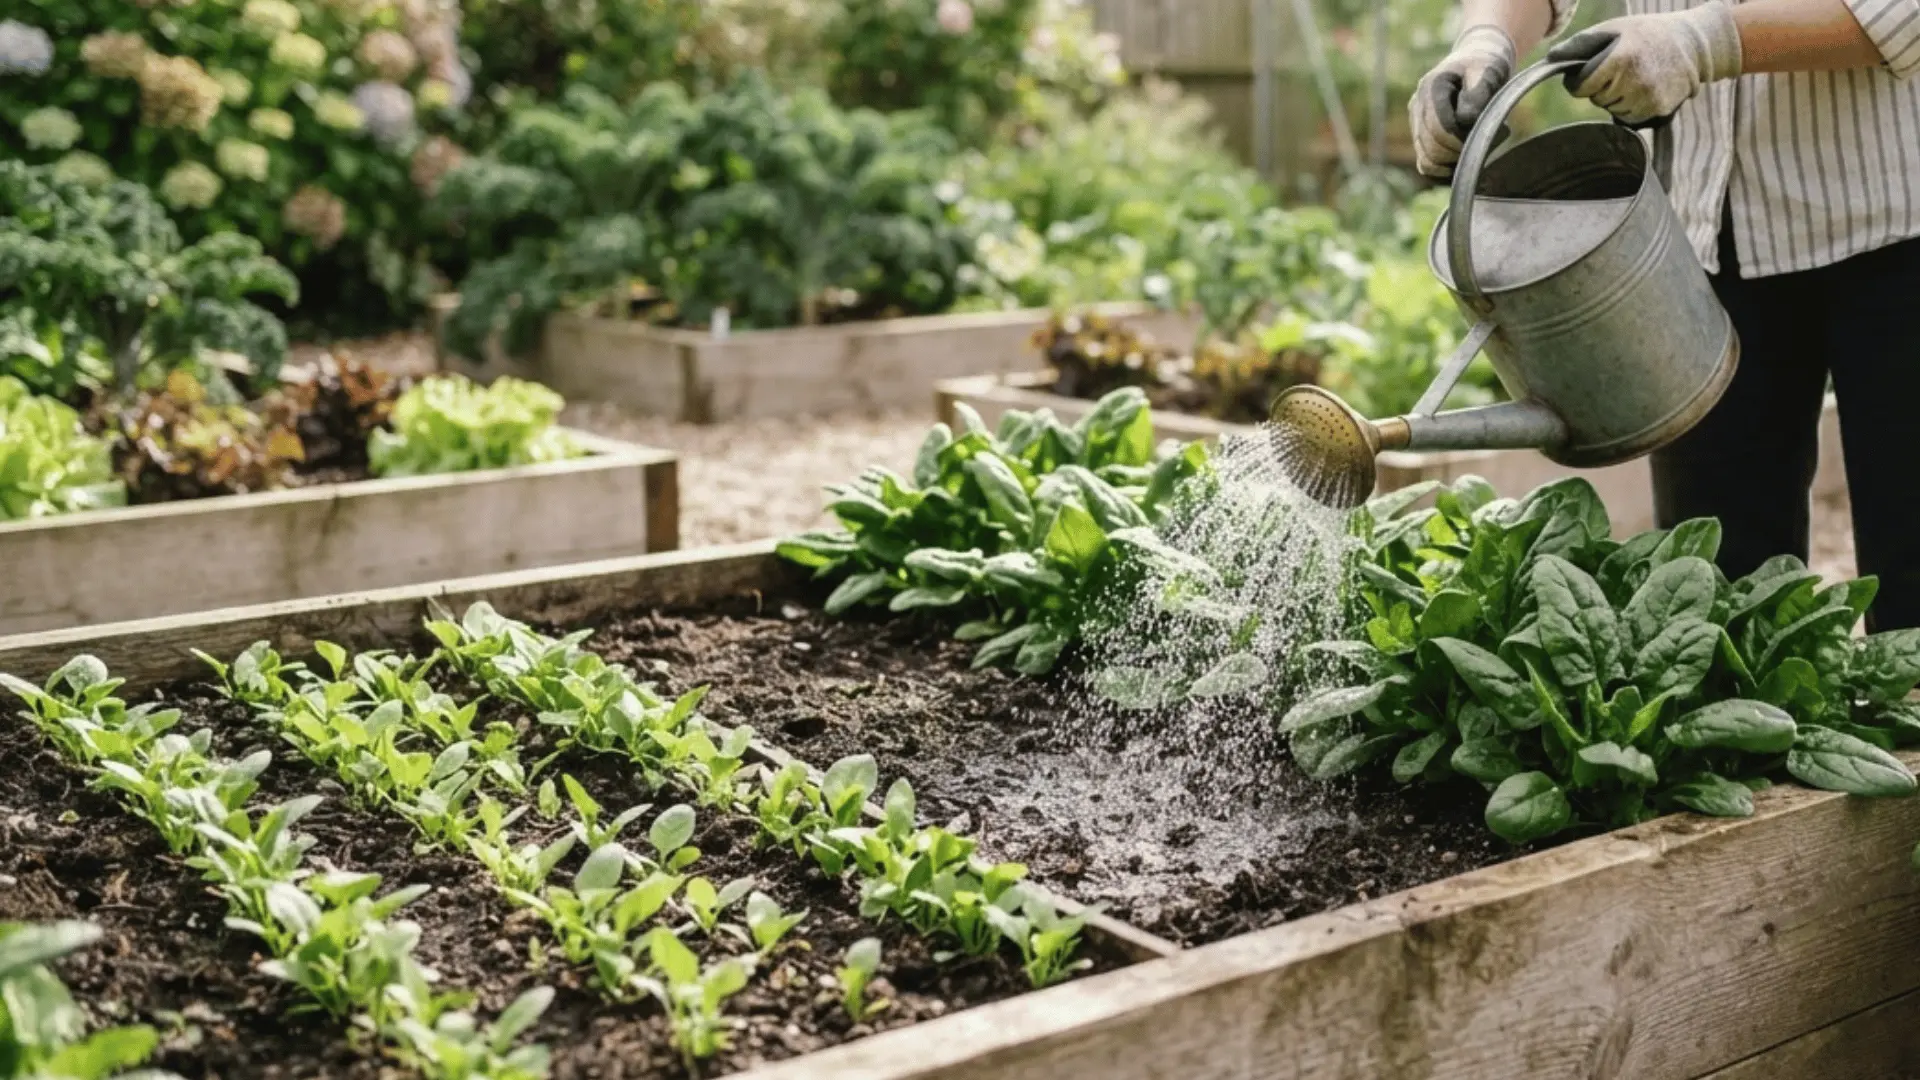
Spinach needs moist soil, especially while seeds are germinating and leaves are developing.
Water newly planted seeds gently with a watering can fitted with a fine rose or a hose setting so the seeds are not exposed or washed out of their rows.
Once the plants are established, water deeply whenever the upper soil layer begins to dry, allowing moisture to reach the root zone instead of giving frequent shallow waterings.
Avoid letting the bed become dry, muddy, or waterlogged, as sudden changes in moisture can weaken growth.
Check container-grown spinach more often during sunny or windy weather because potting mix dries faster than garden soil. Sandy beds may also need more frequent watering, while heavier soil holds moisture for longer.
How to Care for Spinach After Germination
After germination, spinach needs consistent moisture, careful thinning, light mulching, and regular weed removal. Watch for pale leaves, pests, heat stress, or flower stalks, and provide afternoon shade when temperatures rise.
- Mulching and Weed Control: Apply a thin layer of organic mulch after the seedlings have established. Keep it away from crowns to prevent moisture buildup, reduce weed growth, and protect shallow roots during careful hand-weeding.
- Fertilizing Spinach: Use finished compost and follow soil test results before adding fertilizer. If leaves pale or growth slows, check moisture, drainage, and soil conditions before applying extra nutrients to spinach plants.
- Preventing Early Bolting: Plant spinach during cool weather, maintain steady soil moisture, and provide afternoon shade. Choose slow-bolting varieties and harvest usable leaves promptly when a central flower stalk begins to appear.
When and How to Harvest Spinach
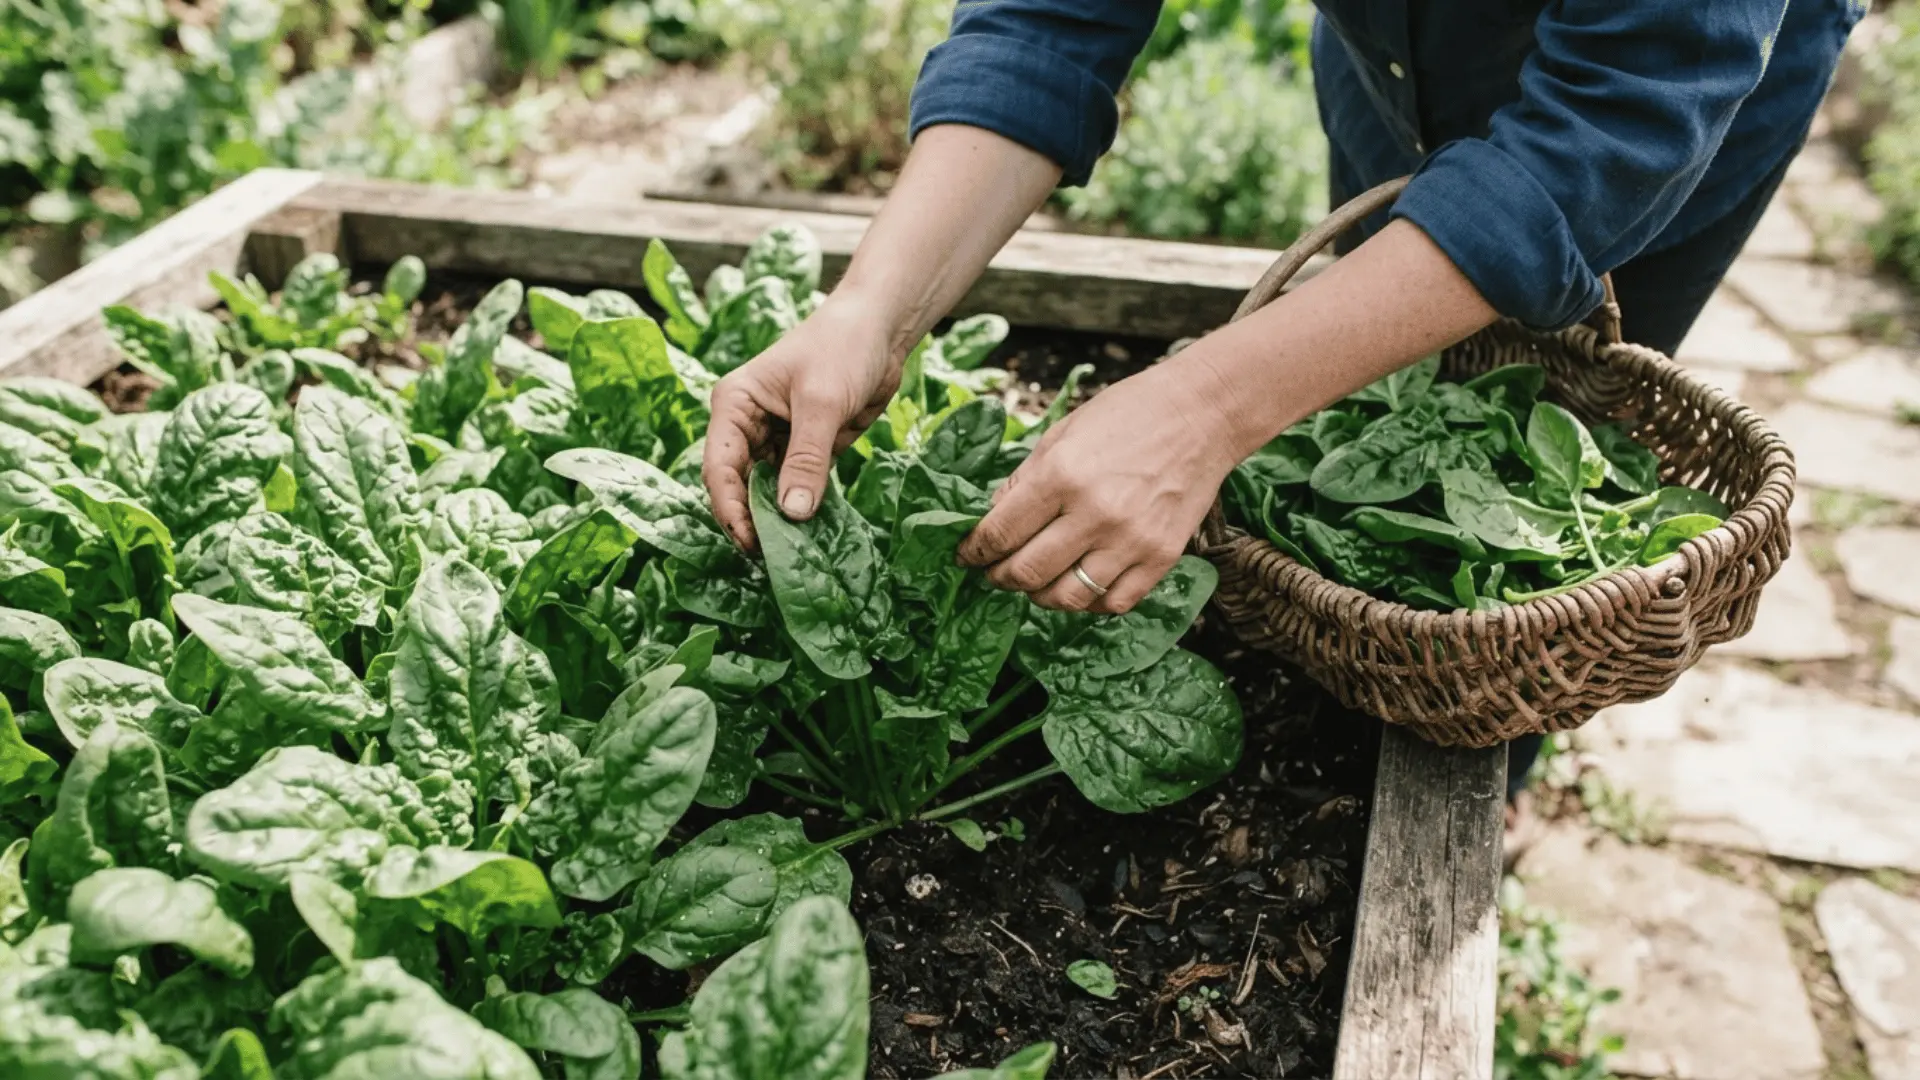
Spinach can be picked as baby leaves, mature outer leaves, or an entire plant. Harvest once the leaves reach your preferred size, using clean scissors or fingers to avoid damaging the crown.
| Harvest Type | When to Pick | How to Harvest | Main Benefit |
|---|---|---|---|
| Baby spinach | When leaves are young and tender | Remove a few leaves from each plant | Encourages continued growth |
| Mature leaves | When outer leaves reach full size | Pick the largest outer leaves first | Leaves the center growing |
| Whole plant | When the plant reaches the desired size | Cut near the soil surface | Provides a larger harvest at once |
| Bolting plant | When a flower stalk appears | Harvest usable leaves promptly | Prevents further loss of quality |
Can You Grow More than One Spinach Crop?
You can grow more than one spinach crop by using succession planting. Instead of sowing the entire seed packet at once, plant one short row every 1 or 2 weeks while the weather remains cool.
This spreads the harvest over several weeks and prevents too many leaves from becoming ready at the same time. Stop spring sowings when hot weather approaches because new plants may bolt before producing a useful crop.
Begin sowing again when temperatures cool for fall. For example, plant one row this week, another in two weeks, and a third in two weeks, for crops at different stages.
Spinach Planting Mistakes to Avoid
The table below pairs each common spinach planting mistake with a practical correction and explains the likely effect on growth, helping you spot problems early and protect germination, leaf quality, and overall harvest.
| Common Mistake | Possible Result | What to do Instead |
|---|---|---|
| Planting during hot weather | Early bolting and fewer tender leaves | Sow in cooler spring or fall conditions |
| Burying seeds too deeply | Slow or failed germination | Cover with only ¼ to ½ inch of soil |
| Allowing soil to dry during germination | Weak or uneven seedlings | Check moisture regularly |
| Leaving seedlings overcrowded | Poor airflow and smaller leaves | Thin them to the required spacing |
| Using a container without drainage | Waterlogged soil and root problems | Choose a pot with open drainage holes |
| Overfeeding young plants | Weak or uneven growth | Use compost and follow soil-test results |
| Ignoring early flower stalks | Declining leaf quality | Harvest before leaf quality declines |
| Planting the whole packet at once | One large, short harvest | Use succession sowing |
Key takeaways
Planting spinach successfully comes down to a few simple choices: sow during cool weather, prepare loose and well-draining soil, plant the seeds shallowly, and keep moisture steady as they grow.
You do not need a large garden to get started, since spinach grows well in garden beds, raised beds, and containers.
Thinning crowded seedlings gives each plant more room, while succession sowing helps spread the harvest across several weeks.
Timely picking also keeps the leaves tender and encourages continued growth when the center remains undisturbed. Start with one short row or a small container, then adjust your next sowing based on how the plants respond.
Which option best fits your space: a spring crop, a fall planting, or a container near your kitchen? Choose one and begin with a small batch this season.
Frequently Asked Questions
Should You Soak Spinach Seeds Before Planting?
Soaking is optional. You can soak spinach seeds in cool water for several hours, but fresh seeds usually germinate well without this extra step.
Can Spinach Survive a Light Frost?
Established spinach can usually tolerate a light frost. Young seedlings may need temporary protection with garden fabric when a sudden temperature drop is expected.
Can You Transplant Spinach Seedlings?
Spinach seedlings can be transplanted carefully, but direct sowing is usually easier. Move them while young to avoid disturbing their developing roots.
Can Spinach be Grown Indoors?
Yes, spinach can grow indoors in cool temperatures, with adequate container drainage and several hours of bright light from a sunny window or a grow light.