
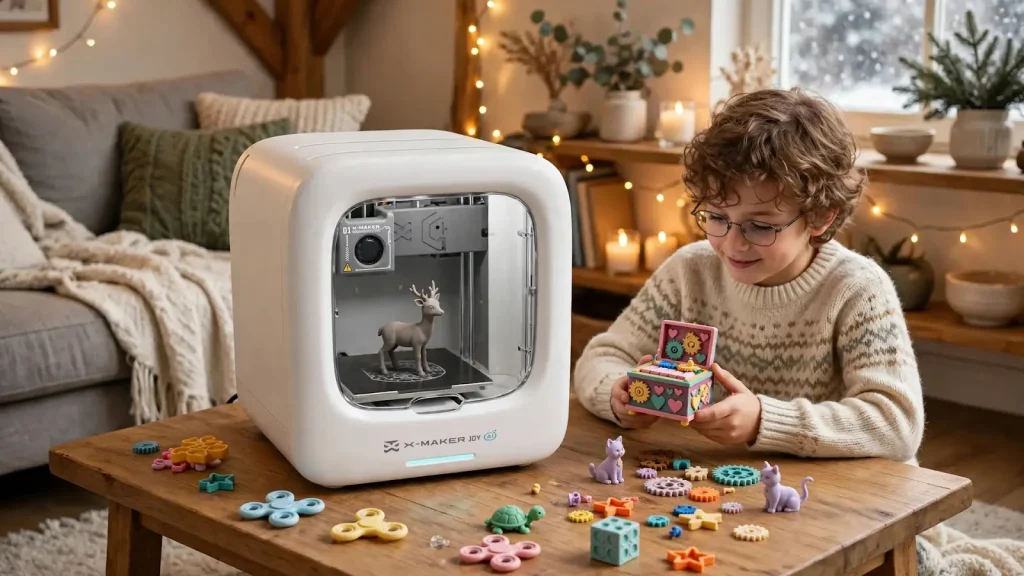
Winter changed our afternoons at home. The light went early. The kids stayed inside. The kitchen table filled up with homework, then with craft bits. Our small printer sat at one end. An afternoon indoors ended with something a child could hold in their hand.
We kept coming back to three kinds of winter project. Music boxes. Fidget toys. Small figures. My son made a music box for his grandmother. It had a moving part inside. My daughter printed a spinner for her coat pocket. She still uses it. The figures went on a shelf in her room.
Why Winter Printing Fits Family Life
A winter project has to fit the day we actually have. A print that runs all afternoon works on a Saturday. On a school night we need a shorter window. A keychain finished in 15 to 30 minutes. A bigger toy took one to two hours.
Short Days, Longer Table Time
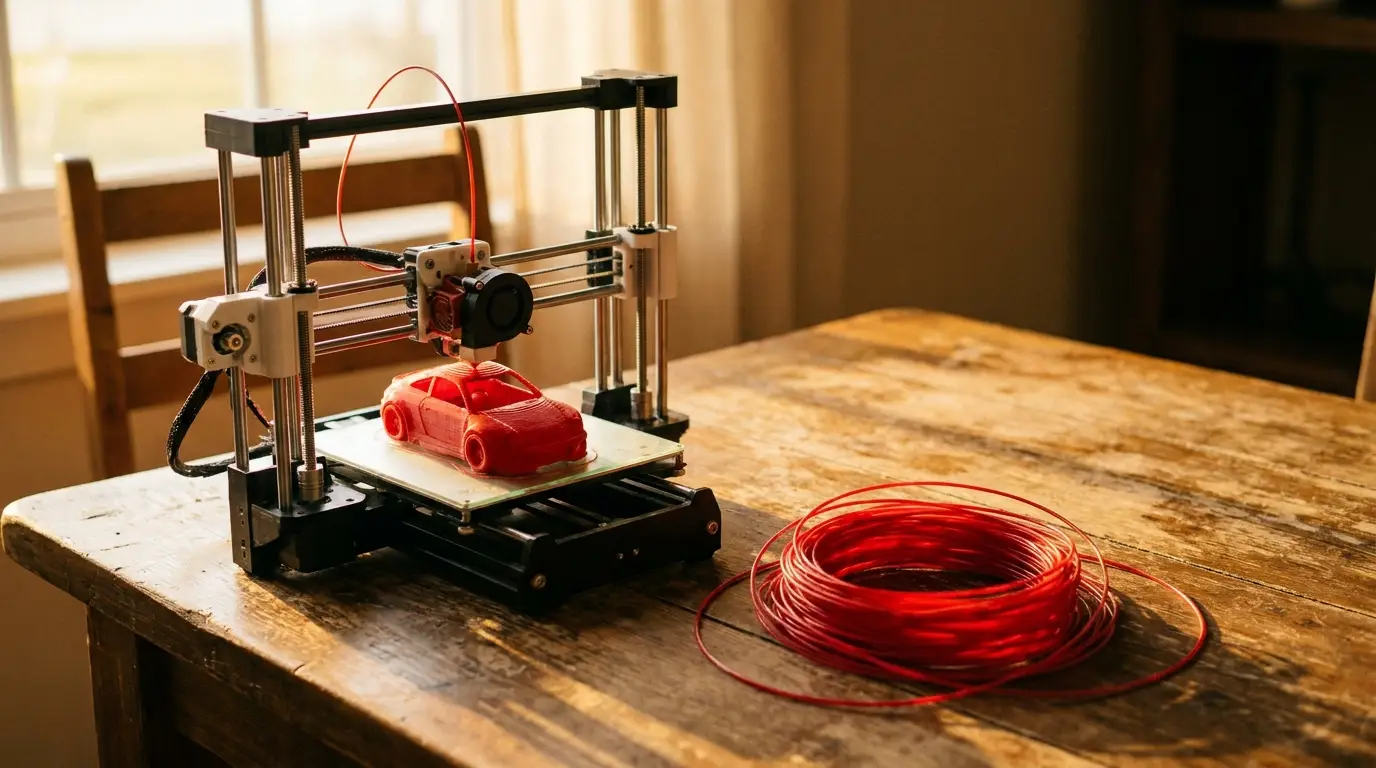
Cold weather does not stop children from wanting to make things. It only moves the making indoors. A printer on a table gives that indoor time a clear task. My son picked a car model and a red filament. He watched the shape grow layer by layer from the kitchen chair.
Gifts That Get Used, Not Shelved
Winter means gifts too. A printed gift lands differently from a bought one. The child who made it can say what went wrong during the print. My mother still has the star my son made her. It sits on her shelf. It has been there for months.
Music Boxes Kids Can Build Themselves
A music box worked well as a first winter project for us. It had a simple mechanism inside. My son chose the outside himself. He printed a case for the tune mechanism. Then he decorated the outside. He picked a plain box.
Families looking for ideas often start with guides to 3D printed toys kids can build that group projects by age and print time. Our music box took two sittings. The case printed in parts. My son sanded the rough edges with a small piece of sandpaper. Then we fitted the parts together on the table.
How a Printed Music Box Works
Only the case gets printed. The tune comes from a small mechanism inside. We used a wind-up one from a craft shop. A battery one would sit the same way. A key on the outside turned it on. The case had to fit that mechanism snugly. We measured twice before printing. A small test piece saved us a full reprint later.
Tunes, Cases, and Small Parts
Small parts need care. A music box case had a lid, a base, and a small knob. We checked each part after printing. Sharp edges got a short pass with fine sandpaper. For children under three, every part of a finished print should be larger than 25 mm across. We kept the sandpaper in a small box by the printer.
Fidget Toys for Restless Hands
Fidget toys are the easiest winter prints to get right. My daughter printed a spinner in one piece. No painting. It still got used every day. A slider came next. Then a set of linked rings. Each finished in one session.
Spinners, Sliders, and Clickers
Each type fit a different habit in our house. Spinners suit children who like motion. My daughter used a slider during reading. Quiet. Same movement, over and over. My son liked a clicker. Small sound. Clear end to each press.
Keeping Fidget Prints Durable
Durability came down to simple choices for us. A thicker wall helped. A slower print speed helped too. My son’s spinner survived daily use in his coat pocket. PLA printed cleanly. It held detail well. One toy cracked at a thin joint. We reprinted it slightly thicker. That fixed it.
Figures and Characters Kids Design
Figures let my daughter choose for herself. She stopped following a fixed design. She printed a blank figure. She painted it blue. She added her name to the base. Articulated figures had moving joints. She learned how much clearance a joint needed. One joint stuck. She reprinted it with more room.
A ready model library helped. My daughter browsed characters and animals. She picked one that matched a story she told at bedtime. AOSEED keeps a library of ready-to-print models in its app, and families can start from a finished model and change its colour, size, or detail. Choosing came first. Changing came next. That was when she started designing, not just printing.
Choosing a First Winter Project
Age and patience mattered more than skill in our house. My younger child, aged four to six, did best with one chunky piece. It finished in under 45 minutes. My older one, aged seven to nine, handled snap-fit parts. Her print ran for one to two hours. Older children can take on multi-part builds. They plan the parts order first.
Age, Time, and Patience
We planned around print time. A 15 to 35 minute print suits a short session after school. A 30 to 90 minute print suits a weekend morning. A 60 to 120 minute print ran while we did other things. We checked it between jobs. We matched the print to the time we had. That stopped half finished toys piling up.
Conclusion
Music boxes, fidget toys, and figures covered what our kids wanted from a winter project. A music box gives a finished gift. A fidget toy gives daily use. A figure gives a character that can gain new parts and paint. We started small. We checked each print for rough edges. My kids chose the colours and the details. That gave us more from the printer.