
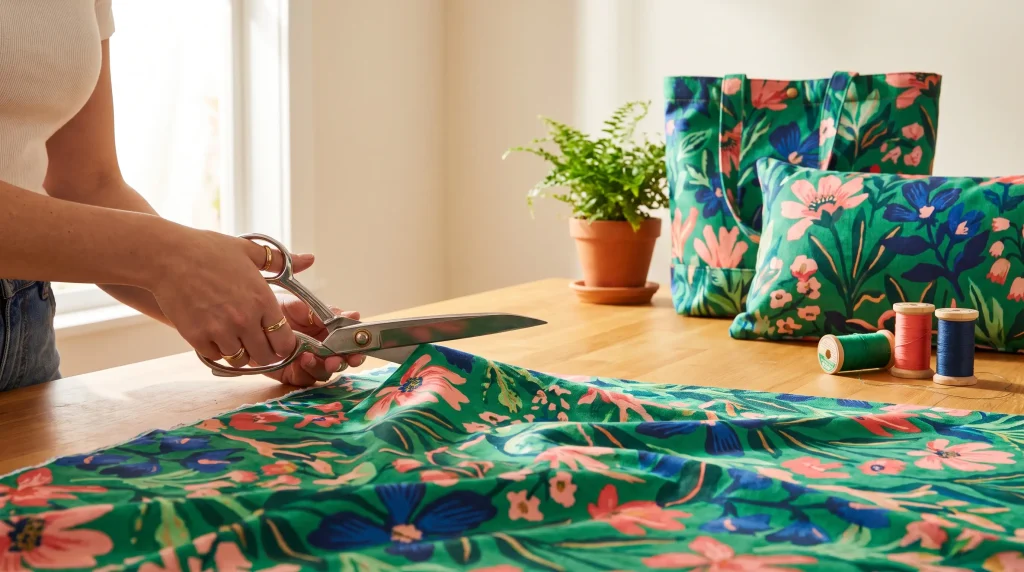
You’re browsing your favorite fabric shop, and you see it. A bolt of fabric with the most gorgeous, vibrant, hand-painted botanical print you’ve ever laid eyes on. Your heart does a little flutter. You imagine the beautiful tote bag, the stunning quilt, or the chic apron you’re going to make. You buy three yards, bring it home, and fold it neatly onto your shelf.
And then… it stays there.
For months. Maybe even years.
We call it the “maker’s stash,” but let’s call it what it really is: fabric guilt. We are so intimidated by the beauty of the print, or we’re waiting for the “perfect” project, that we’re terrified to make the first cut. But here is the truth: fabric is meant to be made, washed, worn, and loved. A beautiful print sitting in a dark closet isn’t bringing any joy to your life (or your home).
If you have a gorgeous yardage waiting for its moment, this is your sign to finally cut into it. Here is a practical, stress-free guide to choosing the right projects for statement prints, so you can finally enjoy the beautiful materials you’ve collected.
Why Your Fabric Deserves to Be Seen (Not Stashed)
High-quality, artist-designed textiles are essentially wearable or usable art. When you buy a stunning Rifle Paper Co. fabric, you aren’t just buying cotton or canvas; you are buying a piece of hand-illustrated design.
The secret to using bold prints without overwhelming your project is to let the fabric be the star. You don’t need complicated patterns, fussy matching, or a dozen contrasting fabrics. Often, the most elegant way to showcase a detailed print is through simple, clean lines and thoughtful construction.
Choosing the Right Base: Why Fabric Weight Matters
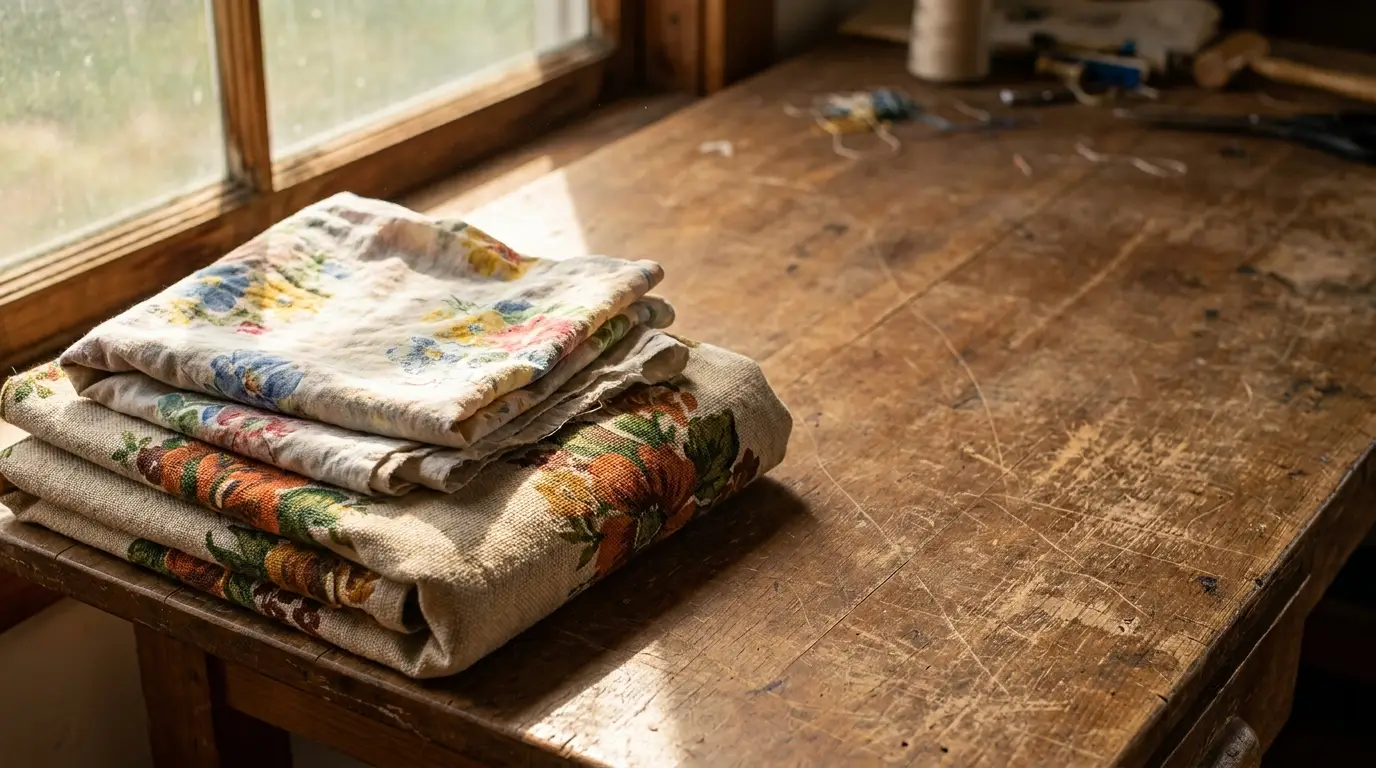
Before you dive into a pattern, take a second to think about the drape and structure your project needs. The base of the fabric is just as important as the print.
For soft, flowing garments or traditional quilt tops, a lightweight cotton is your best friend. But what if you want to make something that holds its shape? Something you can toss your groceries into, hang on a hook, or use to organize a messy craft desk?
That is where a Rifle Paper canvas fabric becomes an absolute game-changer. Canvas provides a sturdy, structured foundation that makes vibrant, detailed prints pop without sagging or wrinkling. It gives your finished project a professional, high-end feel that lightweight cottons sometimes struggle to achieve on their own. Plus, it’s incredibly durable, meaning your beautiful creation will actually withstand daily use.
3 Foolproof Projects for Statement Prints
Not sure where to start? Here are three beginner-friendly, high-impact projects that are practically designed to show off a beautiful print.
1. The Everyday Structured Tote or Market Bag
This is the ultimate “first cut” project. A simple, lined tote bag with boxed corners is easy to sew, highly functional, and acts as a walking billboard for your gorgeous fabric.
- Why it works: Using a sturdy canvas base means the bag will stand up on its own, keeping the print visible and unwrinkled. Add a contrasting solid color for the lining and handles to frame the main print beautifully.
2. The “Fussy-Cut” Pillow Cover or Wall Hanging
If you are truly nervous about cutting into a large piece of yardage, start small. A lumbar pillow cover or a simple fabric wall hanging (using a wooden dowel) requires less than a yard of fabric.
- Why it works: This allows you to “fussy cut” – meaning you can carefully center a specific, stunning motif from the print (like a large bouquet of flowers or a whimsical animal) right in the middle of your project. It turns a simple home decor item into a framed piece of art.
3. A Functional, Beautiful Apron or Craft Organizer
Sewing an apron or a wall-mounted pocket organizer is incredibly rewarding because it solves a real-life problem while looking chic.
- Why it works: These projects require a bit of structure to hold tools, utensils, or sewing notions. A high-quality canvas fabric provides the perfect weight for pockets and ties, ensuring the item is as hardworking as it is pretty.
Pro-Tips for Sewing with Detailed Prints
Once you’ve chosen your project, keep these quick tips in mind to ensure your finished piece looks as professional as possible:
- Mind the Direction: Many artistic prints are “directional,” meaning the pattern only faces one way (like flowers growing upward). Always lay out your pattern pieces on the fabric, ensuring the grainline and the print direction are correct before you cut.
- Embrace the “Wrong” Side: Don’t forget that the reverse side of a printed fabric can be a stunning, muted version of the front. Using the reverse side for linings, pocket bags, or binding is a subtle, designer-level detail that makes a project feel incredibly bespoke.
- Press as You Go: It’s tempting to rush to the finish line, but taking the time to press every single seam open or to the side will make your bold print look crisp, intentional, and polished.
The Bottom Line: Make the Cut
Your creative space should be filled with things that inspire you, not things that guilt-trip you. That beautiful bolt of fabric you’ve been saving for a “special occasion”? The special occasion is today.
Whether you are sewing a sturdy new tote for your weekend farmer’s market runs or a cheerful apron for your kitchen, the act of creating something with your own hands is the real magic. So grab your rotary cutter, take a deep breath, and finally give that gorgeous print the life it deserves.