

Curls often look smooth and defined when wet, but can turn frizzy, flat, or uneven as they dry.
Learning how to style curly hair starts with a simple order: work on evenly wet or damp hair, apply products in sections, and avoid touching the curls too much while they dry.
Use a light conditioner only when your hair needs extra moisture. Add mousse or curl cream for shape, then gel if you want stronger, longer hold.
Scrunch upward, dry with minimal handling, and wait until the hair is fully dry before softening any gel cast.
You do not need a shelf full of products. A good routine depends on strand thickness, curl density, dryness, weather, and the finish you want.
In my experience, curls respond best when the steps stay simple and consistent from wash to wash.
Know Your Curl Pattern Before You Start Styling
Curly hair is commonly grouped into wavy, curly, and coily patterns, with each group containing looser and tighter variations.
Looser waves often need lightweight mousse, foam, or gel to avoid flattening.
Defined curls may respond well to cream and gel, while tighter curls and coils may need more moisture, smaller sections, and stronger hold.
Strand thickness, density, dryness, damage, and porosity also affect how your hair behaves.
Use your curl type as a starting point, then pay attention to how quickly your hair becomes dry, heavy, frizzy, or flat.
How to Style Curly Hair: Step by Step
Begin after cleansing and conditioning, while the hair still contains enough water to form curl groups. The amounts of water and product may vary with thickness, density, and dryness, but the order can remain simple.
Follow these eight steps:
1. Begin With Evenly Wet or Damp Hair
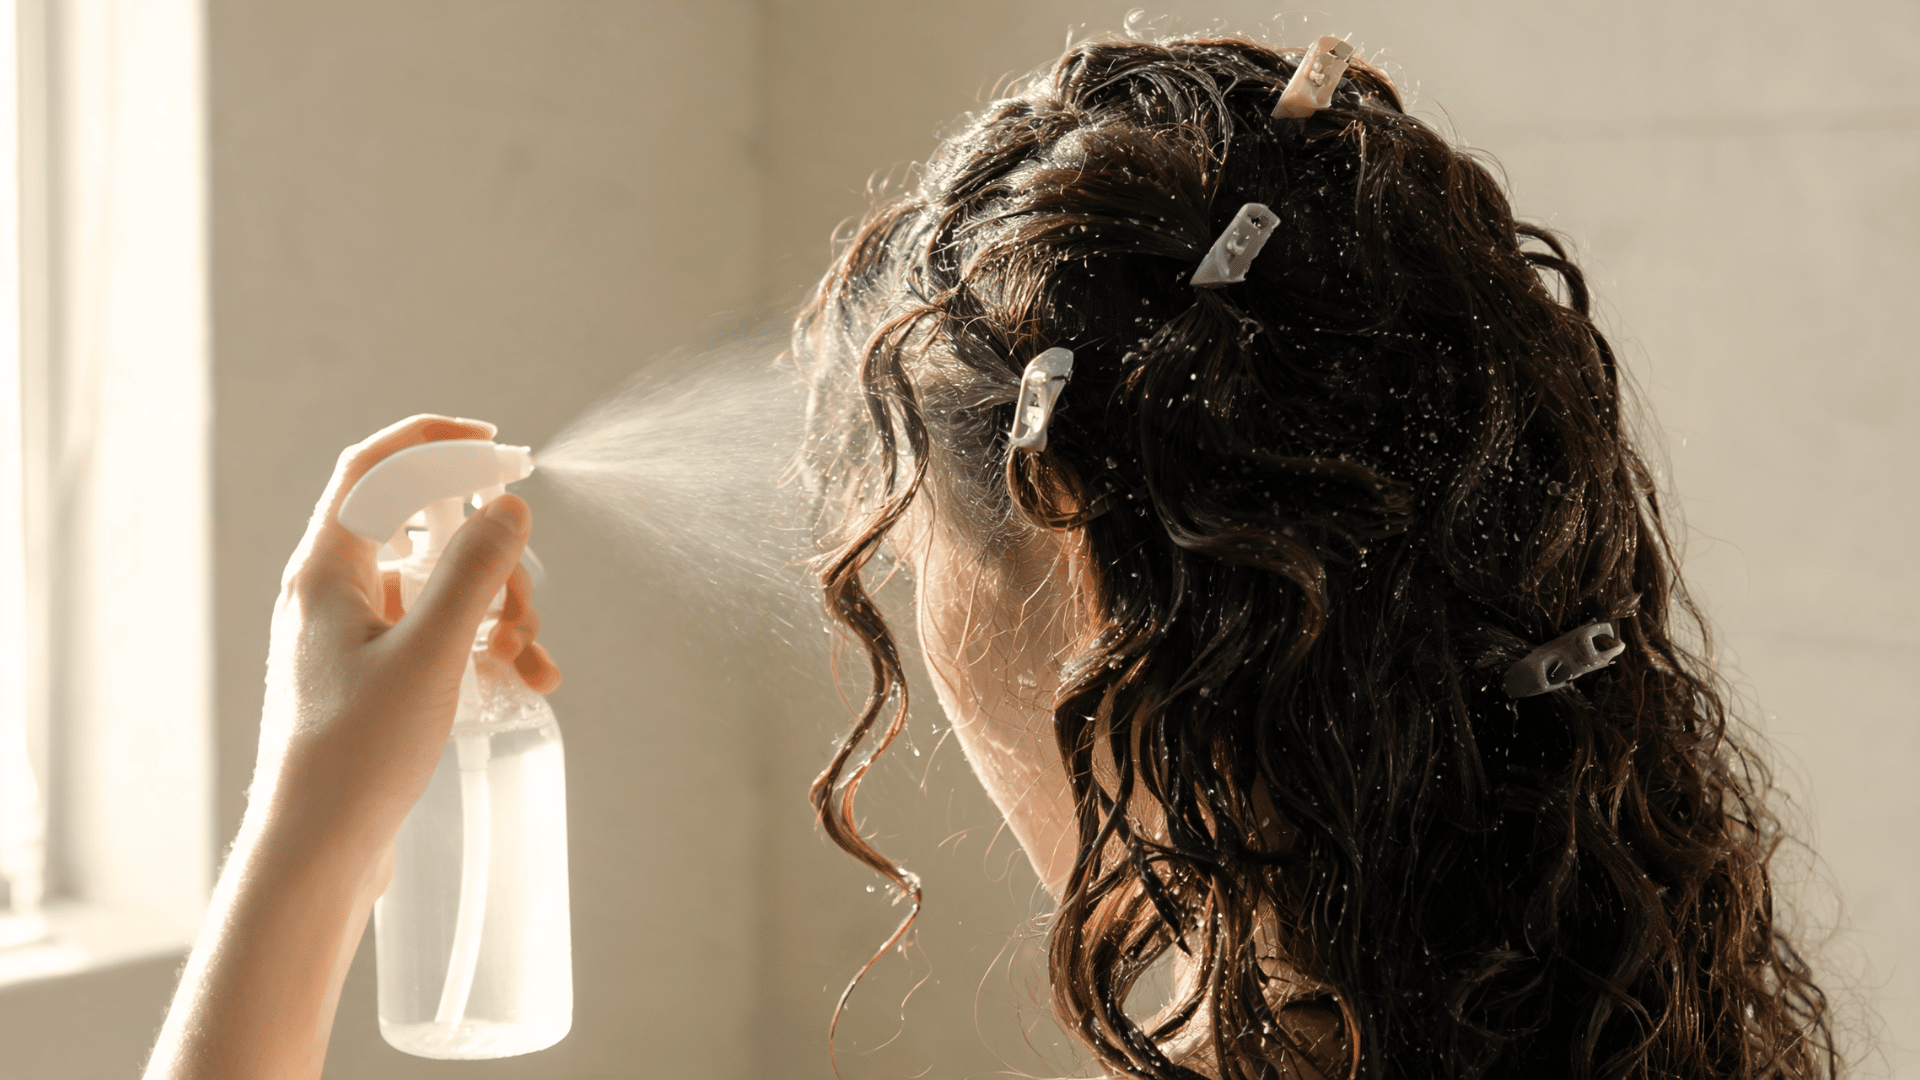
Even moisture helps products spread across the hair without leaving dry, frizzy patches.
- Style soon after rinsing.
- Mist sections that begin drying.
- Use wetter hair for smoother definition.
- Try damp styling if fine curls become flat.
My Tip: I add water to one section at a time rather than soaking the entire head again.
Product Example: PATTERN Mist Spray Bottle delivers a continuous mist to rewet curly and coily hair.
2. Divide the Hair Into Manageable Sections
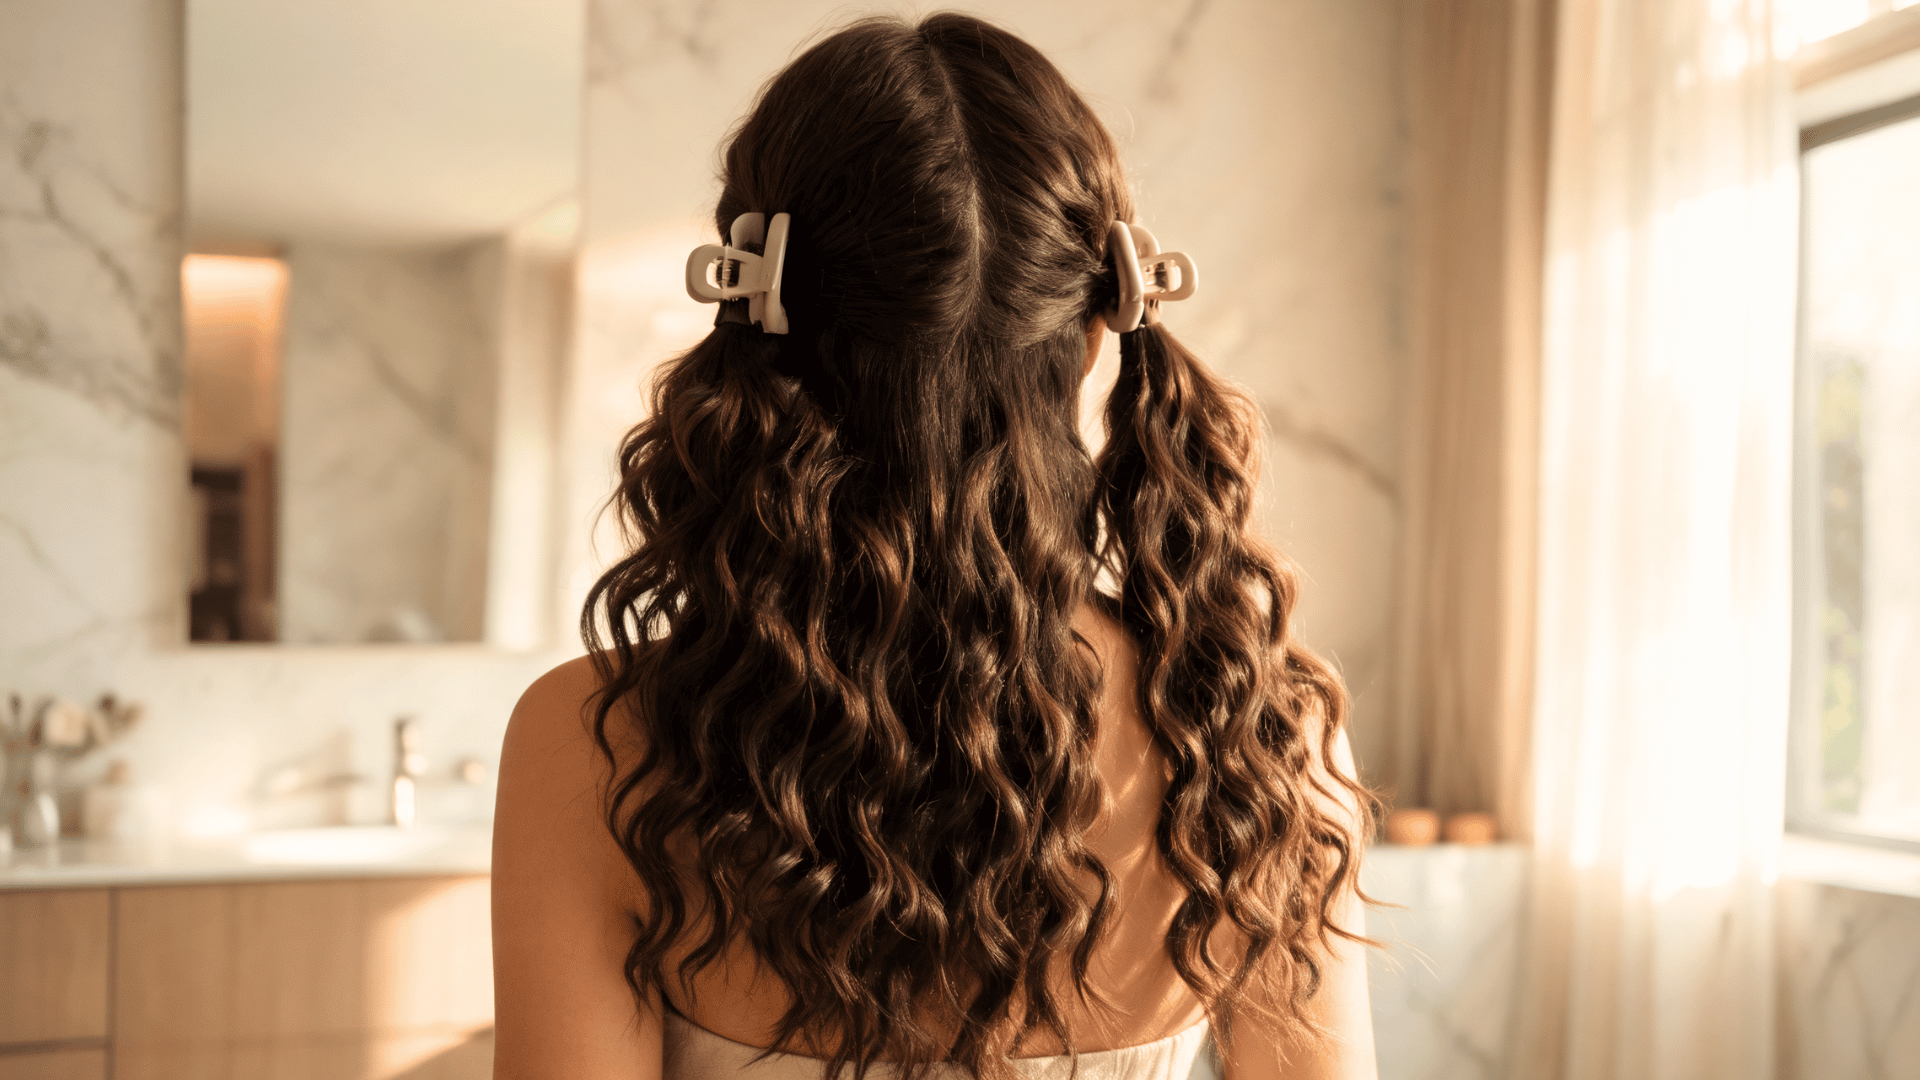
Sectioning helps the lower layers receive as much product as the visible outer layer.
- Create two to six loose sections.
- Use fewer sections for short or fine hair.
- Use smaller sections for thick or dense hair.
- Avoid clips that pull tightly at the roots.
My Tip: I make the back sections smaller when that area loses definition first.
Product Example: PATTERN Sectioning Clips are made to hold curly and coily hair during styling.
3. Apply Products From Lightest to Strongest Hold
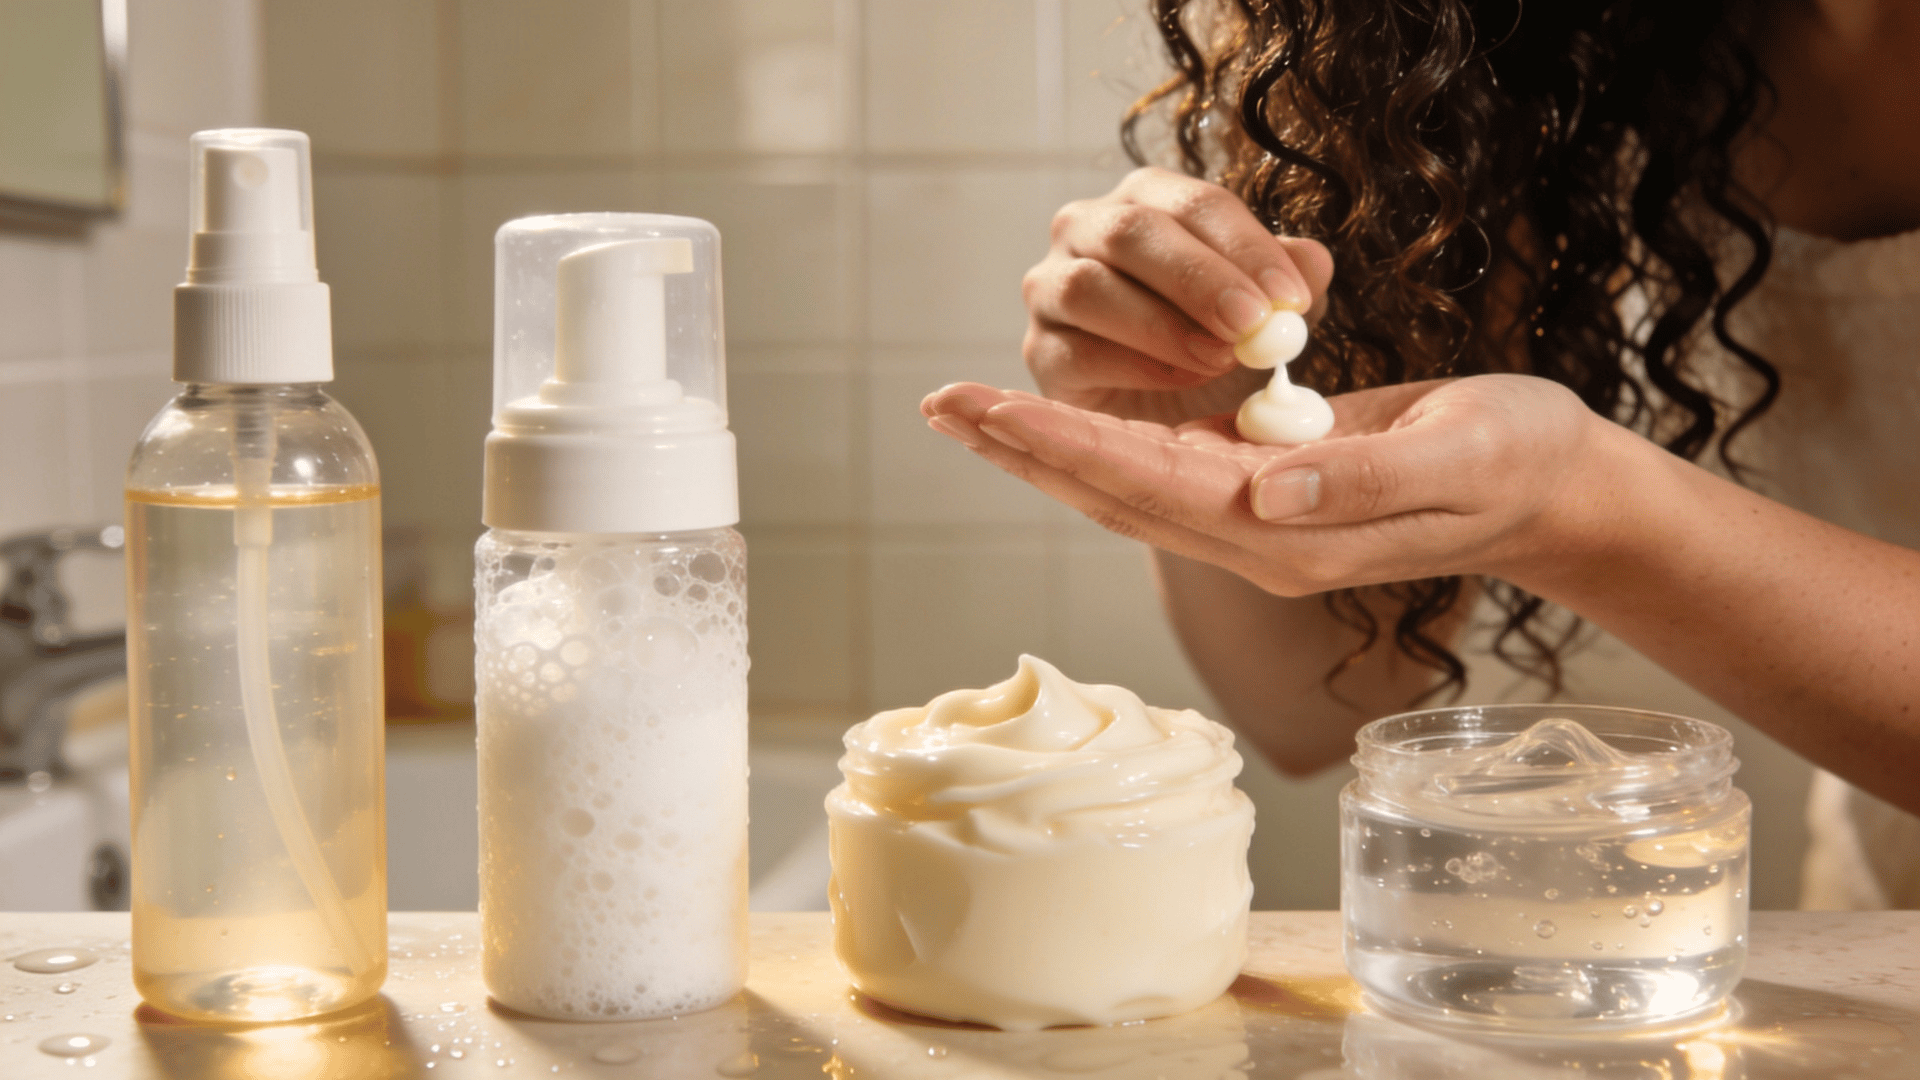
Not every curl routine needs leave-in conditioner, cream, mousse, and gel together.
- Use leave-in when the hair feels dry.
- Add mousse for light volume and shape.
- Choose cream for softness and definition.
- Finish with gel when a longer hold is needed.
My Tip: I begin with less product because adding another small amount is easier than removing buildup.
Product Examples: Try Curlsmith Weightless Air Dry Cream, Curlsmith Bouncy Strength Volume Foam, or Ouidad Heat and Humidity Gel.
4. Distribute the Product and Form Curl Groups
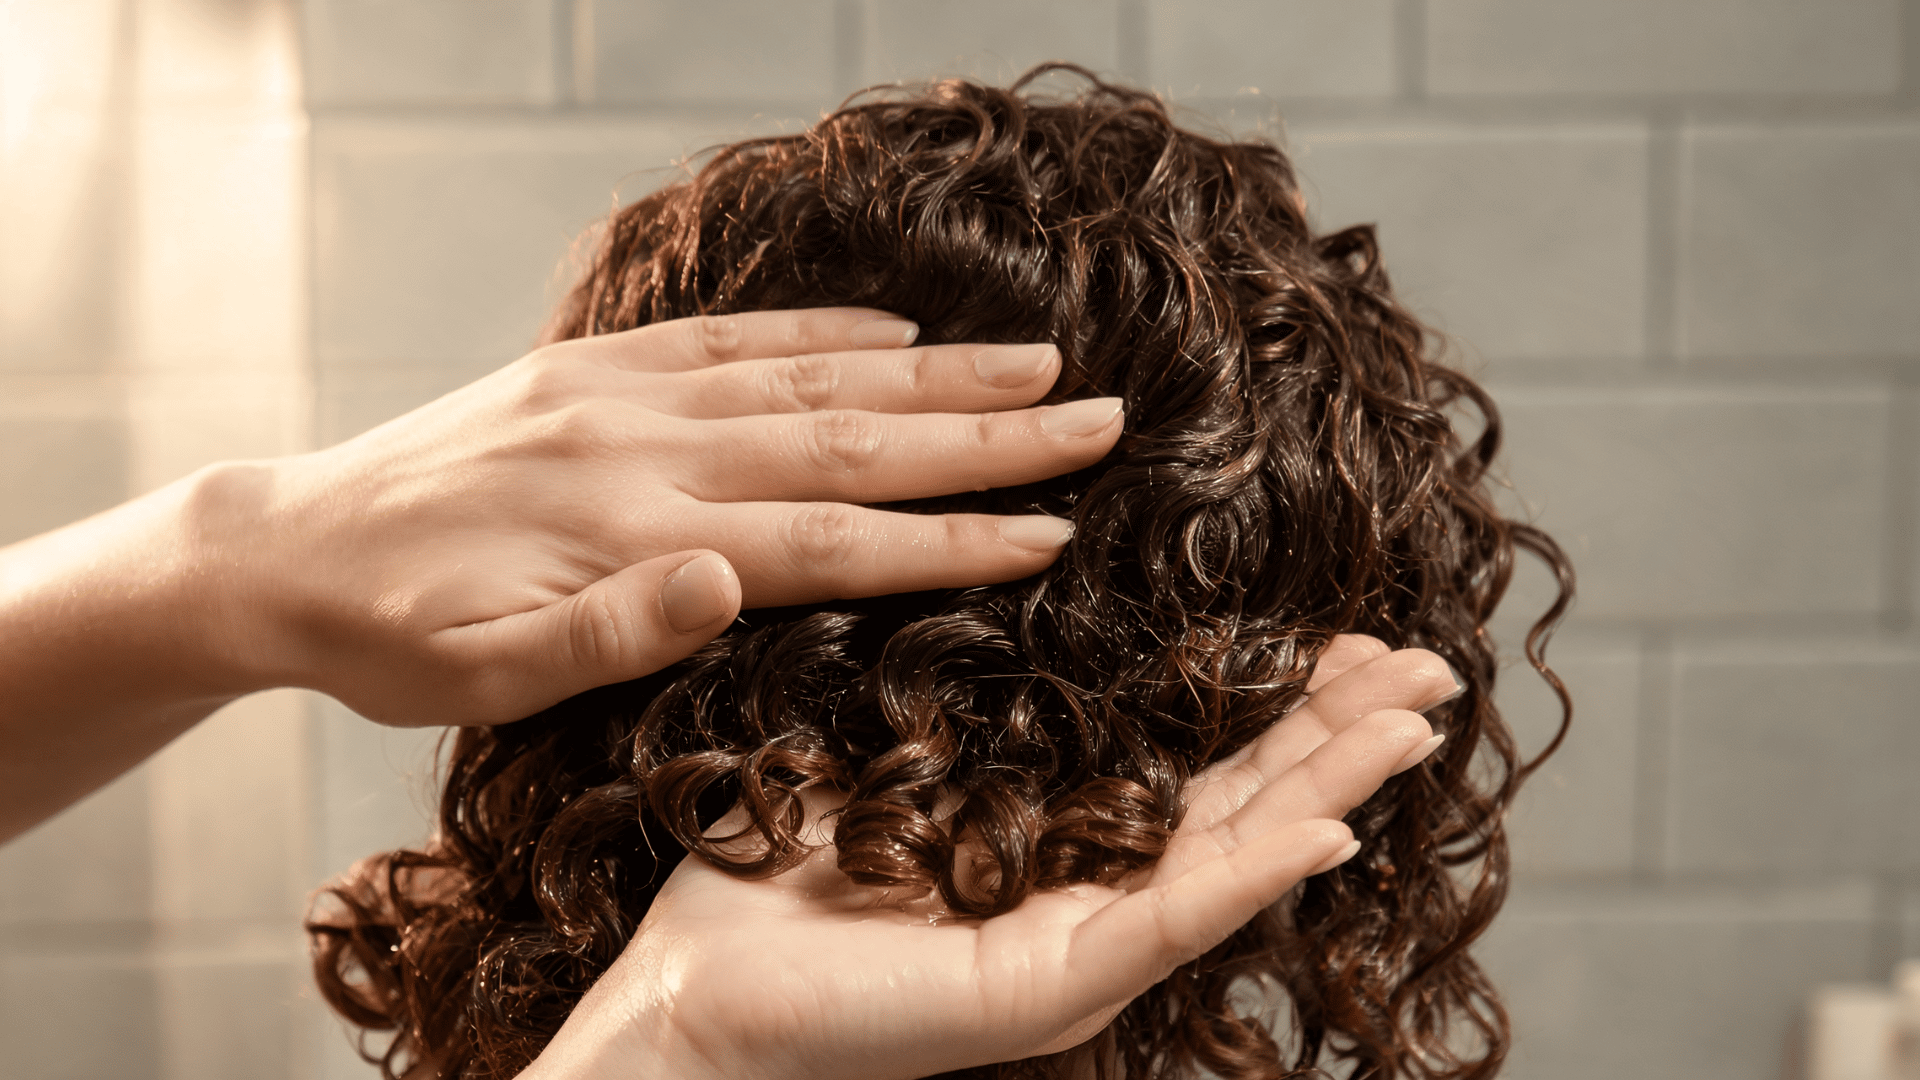
Use one or more application methods based on your hair’s density and the finish you want.
- Rake product through dense sections.
- Smooth the outside using praying hands.
- Scrunch the ends upward.
- Stop handling the hair once the curl groups have formed.
My Tip: I rake first for coverage, smooth the surface, and scrunch last to restore the curl shape.
Optional Tool: The PATTERN Wide Tooth Comb can help distribute product and separate dense sections.
5. Remove Extra Water Without Rough Towel Drying
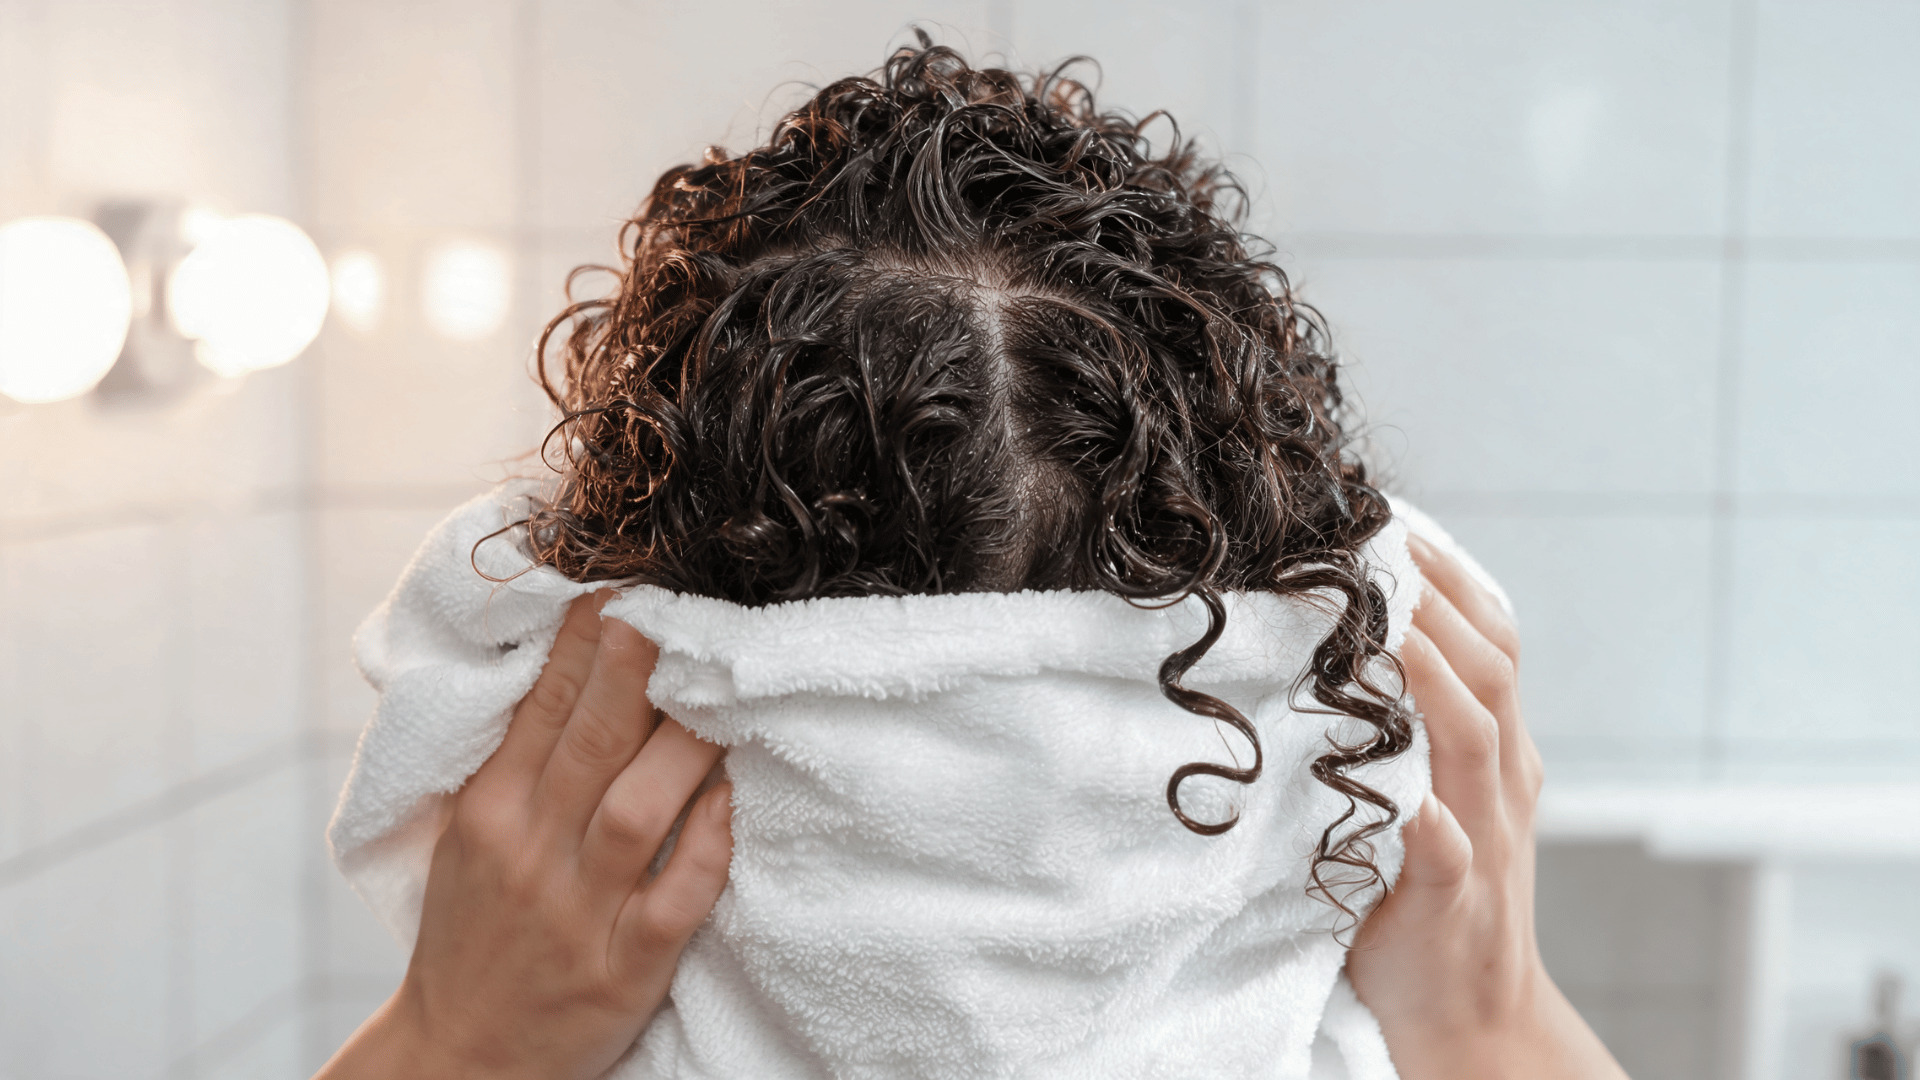
Microplopping removes dripping water while helping the curls keep their shape.
- Press the curls upward with a soft T-shirt or microfiber towel.
- Do not rub or twist the hair.
- Test plopping for five to ten minutes.
- Stop sooner if the roots start to look flat.
My Tip: I press each section once or twice rather than repeatedly squeezing it.
Product Example: The DevaCurl DevaTowel is a microfiber towel designed to gently dry curls.
6. Air-Dry or Diffuse Without Constant Touching
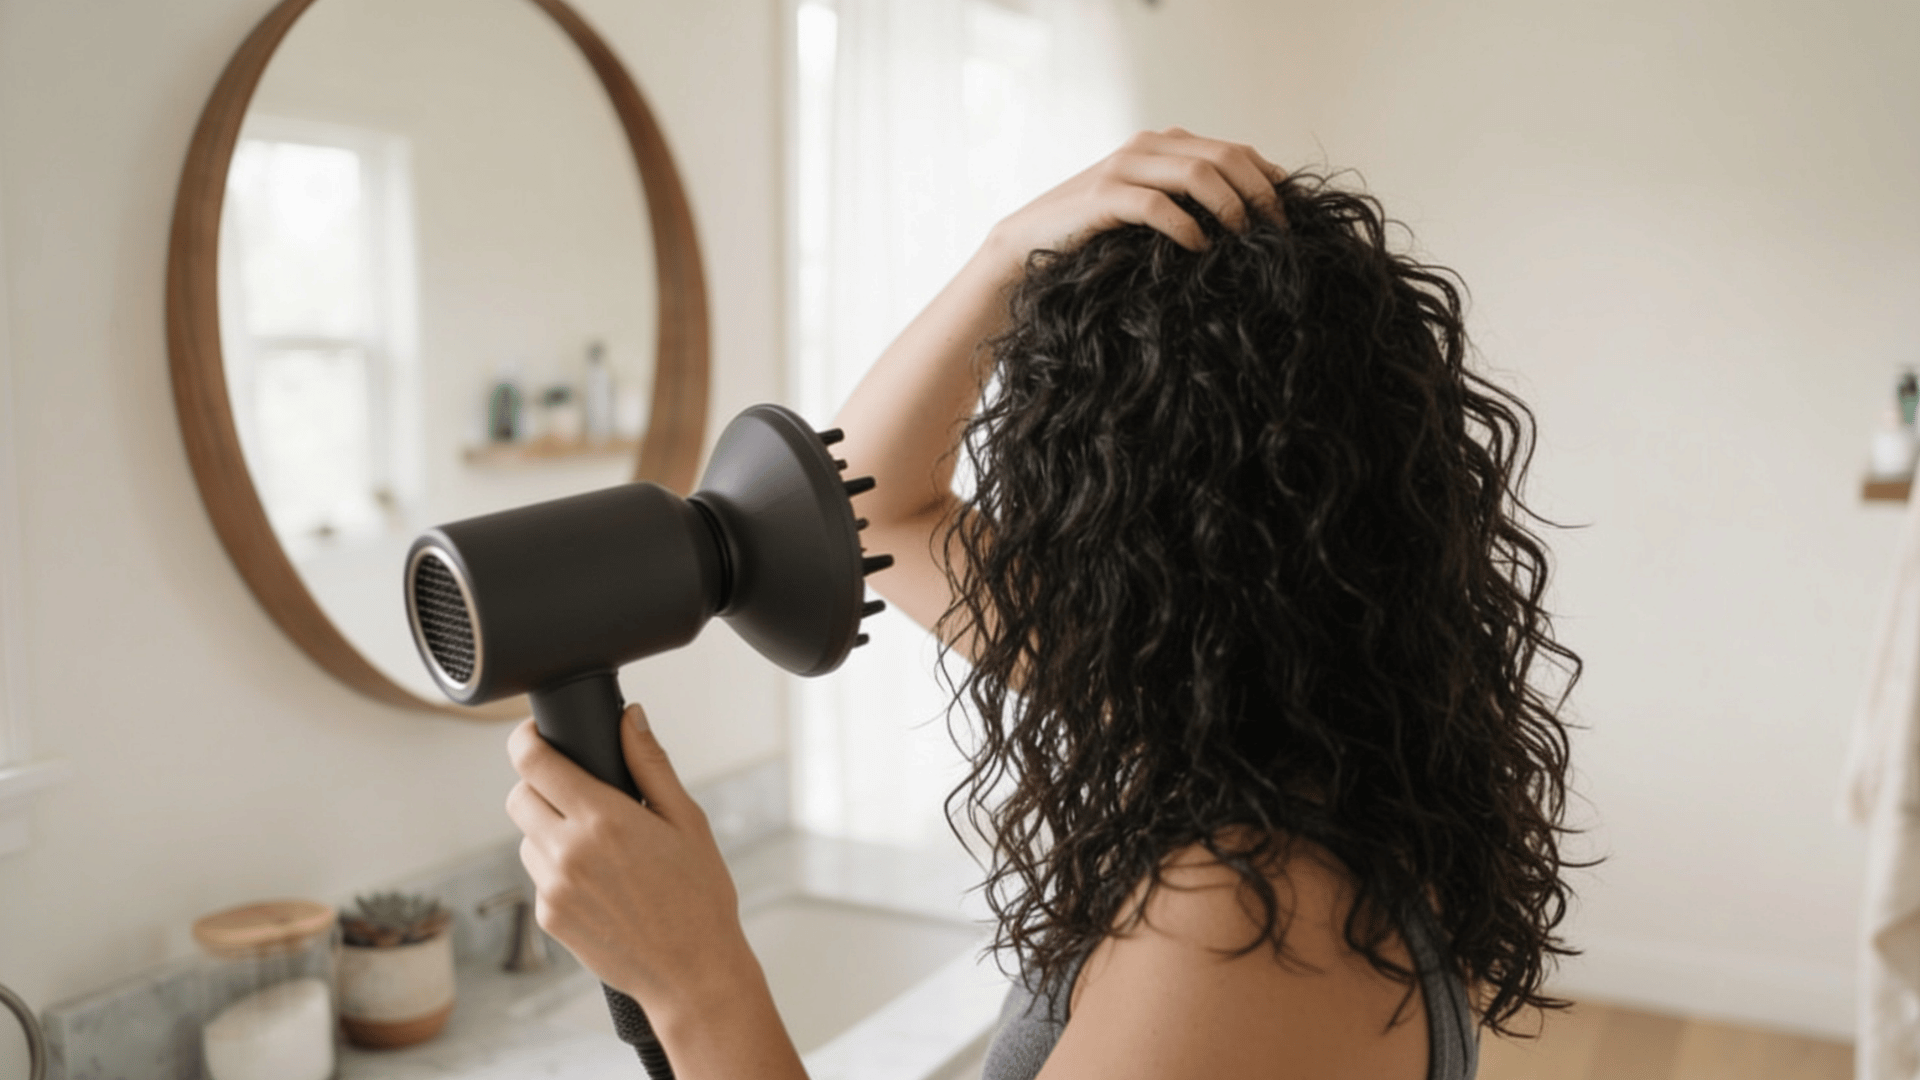
Leave the curl groups alone while the outer layer begins to set.
- Use low or medium airflow.
- Hover around the roots first.
- Cup the ends after a cast starts forming.
- Stop if the scalp or hair feels overheated.
My Tip: I hover-diffuse first because placing wet curls inside the bowl too early can disturb their shape.
Product Example: The Curlsmith Defrizzion Dryer and XXL Diffuser have a large diffuser designed for wavy, curly, and coily hair.
7. Wait Until the Hair Is Completely Dry

Partly dry curls can separate when they are touched, flipped, or tied back too early.
- Avoid checking the curls repeatedly.
- Do not keep changing the hair’s position.
- Leave the gel cast in place.
- Check the roots and lower layers before finishing.
My Tip: I test one hidden section near the back because the surface often dries before the hair underneath.
8. Scrunch Out the Cast and Shape the Roots
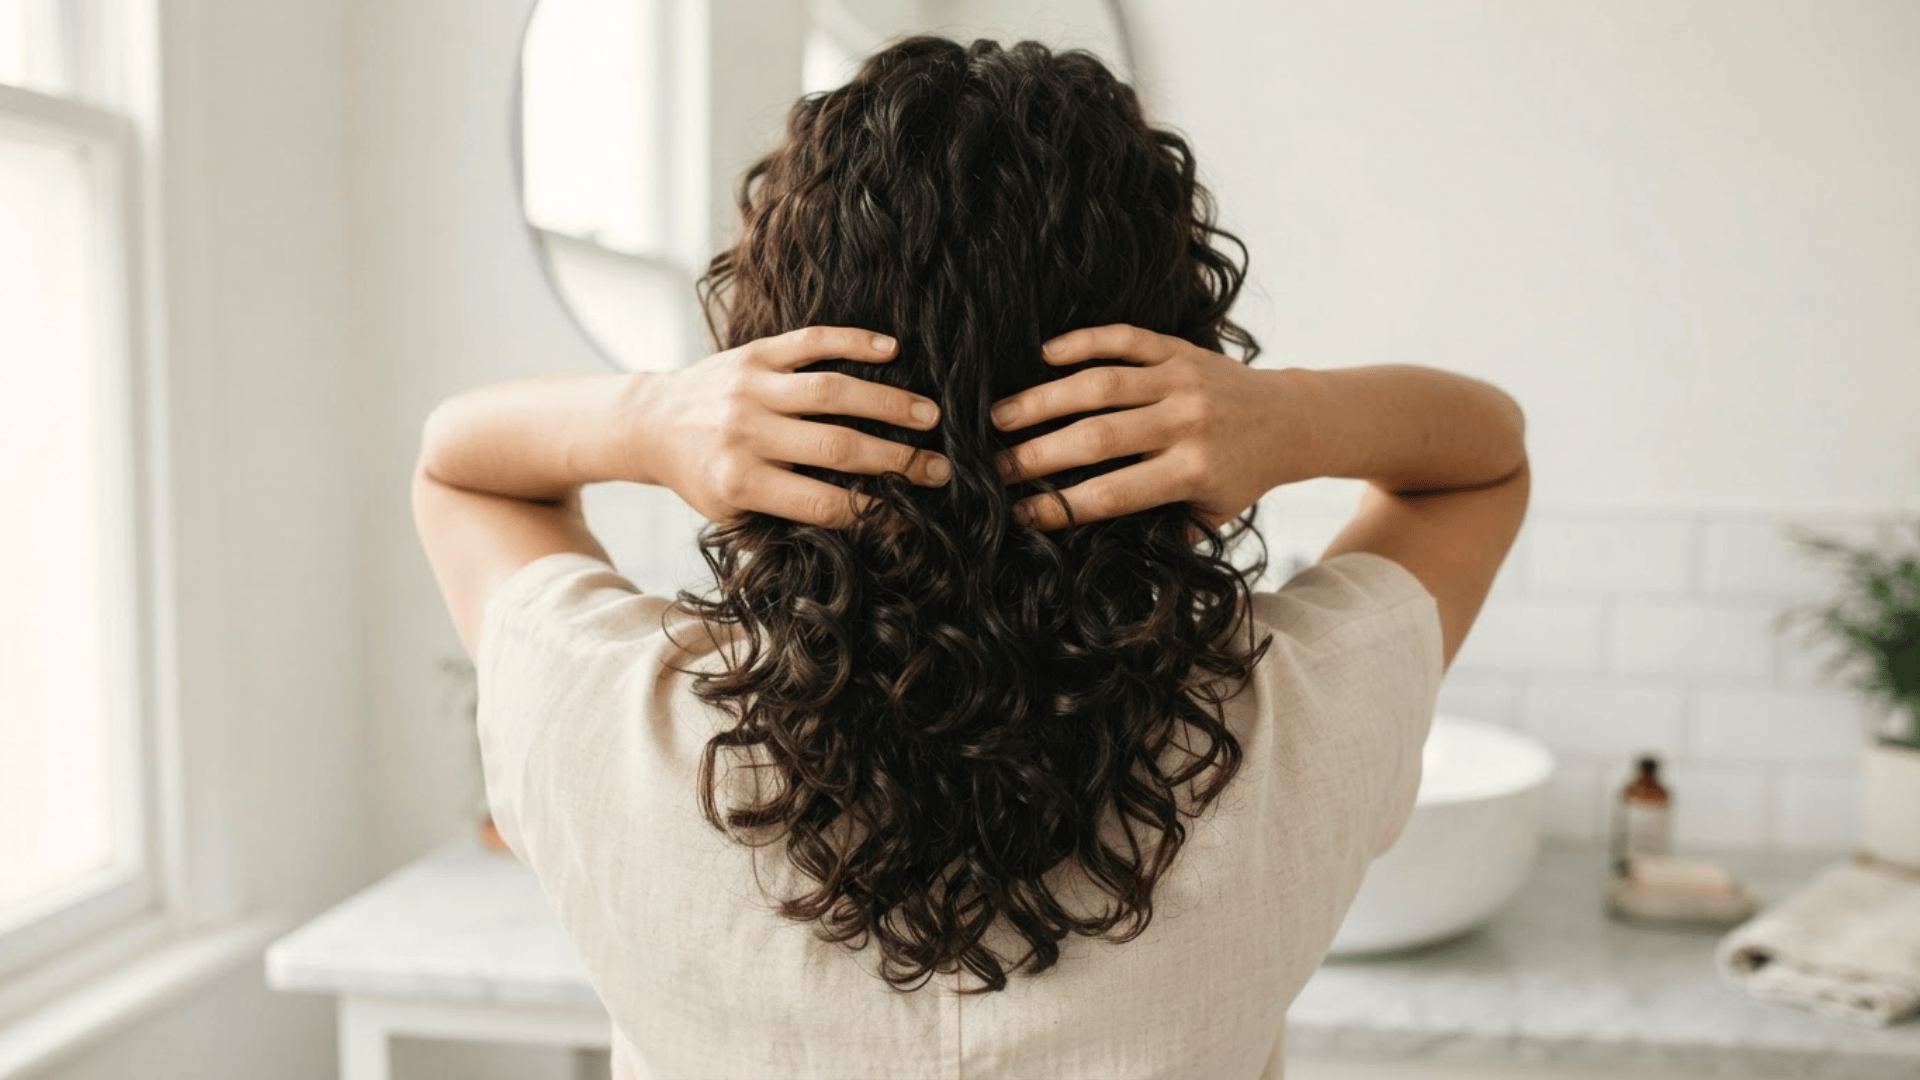
A gel cast is the firm coating left around the curls after some gels dry.
- Scrunch fully dry curls with clean hands.
- Lift the roots without pulling through the lengths.
- Use a wide pick for added volume.
- Apply only a drop of oil if extra slip is needed.
My Tip: I place oil across my palms first so it does not collect on one curl.
How Should You Wash and Detangle Curly Hair Before Styling?
Styling products work better when the hair is clean, conditioned, and free from knots. And that’s why curly hair needs a different care routine.
Wash based on your scalp condition, workout schedule, product use, and dryness level, rather than following a single fixed routine. Shampoo should stay focused on the scalp, while conditioner should cover the mid-lengths and ends.
Dermatologists also recommend properly conditioning curly hair and gently detangling it while wet or damp.
Clean the Scalp Without Scrubbing the Curl Lengths
Start by massaging shampoo into the scalp with your fingertips. Let the rinse water pull a small amount of cleanser through the rest of the hair.
This helps clean without creating extra tangles.
If regular washing no longer removes residue, use a clarifying cleanser, then follow with a conditioner that keeps hair manageable.
If your scalp feels painful, very itchy, or heavily flaky, do not just cover it with oils or styling cream.
Condition and Detangle in Sections
Apply conditioner through the lengths, then detangle from the ends upward. Use your fingers, a wide-tooth comb, or a brush made for textured hair.
Working in sections helps you remove knots without pulling through the whole head at once.
Avoid brushing dry curls unless you want a brushed-out finish.
The American Academy of Dermatology notes that dry brushing can increase frizz and breakage in curly or coily hair.
Which Styling Products Work Best for Your Curls?
These are the products that you can use to style curly hair
Each styling product does a different job, so it helps to choose by function rather than buy products at random.
Choose products based on how quickly your hair becomes heavy, dry, soft, greasy, or undefined. Curl pattern can help, but density, strand thickness, climate, damage, and haircut also affect results.
A simple routine usually works better than a crowded one, especially when you are still learning how your curls respond.
Fine or Easily Weighed-Down Curly Hair
Fine curls usually do best with lighter products that add hold without flattening the roots.
- Start with a light leave-in spray, mousse, foam, or a thin gel.
- Keep rich cream away from the roots or skip it if your hair falls flat quickly.
- Begin with a small amount, then add more only to sections that still look frizzy.
In my experience, mousse followed by a light gel often gives fine curls volume that still lasts into the next day.
Medium-Density Curls that Need More Definition
Medium-density curls often need a balance of softness and hold.
- A good starting test is curl cream followed by gel, or mousse followed by gel.
- Cream can make the hair feel smoother, but it may not hold the curl shape on its own.
I often find that uneven distribution looks like a product problem, even when there’s already enough product in the hair.
Thick, Dense, or Dry Curly Hair
Thick, dense, or dry curls often need more moisture and better sectioning, not just more product.
- Apply products in smaller sections so the inside layers get even coverage.
- Curly hair usually benefits from more conditioning, though the amount should match the hair’s thickness and condition.
From what I have seen, this hair type improves most when water, product, and section size are adjusted together rather than changing the full routine at once.
Use this table as a starting point, then adjust one item after each wash instead of replacing the entire routine all at once.
| Product | Main Job | Best Starting Use | Common Sign of Overuse | Recommended Product |
|---|---|---|---|---|
| Leave-in conditioner | Softness and slip | Dry or tangled lengths | Limp or greasy curls | Curlsmith Weightless Air Dry Cream |
| Curl cream | Shape and moisture | Coarse or dry-feeling curls | Stretched curl pattern | PATTERN Styling Cream |
| Mousse or foam | Light hold and volume | Fine hair or flat roots | Dry or rough finish | Curlsmith Bouncy Strength Volume Foam |
| Gel | Lasting definition | Frizz or weak hold | Flakes or heavy coating | Ouidad Advanced Climate Control Heat & Humidity Gel |
| Oil or serum | Softer finish | Dry ends after drying | Separated or greasy curls | Curlsmith Bonding Oil |
Should You Air-Dry or Diffuse Curly Hair?
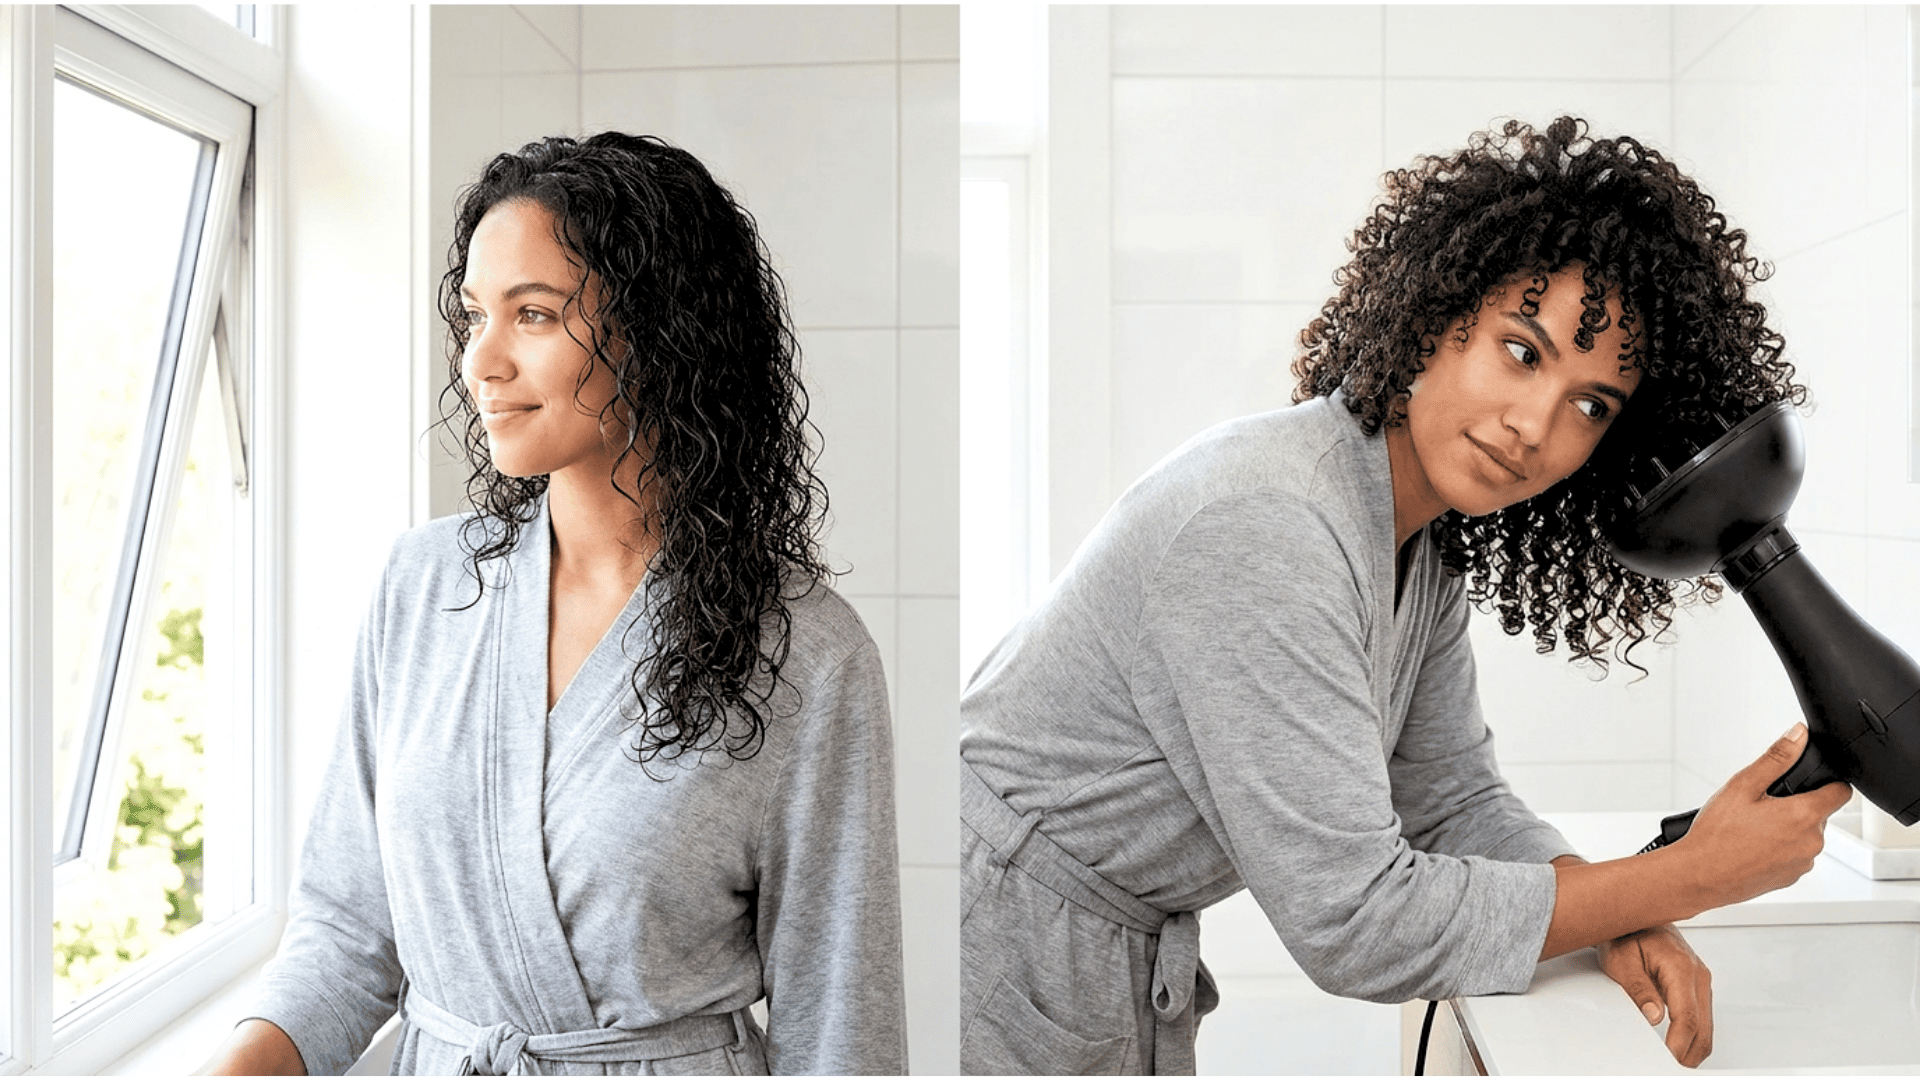
The way you dry curly hair can change the final result as much as the products you use.
Air-drying needs less active effort, but it usually takes longer and can leave the roots flatter. Diffusing can shorten drying time and create more lift, though strong heat or rough airflow can break apart curl groups.
Compare the result, time, and effort of each method before deciding which one fits your normal routine.
| Drying Method | Likely Result | Main Benefit | Main Risk |
|---|---|---|---|
| Air-Drying | Smoother but sometimes flatter roots | Little hands-on work | Long drying time |
| Hover Diffusing | Controlled shape and less disturbance | Gentle drying start | May still take time |
| Pixie Diffusing | More volume and shrinkage | Faster drying | Frizz from strong airflow |
| Brief Plopping | Tighter curl groups | Removes dripping water | Flattened or uneven roots |
How to Air-Dry Curly Hair
Air-drying works best when the curls are arranged the way you want before drying begins.
- Set your part early and keep the hair away from absorbent clothing like thick towels or sweaters, which can disrupt the curl pattern.
- Avoid sleeping on wet hair pressed under the head.
In my experience, air-dried curls often need a little more gel in humid weather because they stay exposed to moisture for longer.
How to Diffuse Curly Hair
Diffusing is often the better choice when you want quicker drying and more root lift.
- Start by hovering around the scalp, then move around the head instead of heating one area too long.
- Once the outer layer begins setting, cup the ends gently with the diffuser bowl.
- Turn the diffuser off before moving it to a new section so the airflow does not scatter the curls.
Use heat protectant when the product label says it provides thermal protection.
How Can You Make Styled Curls Last Longer?
Long-lasting curls depend on four things: enough hold, complete drying, less overnight friction, and targeted refreshing.
In my experience, curls last longer when they are fully dry before bed, and only the damaged sections are refreshed the next morning.
Use this table to match the protection or refresh method to the problem you notice most often.
| Curl Problem | Best Starting Fix | What to Avoid |
|---|---|---|
| Flattened crown | Loose pineapple or root lift | Tight elastic at the scalp |
| Frizzy outer layer | Bonnet, scarf, or smooth pillowcase | Sleeping with loose curls underneath the head |
| One crushed section | Water mist and light scrunching | Reapplying product to the full head |
| Weak hold in humidity | Less cream and firmer gel | Adding heavy oil before drying |
| Sweaty roots | Dry the scalp and loosen the roots | Covering a damp scalp overnight |
Protect Your Curls Before Bed
A loose pineapple can protect medium or long curls by placing them above the head instead of beneath it.
- Gather the hair loosely near the crown.
- Use a soft, fabric-covered tie.
- Avoid stretching the curls into a tight band.
- Use a bonnet or scarf when the hair is too short for a pineapple.
- Make sure the hair and scalp are dry before covering them.
My Tip: I loosen the tie until it holds the hair without creating tension around the hairline.
Refresh Flattened Curls the Next Morning
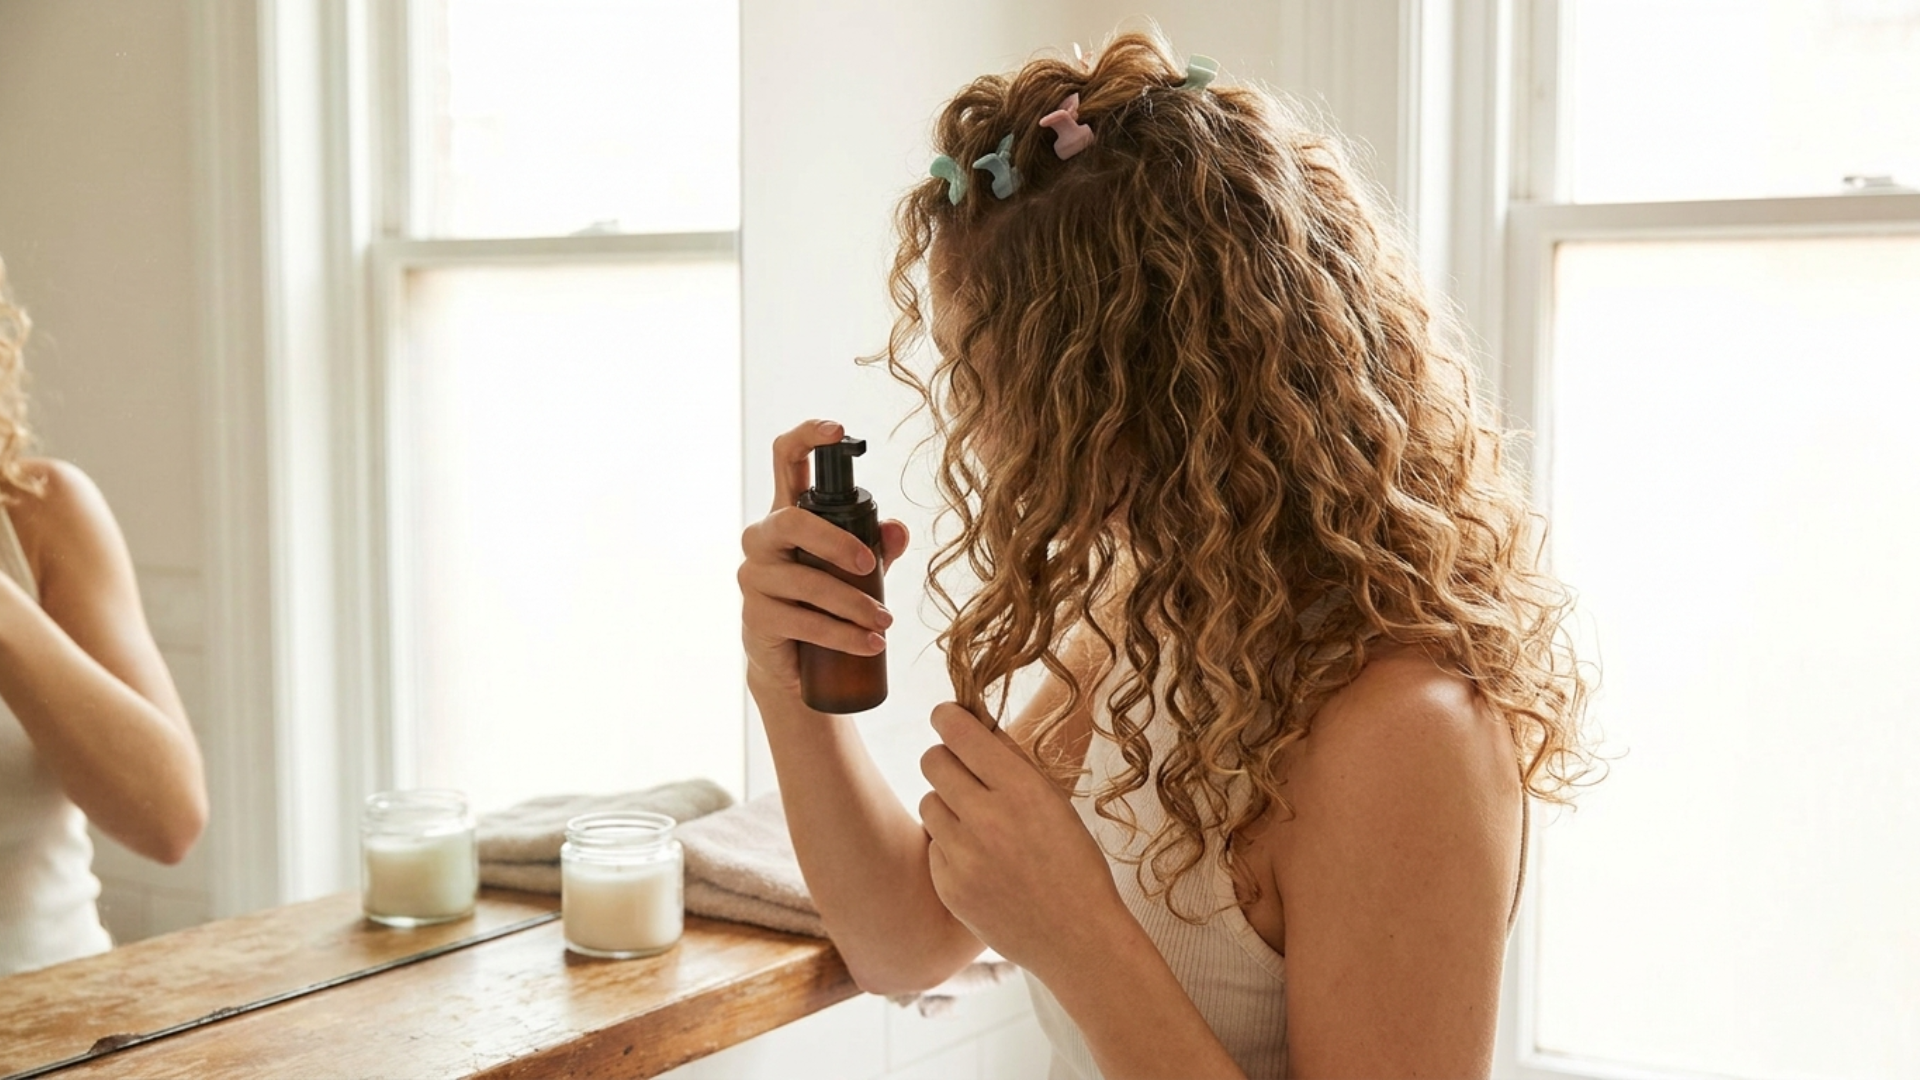
Begin with water instead of adding another full layer of styling product.
- Mist only the flat or frizzy sections.
- Smooth them gently with wet hands.
- Scrunch upward to restore the curl shape.
- Add diluted leave-in, mousse, or gel only where hold is missing.
- Allow the refreshed sections to dry before touching them again.
Do not mix rinse-out conditioner into a spray bottle. Rinse-out and leave-in conditioners are made for different uses.
My Tip: I refresh the smallest area possible so the rest of the curls keep their volume.
Final Takeaway
Styling curly hair becomes easier when you focus on the few factors that shape the final result.
Water level, product amount, even distribution, holding, and drying habits matter more than following a single strict routine.
Start with evenly wet or damp hair, work in manageable sections, and use only the products your curls need. Apply a stronger hold last, scrunch gently, and let the hair dry without repeated touching.
On later days, refresh only the sections that have lost shape instead of coating the whole head again. Some natural frizz is normal and does not mean your routine failed.
Let us know which routine works best for you.
Frequently Asked Questions
Can Hard Water Affect How Curly Hair Styles?
Yes. Mineral buildup can make curls feel rough, dull, or harder to define. An occasional chelating shampoo may help when regular clarifying does not.
How Often Should You Clean Curly Hair Styling Tools?
Clean combs, brushes, clips, and diffuser attachments every one to two weeks. Product residue, oils, and shed hair can reduce performance and transfer buildup.
Can Hormonal Changes Alter Your Curl Pattern?
Hormonal shifts may change curl shape, density, oil production, or dryness. Pregnancy, menopause, medication, and thyroid changes can all affect how hair behaves.