There is something timelessly beautiful about a perfectly executed braid. From the classic three-strand plait to the intricate crown braid, these styles are the go-to for many of us because they are practical, stylish, and protective. However, if your natural hair lacks the density or length to create those thick, flowing looks you see on social media, you might feel a bit left out. This is where braided extensions come to the rescue. By incorporating extra hair into your weave, you can achieve gravity-defying length and red-carpet volume without waiting years for your hair to grow.
Adding hair to your braids isn’t just about vanity; it is about versatility. It allows you to experiment with different silhouettes, protected styles, and even colors without the commitment of dyes. In this ultimate guide, we will explore everything you need to know about adding extensions to braids, ensuring your hair stays healthy while your style looks incredibly professional.
Hair Extensions for Braids: Choosing the Right Type
Before you even touch a comb, you need to select the right material. Not all hair extensions for braids are created equal. The type of hair you choose will dictate how heavy the style feels, how long it lasts, and how “real” it looks. Generally, you choose between synthetic and human hair, each serving a specific purpose in the braiding world.
If you are going for a temporary look, like a weekend festival style, synthetic hair is often the most cost-effective choice. However, for a more seamless and natural feel, human hair is the gold standard. Here is a breakdown of the common options you will find:
- Kanekalon Hair: A high-quality synthetic fiber that mimics the texture of human hair. It is particularly popular for braiding extensions because it has a bit of “grip,” which prevents the braids from unraveling.
- Pre-Stretched Braiding Hair: This synthetic option is tapered at the ends. It saves you time during the braiding process because you don’t have to “pull” the hair to make the ends look natural.
- Water-Wave or Deep-Twist Hair: These are pre-curled extensions often used for “Boho” or “Goddess” braids, where some of the extension hair is left out of the braid to create a soft, wavy texture.
- Yaki Texture Hair: This hair is processed to look like relaxed or pressed natural hair. It is excellent for creating a cohesive look if your hair has a bit of texture.
Choosing the right hair extensions for braids also means considering the weight. Always ensure you aren’t adding so much hair that it puts unnecessary tension on your follicles, which could lead to thinning over time.
Extensions for Braids: Match Texture and Color
The secret to a braid that looks like it grew out of your own scalp is the “invisible transition.” To achieve this, your braiding extensions must be a near-perfect match in terms of texture and color. If you have fine, silky hair and you use very coarse, kinky extensions, the point where your natural hair ends will be painfully obvious.
Color is another area where you can get creative. While many people choose a color that matches their roots, others use extensions for braids to create a highlighted or ombré effect. For a truly unique and modern look, some stylists recommend using black and blonde mixed hair extensions to add depth and contrast without the chemical damage of bleach.
- Lighting Check: Always check your hair match in natural daylight. Synthetic lights in stores can make colors look warmer or cooler than they actually are.
- The “Feel” Test: Take a small section of your natural hair and rub it against the extension. If they feel radically different, they will likely separate during the day.
- Blending Two Shades: If you can’t find an exact match, buy two different colors and “feed” them in together to create a custom, multi-tonal shade that looks more natural.
- Texture Matching: If your hair is curly, look for extensions with a similar curl pattern. If you plan to straighten your hair, make sure the extensions are heat-resistant.
- Root Shading: Look for extensions with a darker “root” color to avoid a harsh line where the braid starts at your scalp.
How to Add Extensions to Braids Step by Step
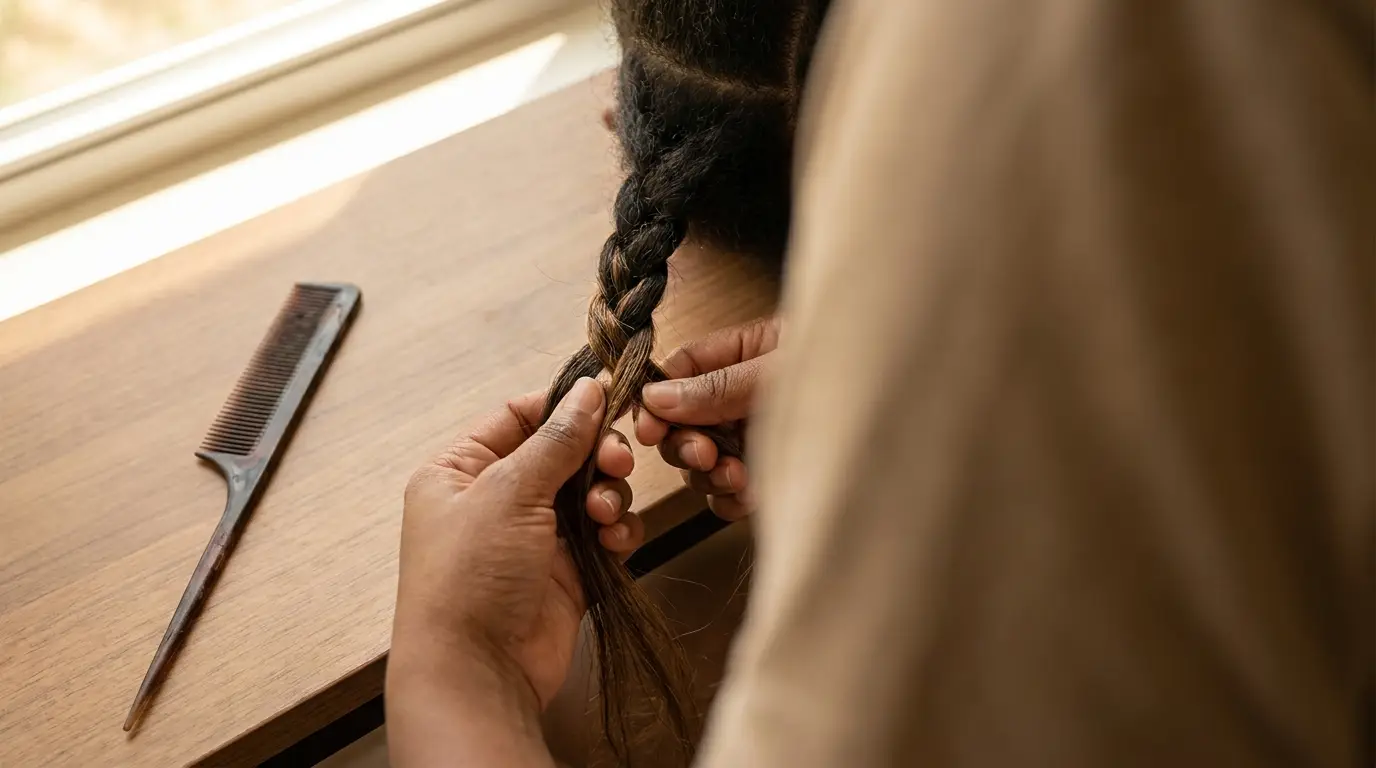
Ready to get started? Learning how to add extensions to braids requires a bit of patience and a steady hand. The most common technique is the “feed-in” method, which allows the braid to start thin and gradually get thicker, mimicking the way natural hair grows. This technique is also much lighter on your scalp than traditional methods.
Follow these steps to master the art of the feed-in braid:
- Preparation: Start with clean, detangled, and lightly moisturized hair. Section your hair into the desired pattern using a rat-tail comb for sharp, clean parts.
- The Anchor: Begin a normal three-strand braid with your natural hair. Do about two or three “turns” to secure the base at the scalp.
- The First Addition: Take a small, thin piece of the extension hair. Fold it in half to create a “loop” or simply hold it between your thumb and index finger.
- The Integration: As you move your natural hair into the next turn of the braid, “feed” one side of the extension into the left strand and the other side into the right strand.
- The Continuation: Continue braiding for another two turns, then add another piece of extension hair. Repeat this until you reach your desired thickness and length.
- Securing the Ends: Once you reach the bottom, you can secure the braid with a small elastic, or, if using certain synthetic fibers, carefully dip the ends in hot water to “set” them and prevent unraveling.
When you know how to add extensions to braids properly, the transition should be so smooth that you can’t tell where your natural hair stops and the extension begins.
French Braid Hair Extensions for a Seamless Look
French braids are a staple, but they can be tricky because the hair is added from the outside as you move down the head. Incorporating French braid hair extensions requires you to be strategic about where you place the extra hair so that the “tracks” don’t show through the top of the braid.
The key to French braid hair extensions is starting small. If you add a huge chunk of hair at the very top of your forehead, the braid will look bulky and artificial. Instead, focus on adding the hair underneath the middle strand as you go.
- Concealing the Start: Use your natural hair for the first inch of the French braid. This ensures the “anchor” looks completely real against your forehead.
- Adding from Underneath: Always feed the extension hair from the underside of the braid. This allows the top layer of your natural hair to act as a “veil” over the extension.
- Tension Control: Keep your hands close to the scalp. If you pull too hard, you’ll see the extension; if you are too loose, the braid will sag under the weight of the added hair.
- Mirror Work: Use a three-way mirror if possible. It is very easy to mess up the back of a French braid when you are adding hair blindly.
- Product Usage: Use a light edge control or braiding wax to “glue” your natural flyaways to the extension hair as you braid.
Adding Extensions to Braids: Tips for Long-Lasting Style
You have spent hours perfecting your look, so you want it to last. Adding extensions to braids effectively is only half the battle; the other half is maintenance. Because extensions (especially synthetic ones) don’t receive natural oils from your scalp, they can become dry and frizzy if neglected.
To keep your braid in extensions looking fresh for weeks, follow this maintenance routine:
- The Satin Secret: Always sleep with a satin or silk scarf or on a silk pillowcase. This prevents the friction that causes “fuzziness” along the braid.
- Scalp Care: Don’t forget your actual skin! Use a pointed-tip bottle to apply light oils or a scalp soothing serum between the parts to prevent itching and dryness.
- Mousse Refresh: Every few days, apply a dollop of foaming mousse to the braids, then wrap them with a scarf for 10 minutes. This “lays down” any stray hairs and restores the shine.
- Avoid Over-Washing: Washing your hair while it is in braids can cause the natural hair to frizz and the extensions to slip. Use a dry shampoo or a damp cloth to clean the parts instead.
- Don’t Leave Them in Too Long: Even the best-looking braids should be removed after 6 to 8 weeks to prevent matting and give your natural hair a break.
In conclusion, mastering adding extensions to braids is one of the best skills you can have in your beauty arsenal. It opens up a world of styles that were previously impossible. Whether you are looking for hair extensions for braids to create a dramatic waist-length look or want a bit of extra volume for your daily French braid, the techniques remain the same: match your texture, start small, and protect your edges. With a little practice, you’ll be creating salon-quality braids from the comfort of your own home!