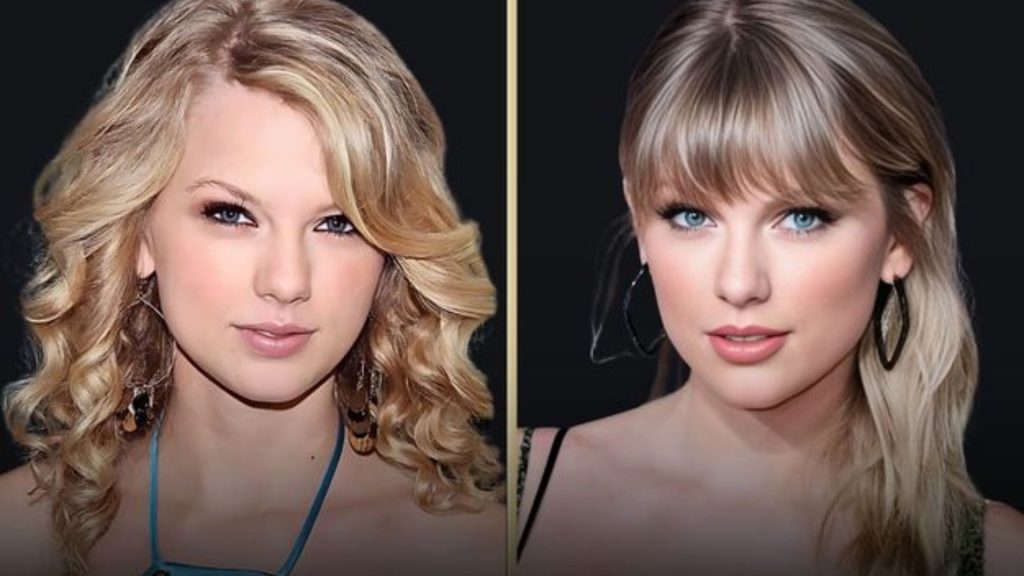
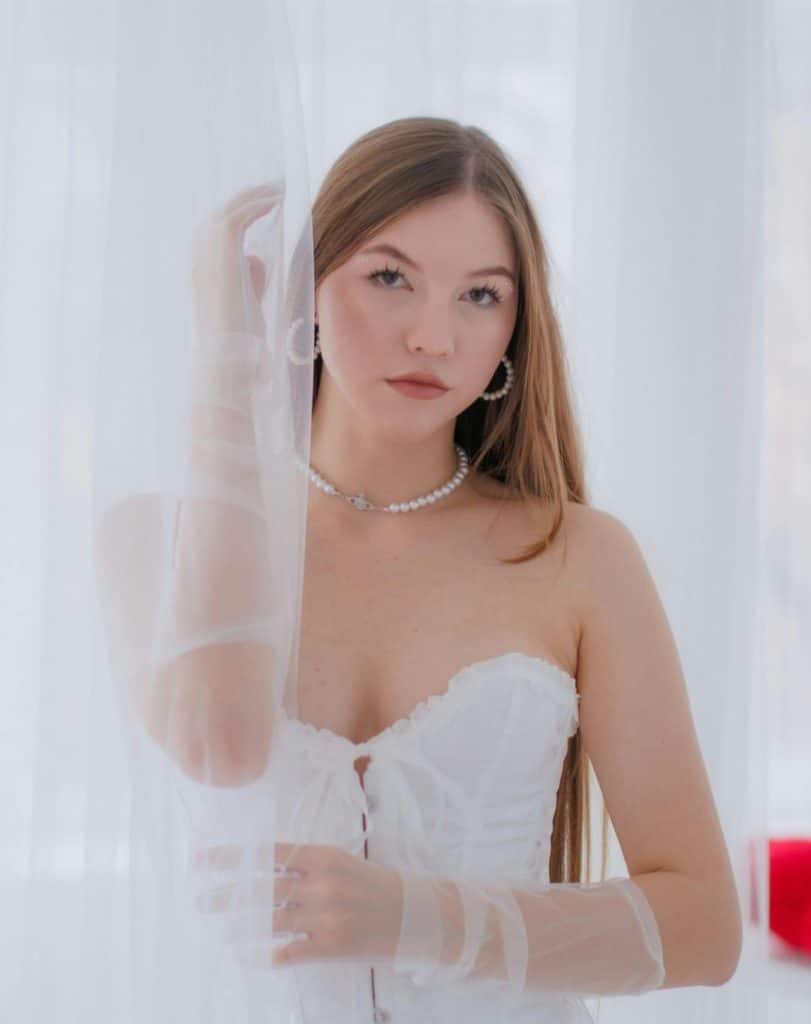
I used to think natural makeup meant doing less. After trying different routines, I realized that natural makeup looks are really about using products more effectively.
I spent many mornings either doing a full glam look for a simple day or skipping makeup because I felt I didn’t have enough time.
Eventually, I found a soft routine that takes about ten minutes and still makes me feel put together.
In this guide, I’ll share the exact routine I use, the products that work for me, and the mistakes that made my makeup look heavier than I wanted.
If you are a beginner, a college student, or someone who wants makeup that looks fresh without feeling heavy, this routine is a great place to start.
What is a Natural Makeup Look, Really?
For a long time, I thought natural makeup meant wearing almost nothing. The real goal is different.
Natural makeup looks are about making makeup blend into the skin so well that it looks like a fresher version of your own face.
The focus is not on hiding every tiny detail. It is on creating an even, healthy-looking finish that still lets your natural features show through.
This is different from full glam makeup, where contour, heavy coverage, and dramatic eyes are meant to stand out. It is also different from a no-makeup day, where only skincare is used. Natural makeup sits in the middle.
You are still using foundation, concealer, blush, and mascara, but everything is applied lightly and blended carefully.
The result should look soft, healthy, and effortless, rather than like a layer sitting on top of the skin.
Why Use Cream & Liquid Over Powder for Natural Makeup?
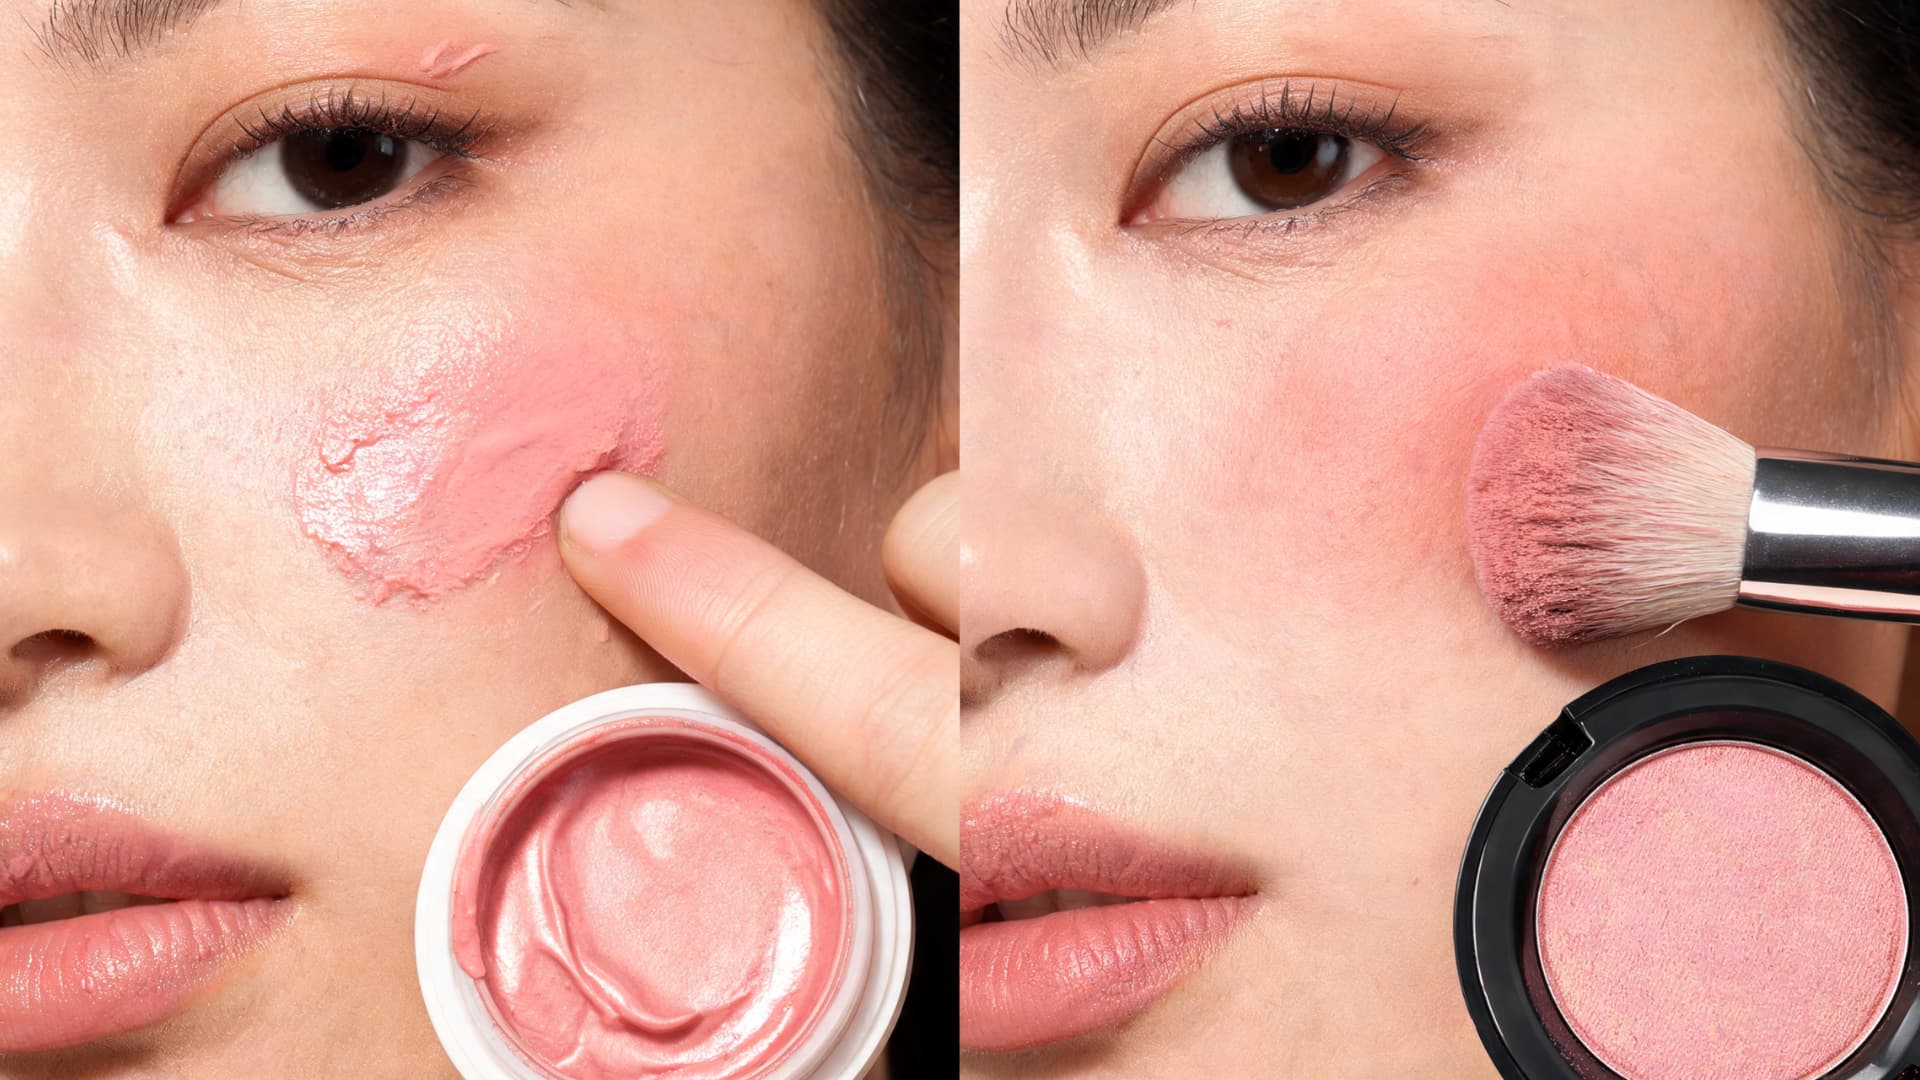
Switching to cream and liquid products made the biggest difference in my natural makeup looks. Powder can sit on the surface of the skin and make it appear flat, especially when I apply too much.
I used to set my entire face with powder because I thought it was the right way to make my makeup last longer, but it often left my skin looking dry by the end of the day.
Cream blush melts into the skin and looks more natural than a heavy layer of powder. Liquid highlighter catches light more softly and gives a healthy glow rather than a dry finish.
I still use a little powder on my T-zone when I need extra oil control, but I avoid putting it all over my face.
Letting cream and liquid products do most of the work keeps my makeup looking fresher and more skin-like throughout the day.
How I Prep My Skin Before Any Natural Makeup Look
Good skin prep is one of the most important parts of my routine. If my skin is dry underneath, even the best makeup starts looking patchy after a few hours.
I learned this the hard way when I would spend time blending foundation only to notice dry areas around my nose and cheeks later in the day.
I cleanse my face, apply a moisturizer that suits my skin type, and wait a couple of minutes before using makeup.
On days when I want extra glow, I add a hydrating primer. That short waiting time makes a big difference because the moisturizer has time to sink into the skin.
Once I started doing this consistently, my natural makeup looks blended more evenly and lasted much longer without looking cakey or dry.
Proper prep makes every product applied afterward look smoother and more natural.
Budget Products that I Use vs Expensive Products that I Use
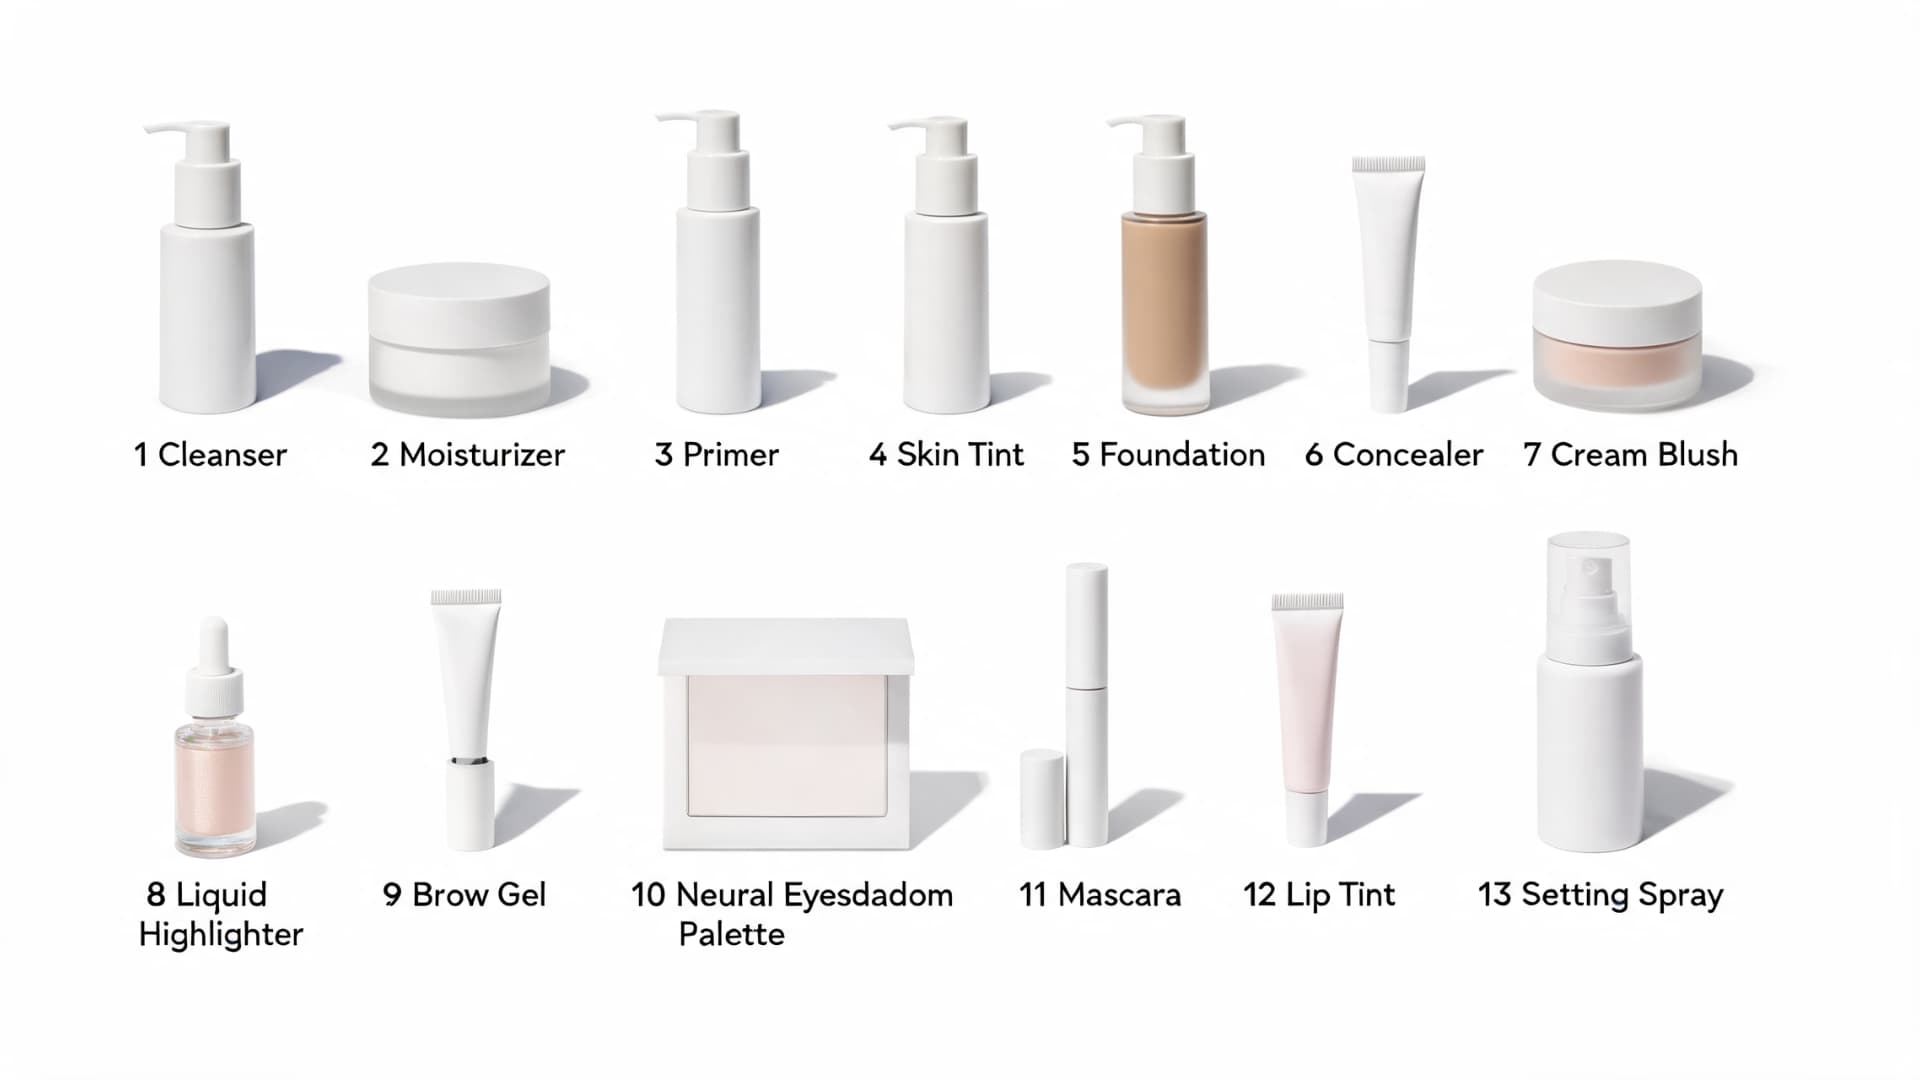
My makeup collection is basically split into two: a daily bag and a splurge bag, and I switch between them depending on the day.
One is for days when I want a full makeup routine without spending too much, and the other is for days when I want higher-end products with more premium formulas and packaging.
The technique matters more than the price, but having a full routine in one place makes it easier to choose what fits my budget.
Complete Budget Routine
If you are building your kit for the first time, these are the only products in budget you need:-
| Step | Product |
|---|---|
| Cleanser | CeraVe Hydrating Facial Cleanser |
| Moisturizer | CeraVe Moisturizing Cream |
| Primer | e.l.f. Power Grip Primer |
| Skin Tint | e.l.f. Halo Glow Skin Tint SPF 50 |
| Foundation | Maybelline Fit Me Foundation |
| Concealer | e.l.f. Hydrating Camo Concealer |
| Blush | NYX Sweet Cheeks Soft Cheek Tint |
| Highlighter | e.l.f. Halo Glow Liquid Filter |
| Brow Gel | e.l.f. Wow Brow Gel |
| Eyeshadow | e.l.f. Bite-Size Eyeshadow |
| Mascara | Maybelline Lash Sensational Sky High Mascara |
| Lip Tint | NYX Lip I.V. Hydrating Lip Gloss Stain |
| Setting Spray | NYX Dewy Finish Setting Spray |
Complete Expensive Routine
Got a good budget, want to try expensive products, try them:-
| Step | Product |
|---|---|
| Cleanser | Tatcha The Rice Wash |
| Moisturizer | Tatcha The Dewy Skin Cream |
| Primer | Charlotte Tilbury Hollywood Flawless Filter |
| Skin Tint | NARS Pure Radiant Tinted Moisturizer |
| Foundation | Giorgio Armani Luminous Silk Foundation |
| Concealer | NARS Radiant Creamy Concealer |
| Blush | Rare Beauty Soft Pinch Liquid Blush |
| Highlighter | Charlotte Tilbury Beauty Light Wand |
| Brow Gel | Anastasia Beverly Hills Brow Freeze Gel |
| Eyeshadow | Urban Decay Naked3 Palette |
| Mascara | Too Faced Better Than Sex Mascara |
| Lip Tint | Dior Addict Lip Glow |
| Setting Spray | Charlotte Tilbury Airbrush Flawless Setting Spray |
My Step-by-Step Natural Makeup Routine
When I do natural makeup looks, I follow the same order every morning. Keeping the routine consistent helps me finish faster and makes the final result look balanced and soft.
Step 1: Light, Buildable Base
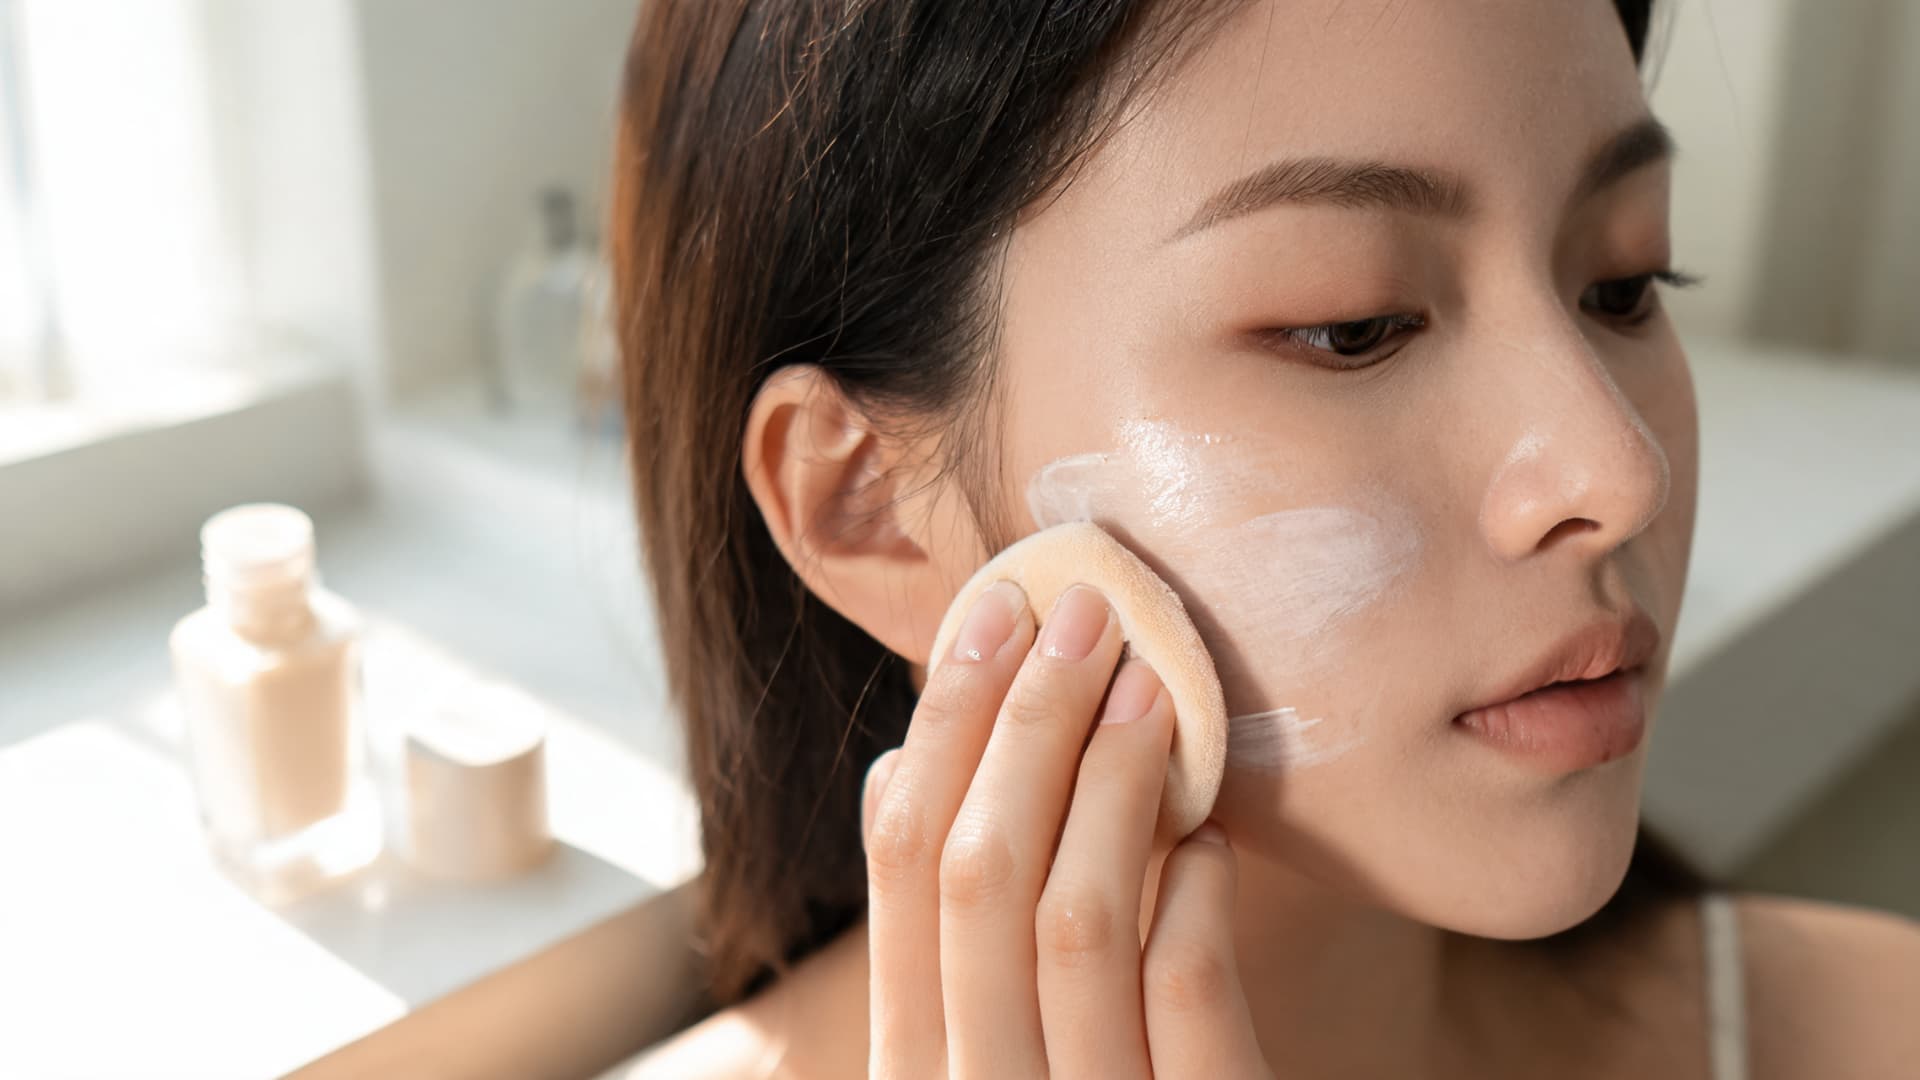
I start with a lightweight base product and blend it with a damp sponge. Using thin layers keeps the coverage natural and lets some of my real skin show through.
This makes the base look softer and prevents that heavy foundation effect that can happen when too much product is applied at once.
If I need extra coverage, I add another small layer only where I need it instead of covering my whole face.
I also blend around my hairline, nose, and jawline carefully so there are no obvious edges. That helps my natural makeup look smooth and skin-like throughout the day.
Step 2: Spot Conceal Only Where Needed
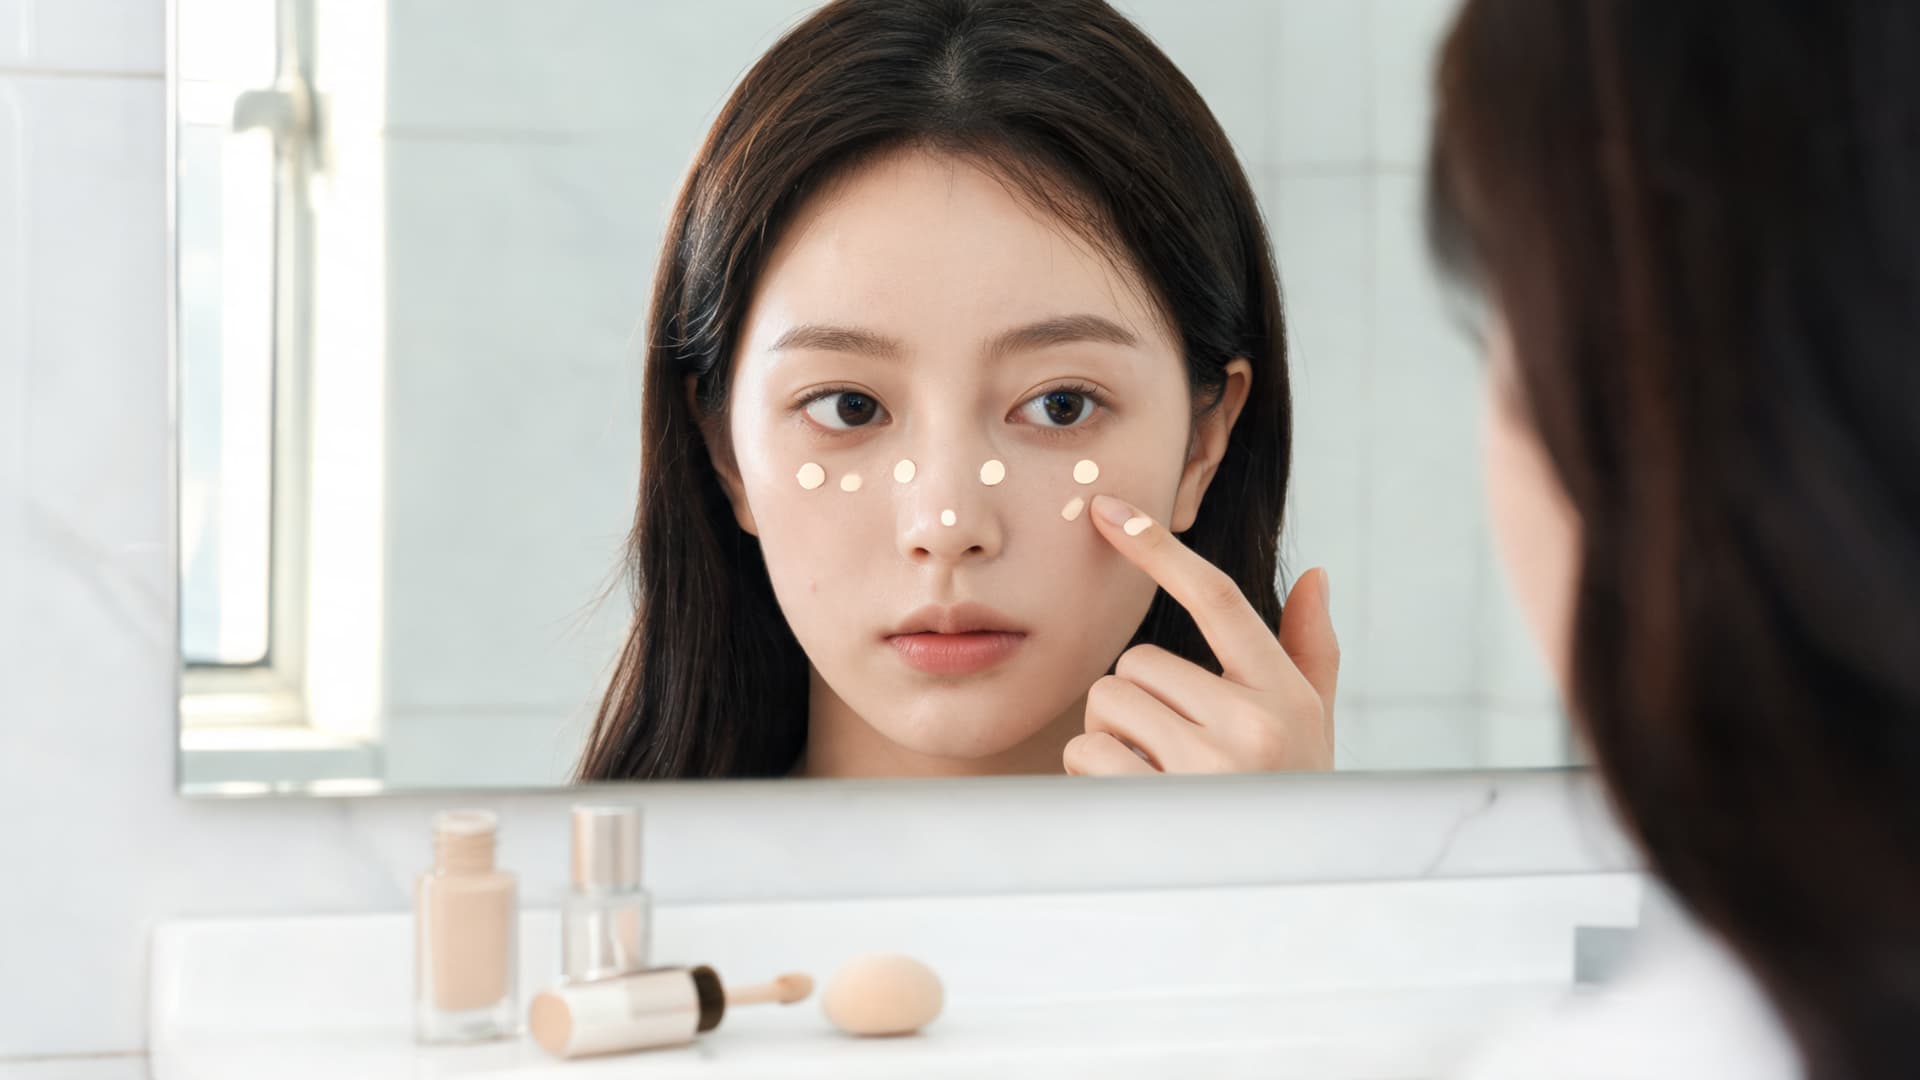
I use concealer under my eyes, around my nose, and on any blemishes that need a little extra coverage. I avoid covering my entire face because that can make natural makeup look heavier than it should.
Blending with my ring finger helps keep the edges soft and natural. I gently tap the product instead of rubbing it, which helps it melt into the skin better.
If a blemish is still visible after blending, I add a tiny second layer rather than applying a thick coat all at once.
Using concealer only where needed keeps the overall makeup looking fresh and lightweight.
Step 3: Soft, Brushed-Up Brows
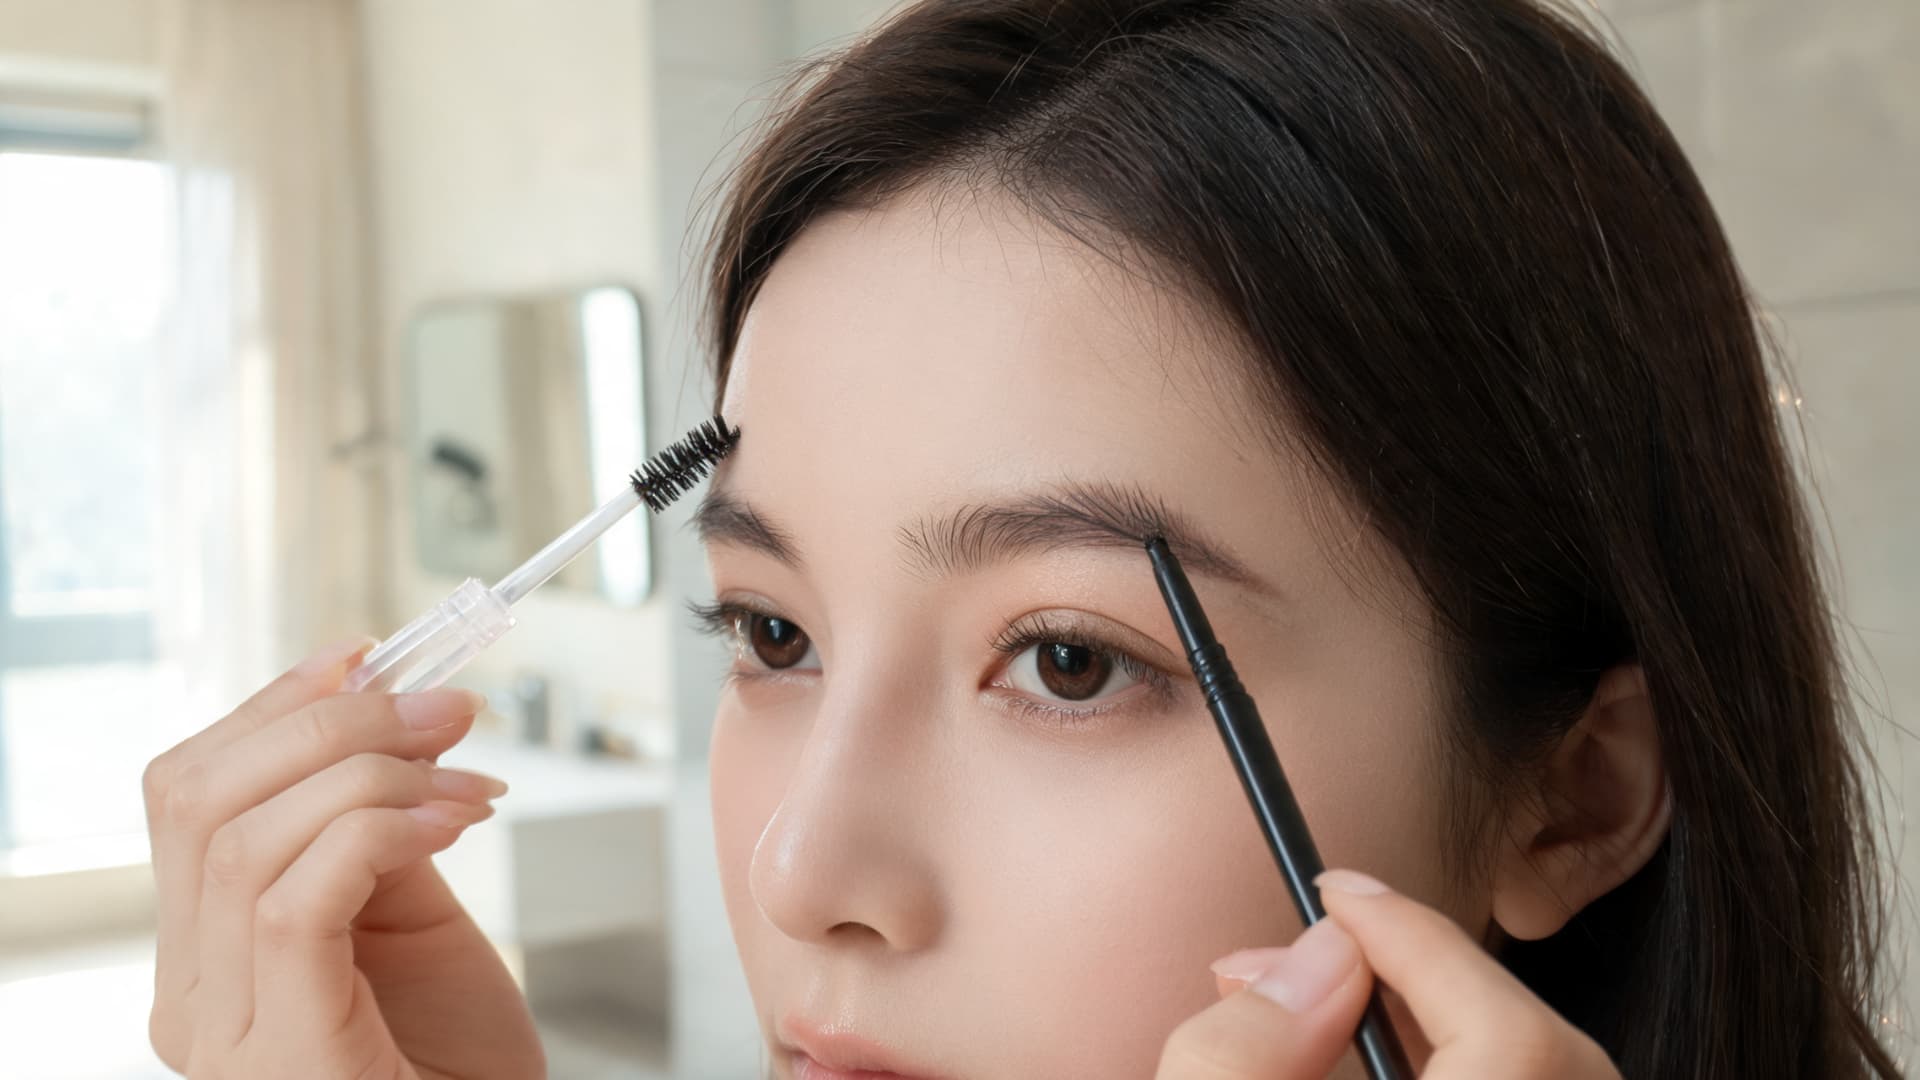
I brush my brows upward and fill sparse areas with light strokes. Instead of drawing a sharp outline, I follow my natural brow shape and focus on the areas that need a little more fullness.
This keeps the brows looking fuller without looking harsh or overly defined. I also avoid making the front of my brows too dark because softer brows match natural makeup looks much better.
After filling them in, I brush through them once more to blend everything together.
That extra step helps the color look more natural and prevents any heavy-looking patches.
Step 4: Cream Blush on the Cheeks
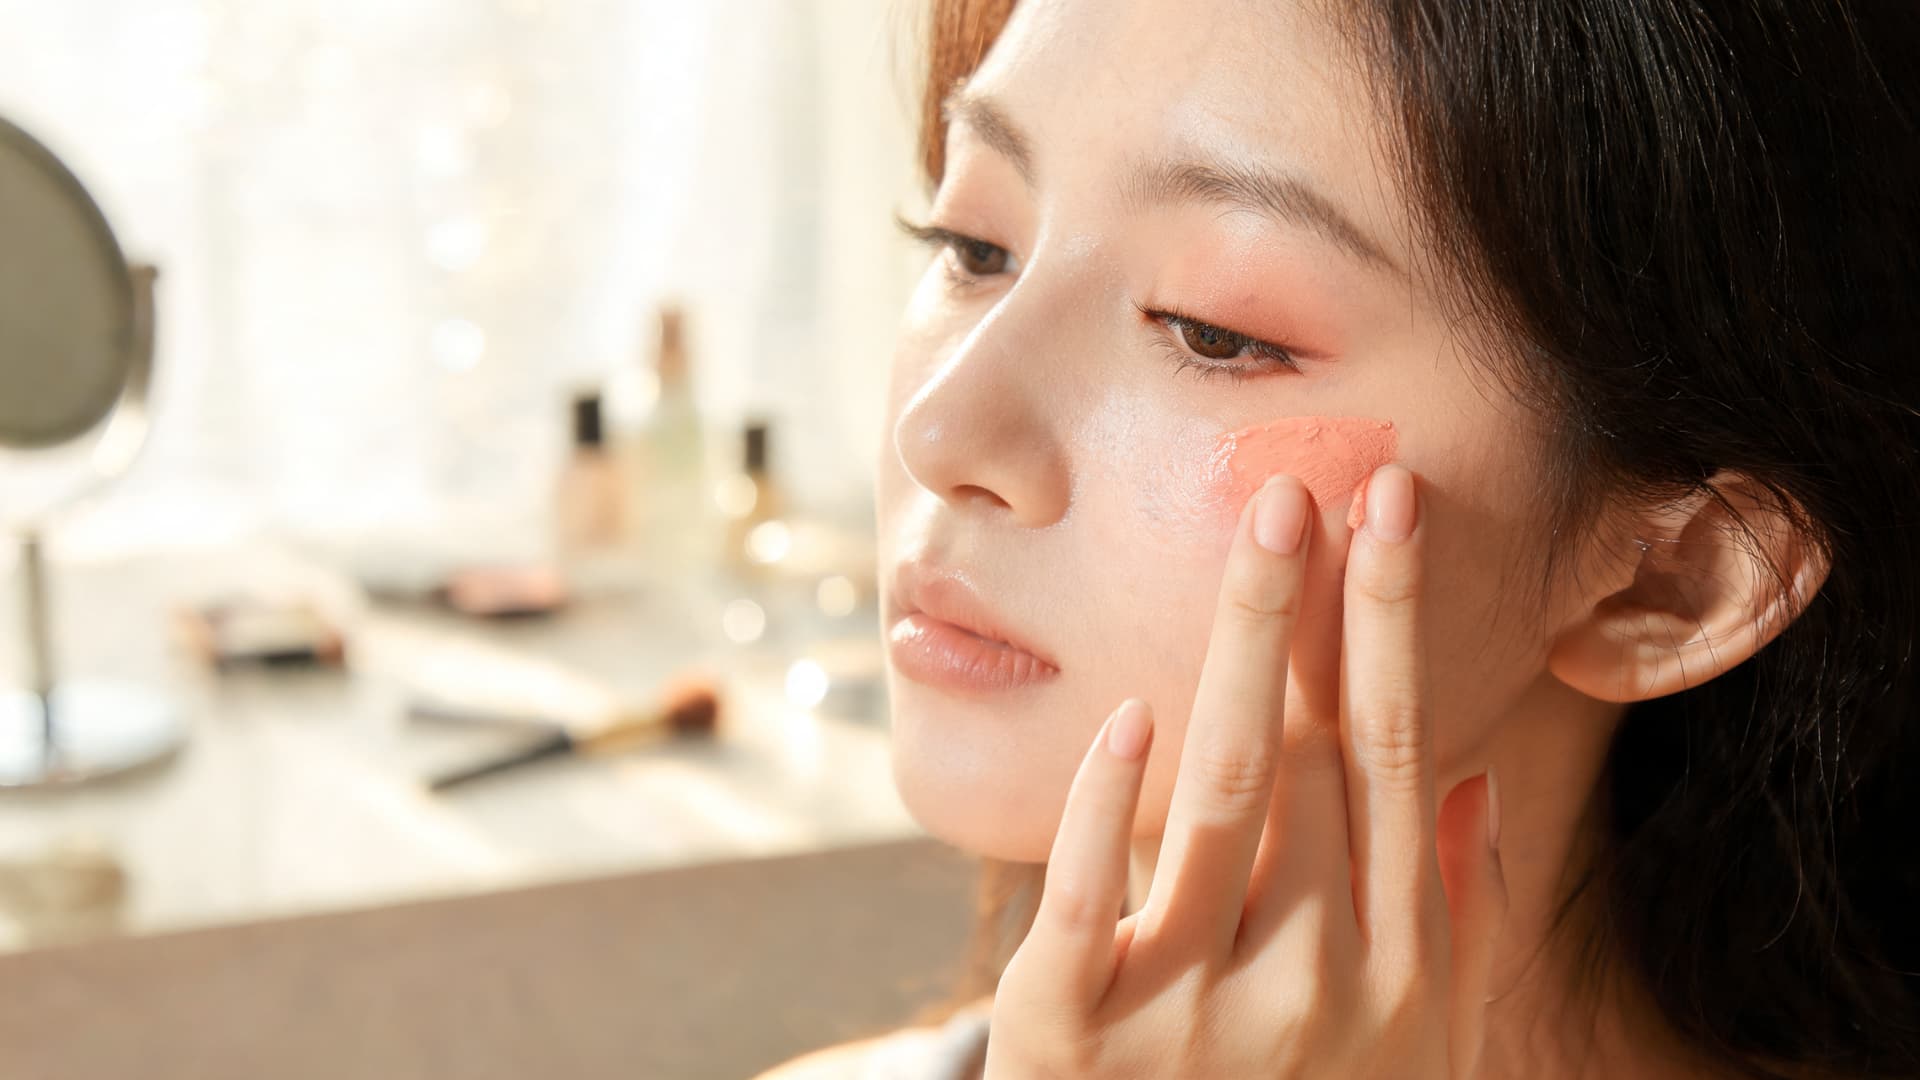
I tap a small amount of cream blush onto the apples of my cheeks and blend it upward toward my temples.
This adds healthy-looking color without creating a strong stripe on the face. Cream blush is one of the easiest products for beginners because it blends quickly into the skin and is easy to adjust.
If I accidentally apply too much, I simply blend it out with a sponge or my fingers.
For natural makeup looks, I prefer soft pink or peach tones because they mimic the natural flush that appears on the cheeks. A little product usually goes much farther than I expect.
Step 5: Minimal Eyes
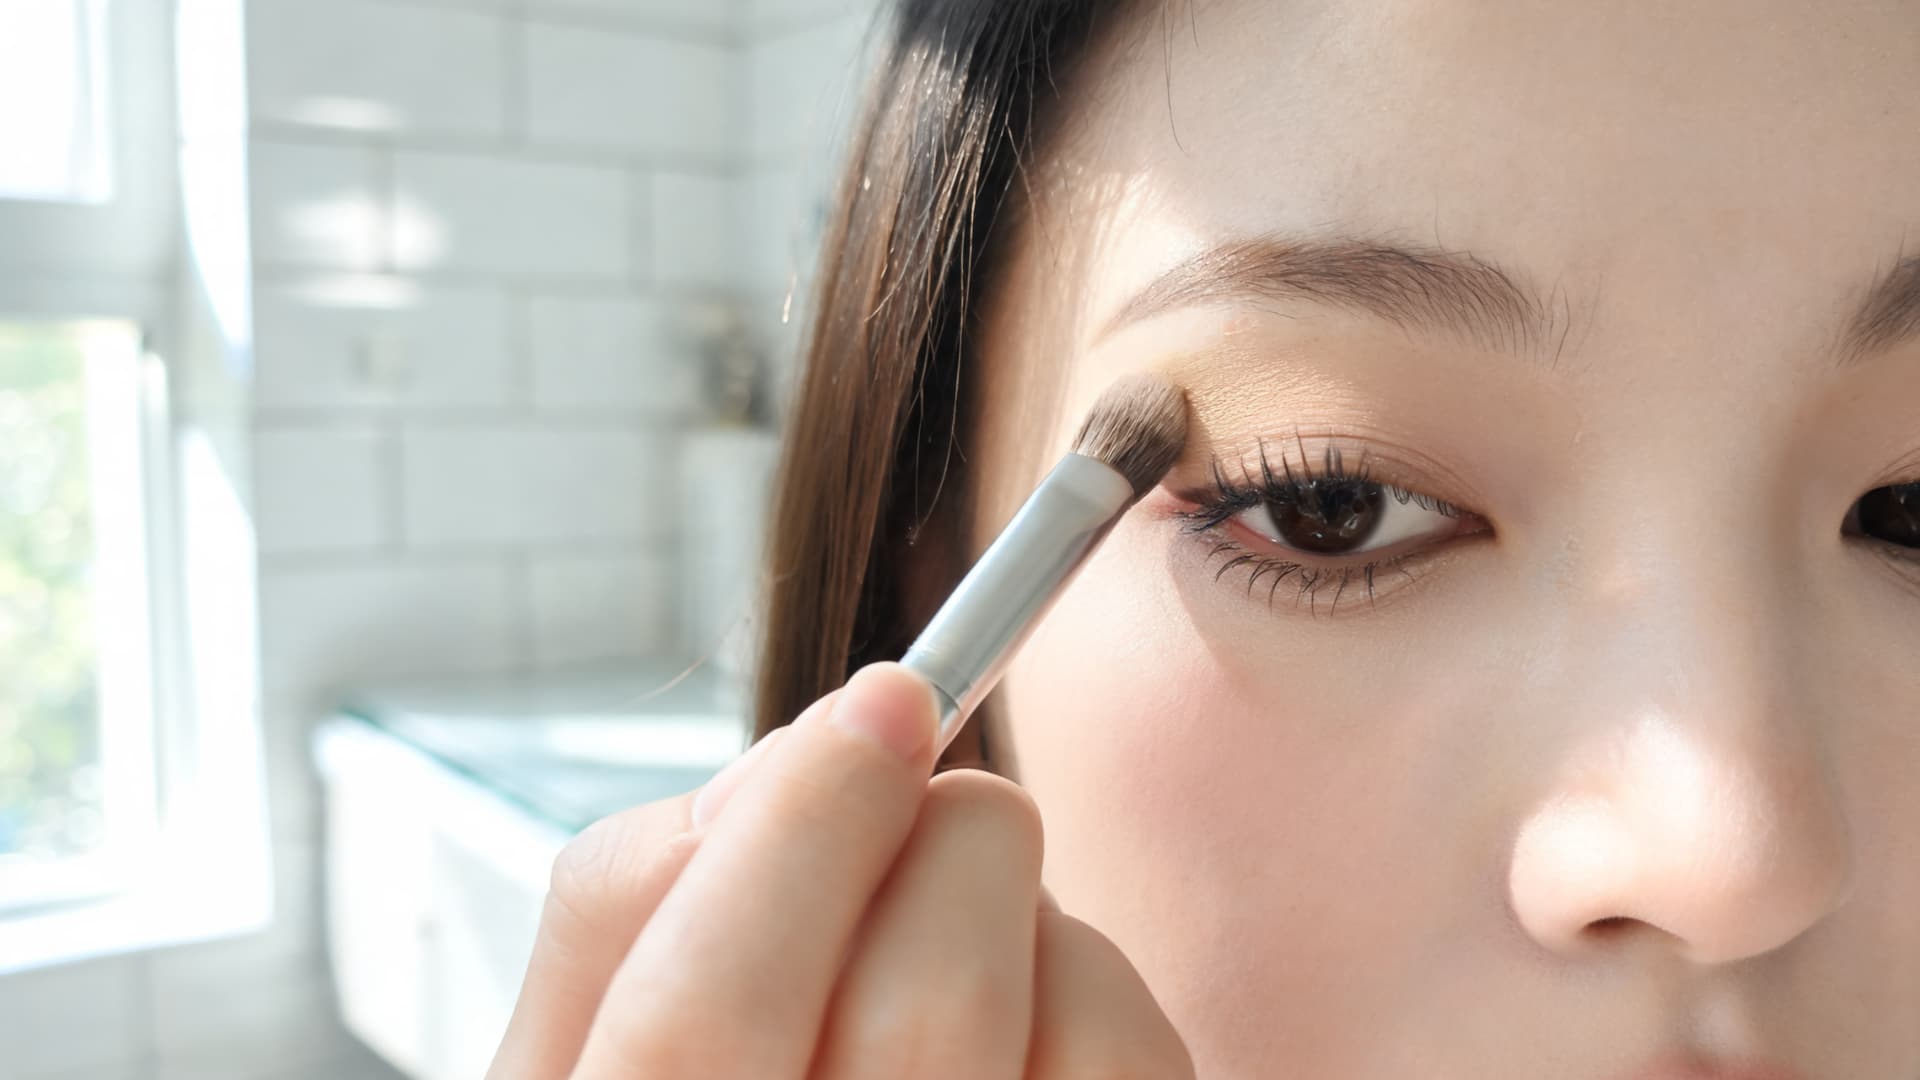
I usually use one neutral eyeshadow shade across the lid, curl my lashes, and apply one coat of mascara.
For natural makeup looks, I find that simple eye makeup works better than multiple dark shades because it keeps the focus on fresh-looking skin.
Curling my lashes helps my eyes look more open even before mascara. If I want a little extra definition, I add a slightly deeper neutral shade near the outer corner, but I still keep the overall eye look soft and easy.
One thin coat of mascara is usually enough to separate my lashes without making them look overly dramatic.
Step 6: A Touch of Cream Highlighter

I apply a small amount of cream highlighter to my cheekbones, the bridge of my nose, and my cupid’s bow. I keep the application very light because I want a soft glow, not a strong shimmer.
Cream highlighter blends into the skin more naturally than heavy powder formulas and catches light in a softer way. For natural makeup looks, I think a subtle glow looks much better than an obvious sparkle.
I usually tap it in with my fingertips so it melts into the makeup underneath instead of sitting on top. This helps the glow look like it is coming from my skin rather than from a separate product.
Step 7: Tinted Lips
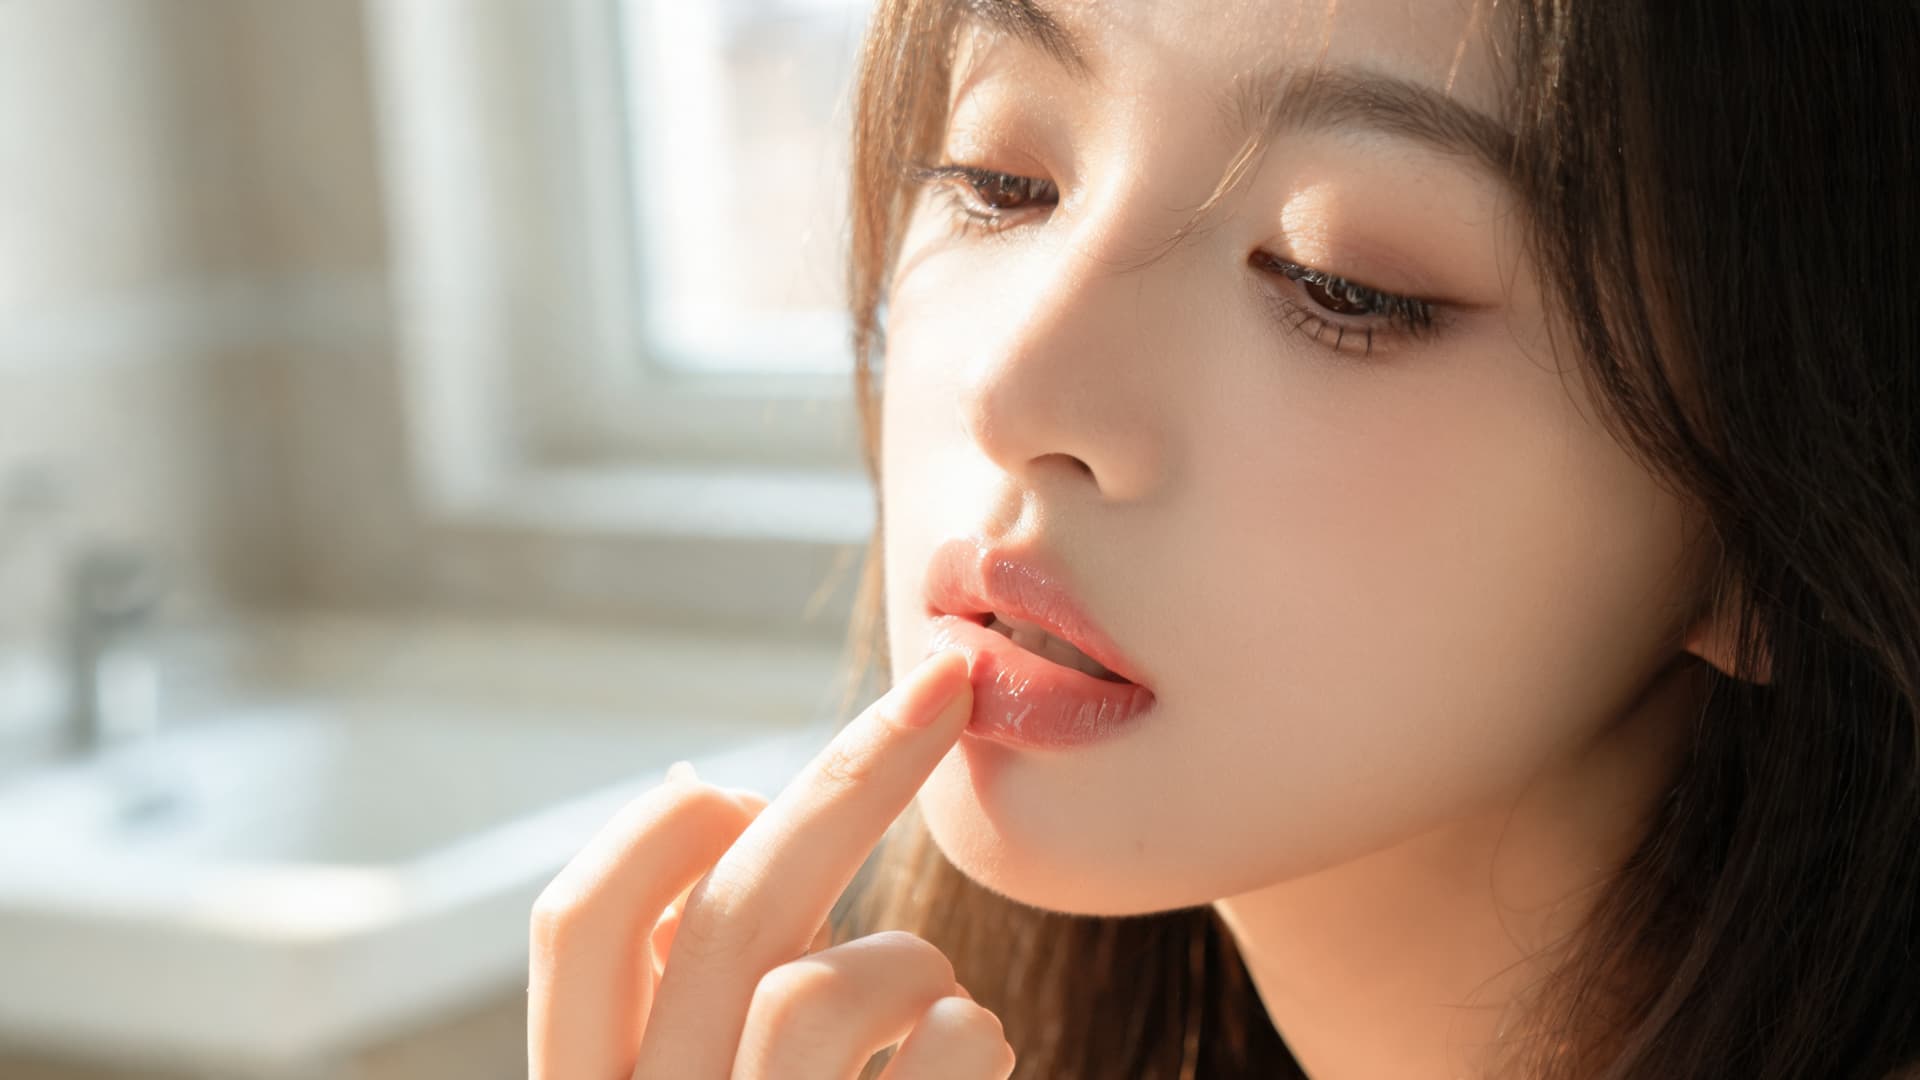
I finish with a lip balm, tint, or gloss that is close to my natural lip color. A soft lip shade works much better for natural makeup looks than a very bold or dark color because it keeps the overall look balanced.
I like products that add a little color while still keeping my lips hydrated. If I want the color to last longer, I tap a small amount onto my lips and blend it with my finger.
This creates a softer, more natural finish than applying a thick layer directly. It also makes touch-ups during the day much easier and quicker.
Step 8: Light Setting, Only if Needed
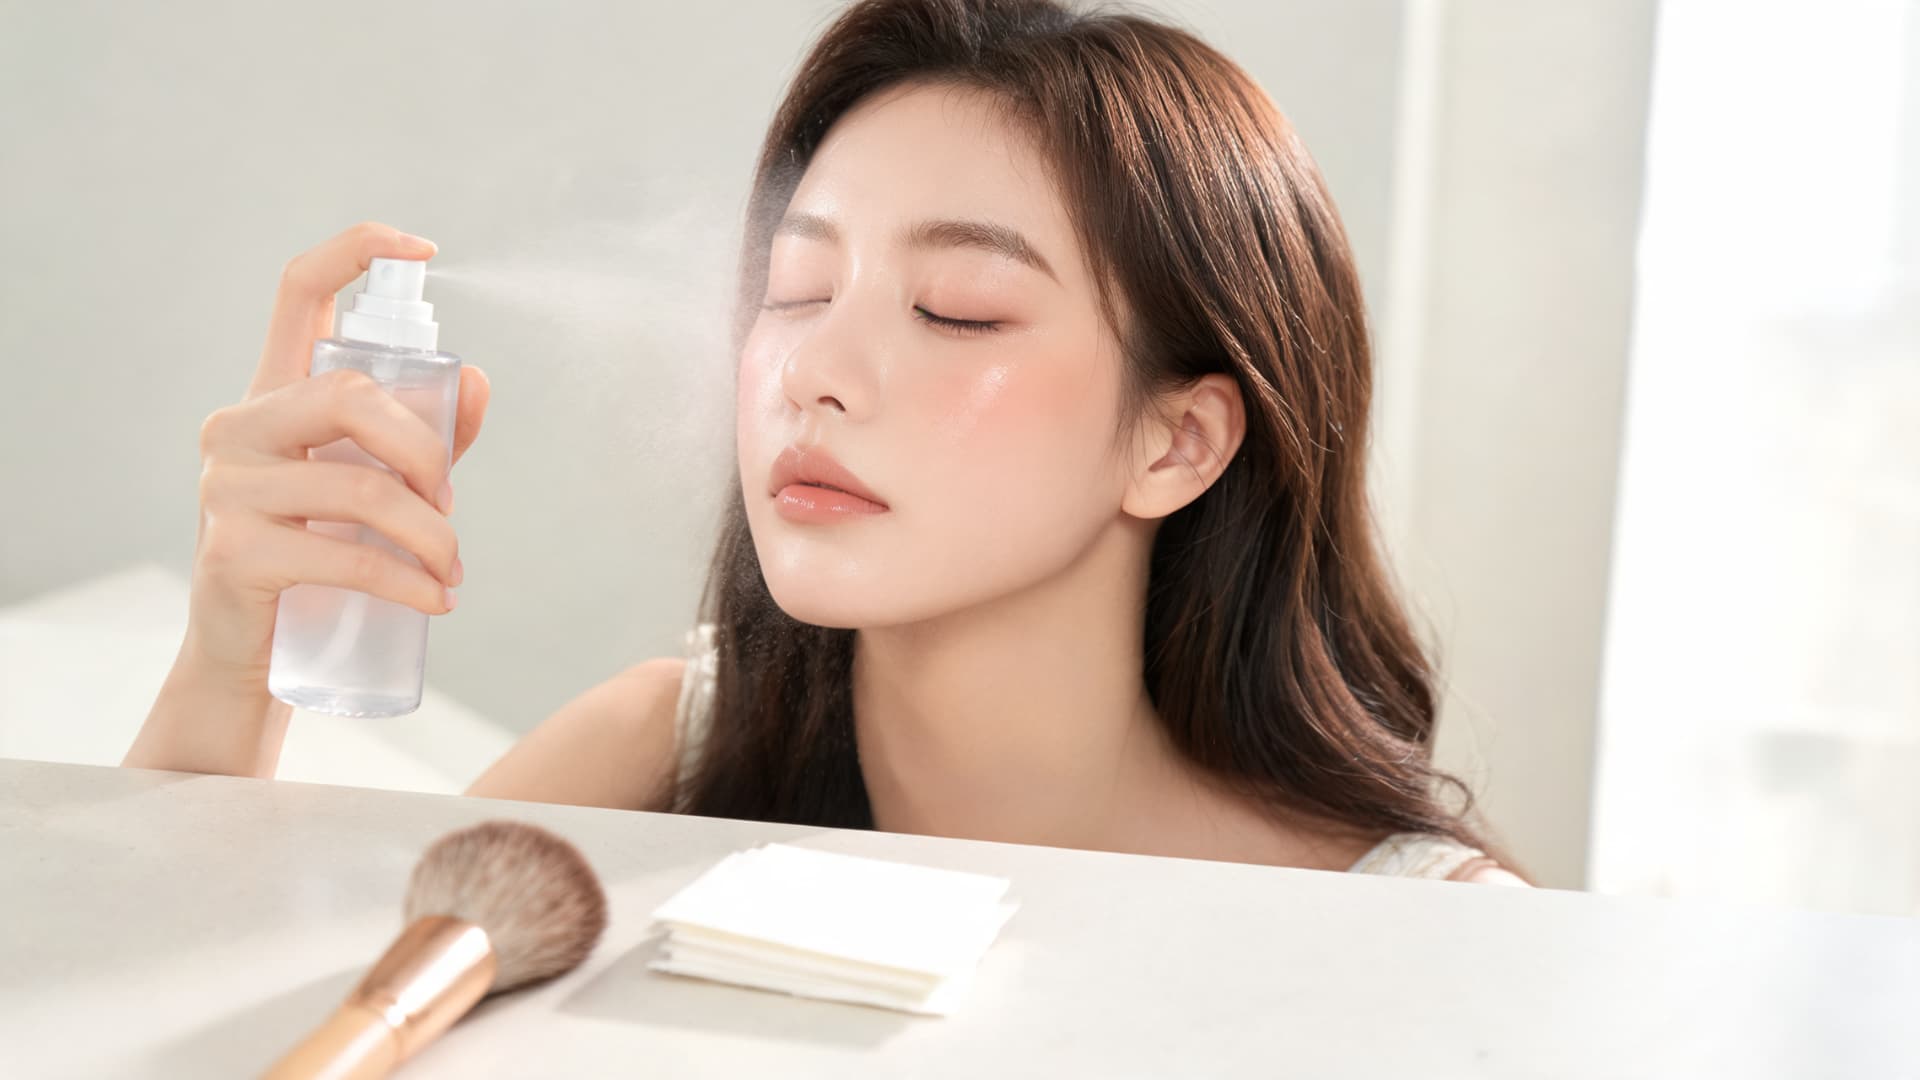
On humid days or long days, I use a setting spray or a tiny amount of powder on my T-zone. This helps my makeup last longer while keeping the soft, skin-like finish that I want from my natural makeup looks.
I avoid setting my entire face because too much powder can make cream products lose their glow.
If I notice extra shine later in the day, I blot first before adding more product. That keeps my makeup looking fresh instead of building up layers over time.
Using only a small amount of setting product helps the makeup stay in place without making it look dry or flat.
Mistakes that Make Natural Makeup Look Heavy
I made every one of these mistakes before I figured out what was going wrong.
- Using too much powder all over my face: This was my biggest mistake. It made my skin look flat and dry, even when my makeup looked good at first.
- Choosing a concealer that was too light: A shade much lighter than my skin tone created obvious bright patches under my eyes instead of a soft, natural finish.
- Drawing my brows too dark: I thought stronger brows would make my makeup look better, but they ended up looking harsh and took away the soft effect I wanted.
- Applying strong contour lines: Heavy contour made my face look more defined, but it also made my natural makeup look less natural.
- Using too much product at once: Thick layers were harder to blend and made my makeup look heavier throughout the day.
- What finally worked: Once I started using less product, blending more carefully, and keeping the edges softer, my natural makeup looks improved almost immediately. Lighter layers and smoother blending made the biggest difference.
Natural Makeup Tips for Different Skin Types
Natural makeup works best when I adjust the products and finish to suit my skin each day. Small changes can help the makeup feel comfortable, last longer, and maintain a fresh appearance.
| Skin Type or Need | Helpful Adjustment |
|---|---|
| Oily skin | I use a lightweight base and apply a small amount of powder only on my forehead, nose, and chin to control shine without drying the rest of my face. |
| Dry skin | I skip most powder products and use hydrating primer, cream blush, and moisture-rich formulas to keep my skin looking smooth and healthy. |
| Combination skin | I treat each area separately by powdering my forehead and nose while using cream products on my cheeks to prevent dryness. |
| Acne-prone skin | I choose lightweight, non-comedogenic makeup that feels comfortable and is less likely to clog pores or add unnecessary heaviness. |
| Longer wear | These simple adjustments help prevent fading, patchiness, and product buildup, keeping my natural makeup looks balanced from morning to evening. |
A Few Notes for Makeup Artists and Models
Creating natural makeup looks for client work or portfolio shoots requires careful application, as studio lighting and close-up cameras can make small details more noticeable.
I apply each product in thin layers rather than using a large amount at once. This gives me better control, makes blending easier, and helps the makeup appear smoother in photographs.
I also avoid heavy coverage because a base that looks even in person may appear thick or textured on camera. Adding coverage gradually only where needed creates a softer result.
Careful undertone matching is equally important because an incorrect foundation shade stands out more in natural makeup looks.
I test foundation along the jawline in natural daylight to see how well it matches both the face and neck. For blending, I prefer a damp sponge because it presses the product into the skin and creates a soft finish.
I also blend around the hairline, jawline, brows, eyes, and cheeks to remove harsh edges that may become visible under studio lighting.
Final Thoughts
Natural makeup looks do not have to be complicated. Once I figured out the right skin prep, lighter layers, and cream-based products, my makeup started looking much softer and more natural.
I now spend less time getting ready, and my skin still looks fresh throughout the day. The biggest lesson I learned is that natural makeup looks are more about blending than adding extra products.
A lightweight base, a little concealer, cream blush, mascara, and a tinted lip product are usually enough for an everyday look.
Start with the basics, practice a few times, and adjust the routine to match your skin type.
If you try this routine, let me know which step made the biggest difference for your natural makeup looks.
Frequently Asked Questions
Can I do a Natural Makeup Look Without Foundation?
Yes. A skin tint, tinted moisturizer, or even just concealer and blush can create a natural look.
How Long does a Light Natural Makeup Look Usually Last?
Mine usually lasts six to eight hours, especially when I use good skin prep and a light setting spray.
What is the Easiest Product for a Total Beginner to Start With?
I would start with a skin tint and a cream blush because they are easy to blend and forgiving.