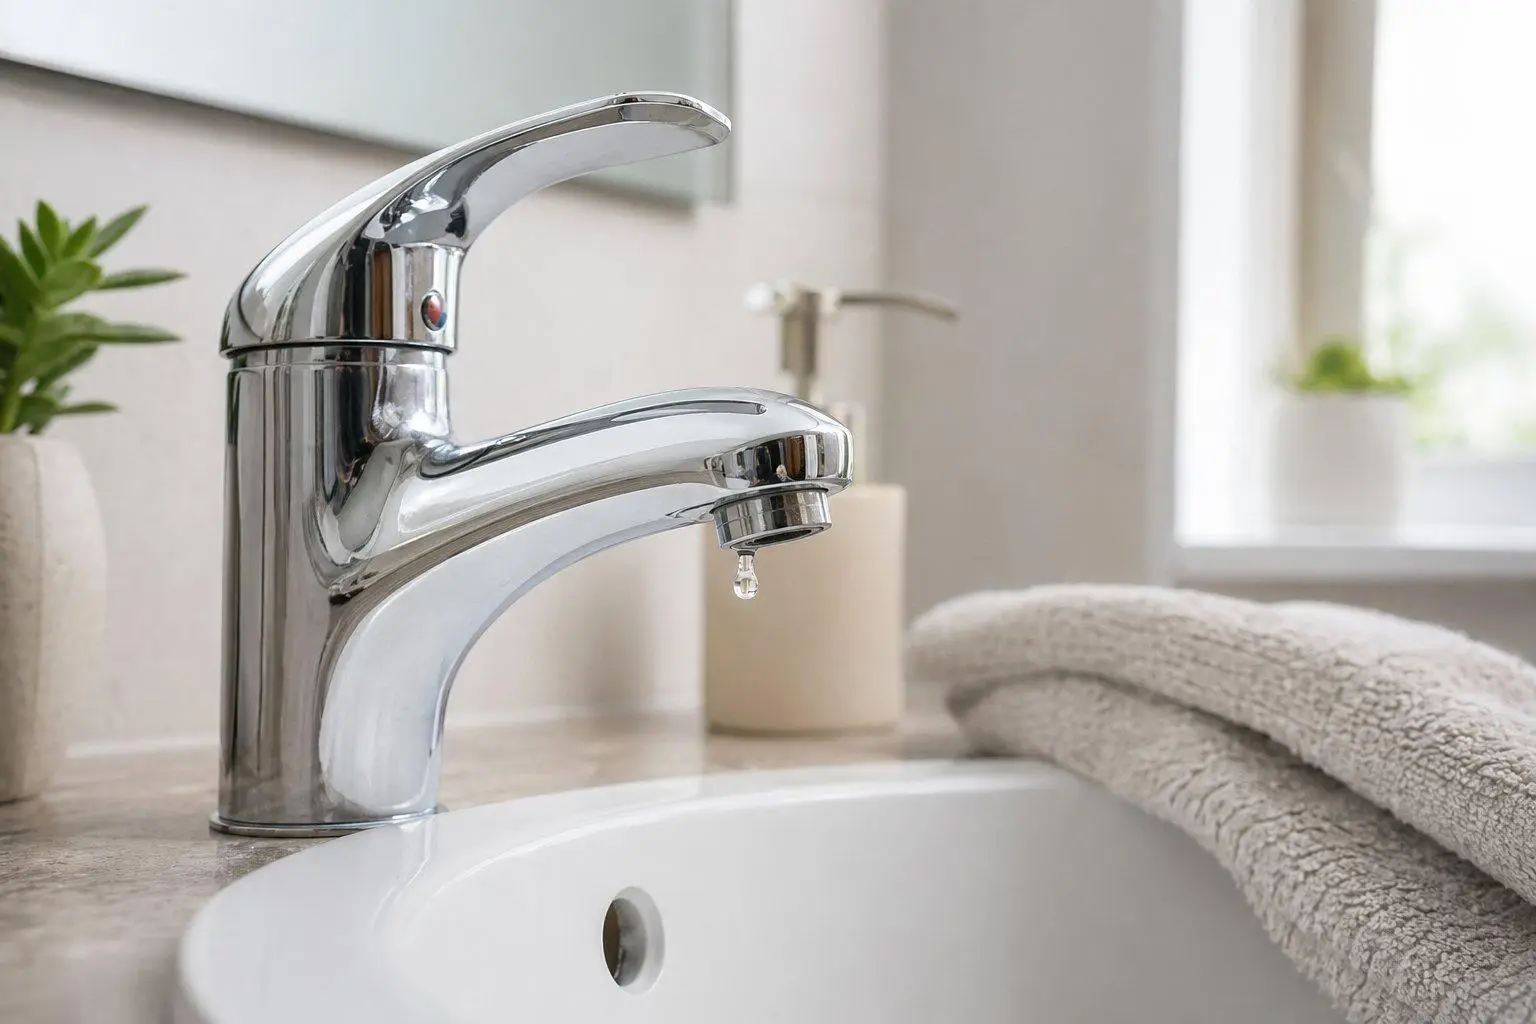
A leaking faucet is one of those small home problems that becomes impossible to ignore once you notice it. A slow drip from a single-handle faucet may not look serious at first, but it can waste water, stain the sink, and point to worn internal parts that need attention. The good news is that many single-handle faucet leaks are caused by a cartridge, seal, or O-ring that can be replaced without changing the entire faucet.
Before starting, it helps to understand what you are working with. A single-handle faucet controls hot and cold water through one handle, usually with a cartridge inside the faucet body. When that cartridge wears down, mineral buildup collects, or a rubber seal stops sitting tightly, water can continue to escape even when the handle is turned off.
Start by Finding Where the Leak Comes From
The first step is to look closely at the leak. If water drips from the spout while the handle is off, the cartridge is often the problem. If water gathers around the base of the faucet, the issue may be a worn O-ring or seal. If water appears under the sink, the leak may be coming from a supply line or shutoff valve instead of the faucet itself.
This quick check matters because it helps you avoid replacing the wrong part. A faucet that leaks from the spout usually needs a different fix than one leaking into the cabinet below.
Turn Off the Water Before Removing Anything
Open the cabinet under the sink and turn off both shutoff valves. One controls hot water and the other controls cold water. Turn them clockwise until they stop, then turn the faucet on for a few seconds to release pressure and confirm that the water is off.
If the water does not stop, or if a shutoff valve feels stuck, do not force it. Old plumbing can break when too much pressure is applied. In that case, it may be safer to get help before turning a small repair into a larger leak.
Remove the Handle Carefully
Most single-handle faucets have a small set screw hidden under a cap, behind the handle, or near the base. Use the correct Allen key or screwdriver and loosen it gently. Cover the drain with a towel before you begin so small screws or caps do not disappear into the sink.
Once the handle is off, place each part on a towel in the order it was removed. Taking a quick photo with your phone can also help when it is time to put everything back together.
Remove the Cartridge, Clip, or Retaining Nut
Under the handle, you may see a retaining nut, metal clip, decorative collar, or cartridge cover. Remove these parts slowly and keep them organized. If there is mineral buildup, avoid twisting too hard. A little patience is better than damaging the faucet body.
After the retaining part is removed, pull the cartridge straight out. Some cartridges come out by hand, while others may need pliers or a cartridge puller. Try to keep the cartridge aligned as you remove it so the inside of the faucet is not scratched or damaged.
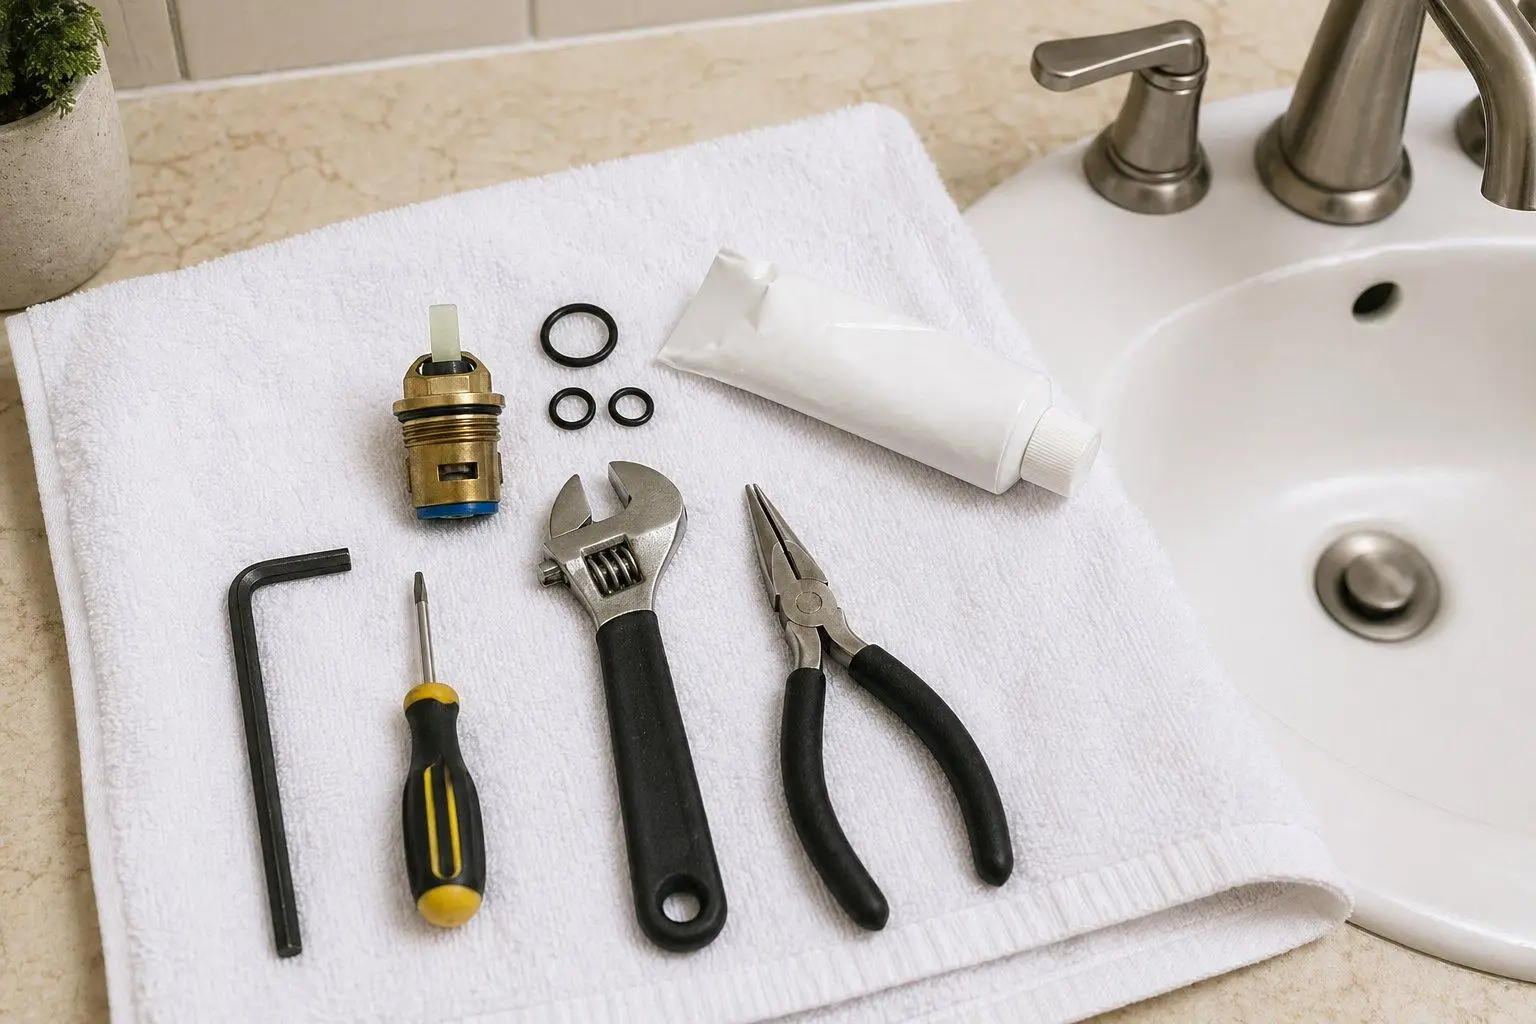
Match the Replacement Part
Single-handle faucets do not all use the same cartridge. Compare the old cartridge with the new one before installing it. The length, tabs, holes, and rubber seals should match closely. If something looks different, do not force the new part into place.
If you are replacing O-rings only, remove the old ones carefully and install the new ones in the same grooves. A small amount of plumber’s grease can help the seals sit properly and move smoothly.
Reassemble the Faucet and Test It
Put the cartridge, retaining nut or clip, collar, and handle back in the same order. Tighten everything securely, but do not over-tighten. Faucet parts need to seal, but too much force can crack plastic parts or make the handle difficult to move.
Turn the water valves back on slowly. Run both hot and cold water, move the handle through its full range, and then turn the faucet off. Watch the spout, the base of the faucet, and the cabinet below for any sign of leaking.
When It Is Better to Call for Help
A leaky single-handle faucet is often a manageable repair, but not every situation is simple. If the shutoff valves are stuck, the cartridge will not come out, water is leaking inside the cabinet, or you are not sure which replacement part to buy, it may be better to bring in a professional.
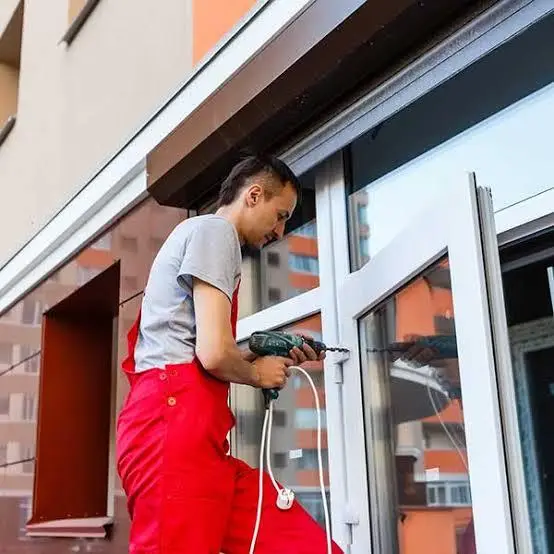
Homeowners who want help with small plumbing repairs, fixture replacement, mounting, assembly, or other home projects can compare local providers through Handyman Services and choose the right help for the job. You can also visit FixitTask to browse local help for everyday home repairs and small projects.
Final Thoughts
Learning how to fix a leaky single-handle faucet can save time, reduce water waste, and help you understand one of the most common small repairs around the home. The key is to work slowly, keep parts organized, match the replacement cartridge correctly, and stop if the repair begins to feel risky. A careful approach can often turn an annoying drip into a clean, working faucet again.