Eyes can make a portrait feel personal or strangely distant. Even in a strong photo, minor issues like dull irises, mild redness, uneven brightness, or a tired appearance can divert attention away from the subject’s expression. That is why you should know how to fix eyes in a photo. And it is not so easy to do it without extra glow, unnatural colors, and unappealing sharp edges. Specialized face-aware photo editing tools like Aperty are here to help you with this task.
In this step-by-step guide, we will teach our readers how to retouch eyes in Aperty from start to finish. We will offer a clean, repeatable workflow. By the end, you will be able to make your portraits shine without compromising their genuinity.
Step 1: Open the Photo in Aperty and Set Up Your View

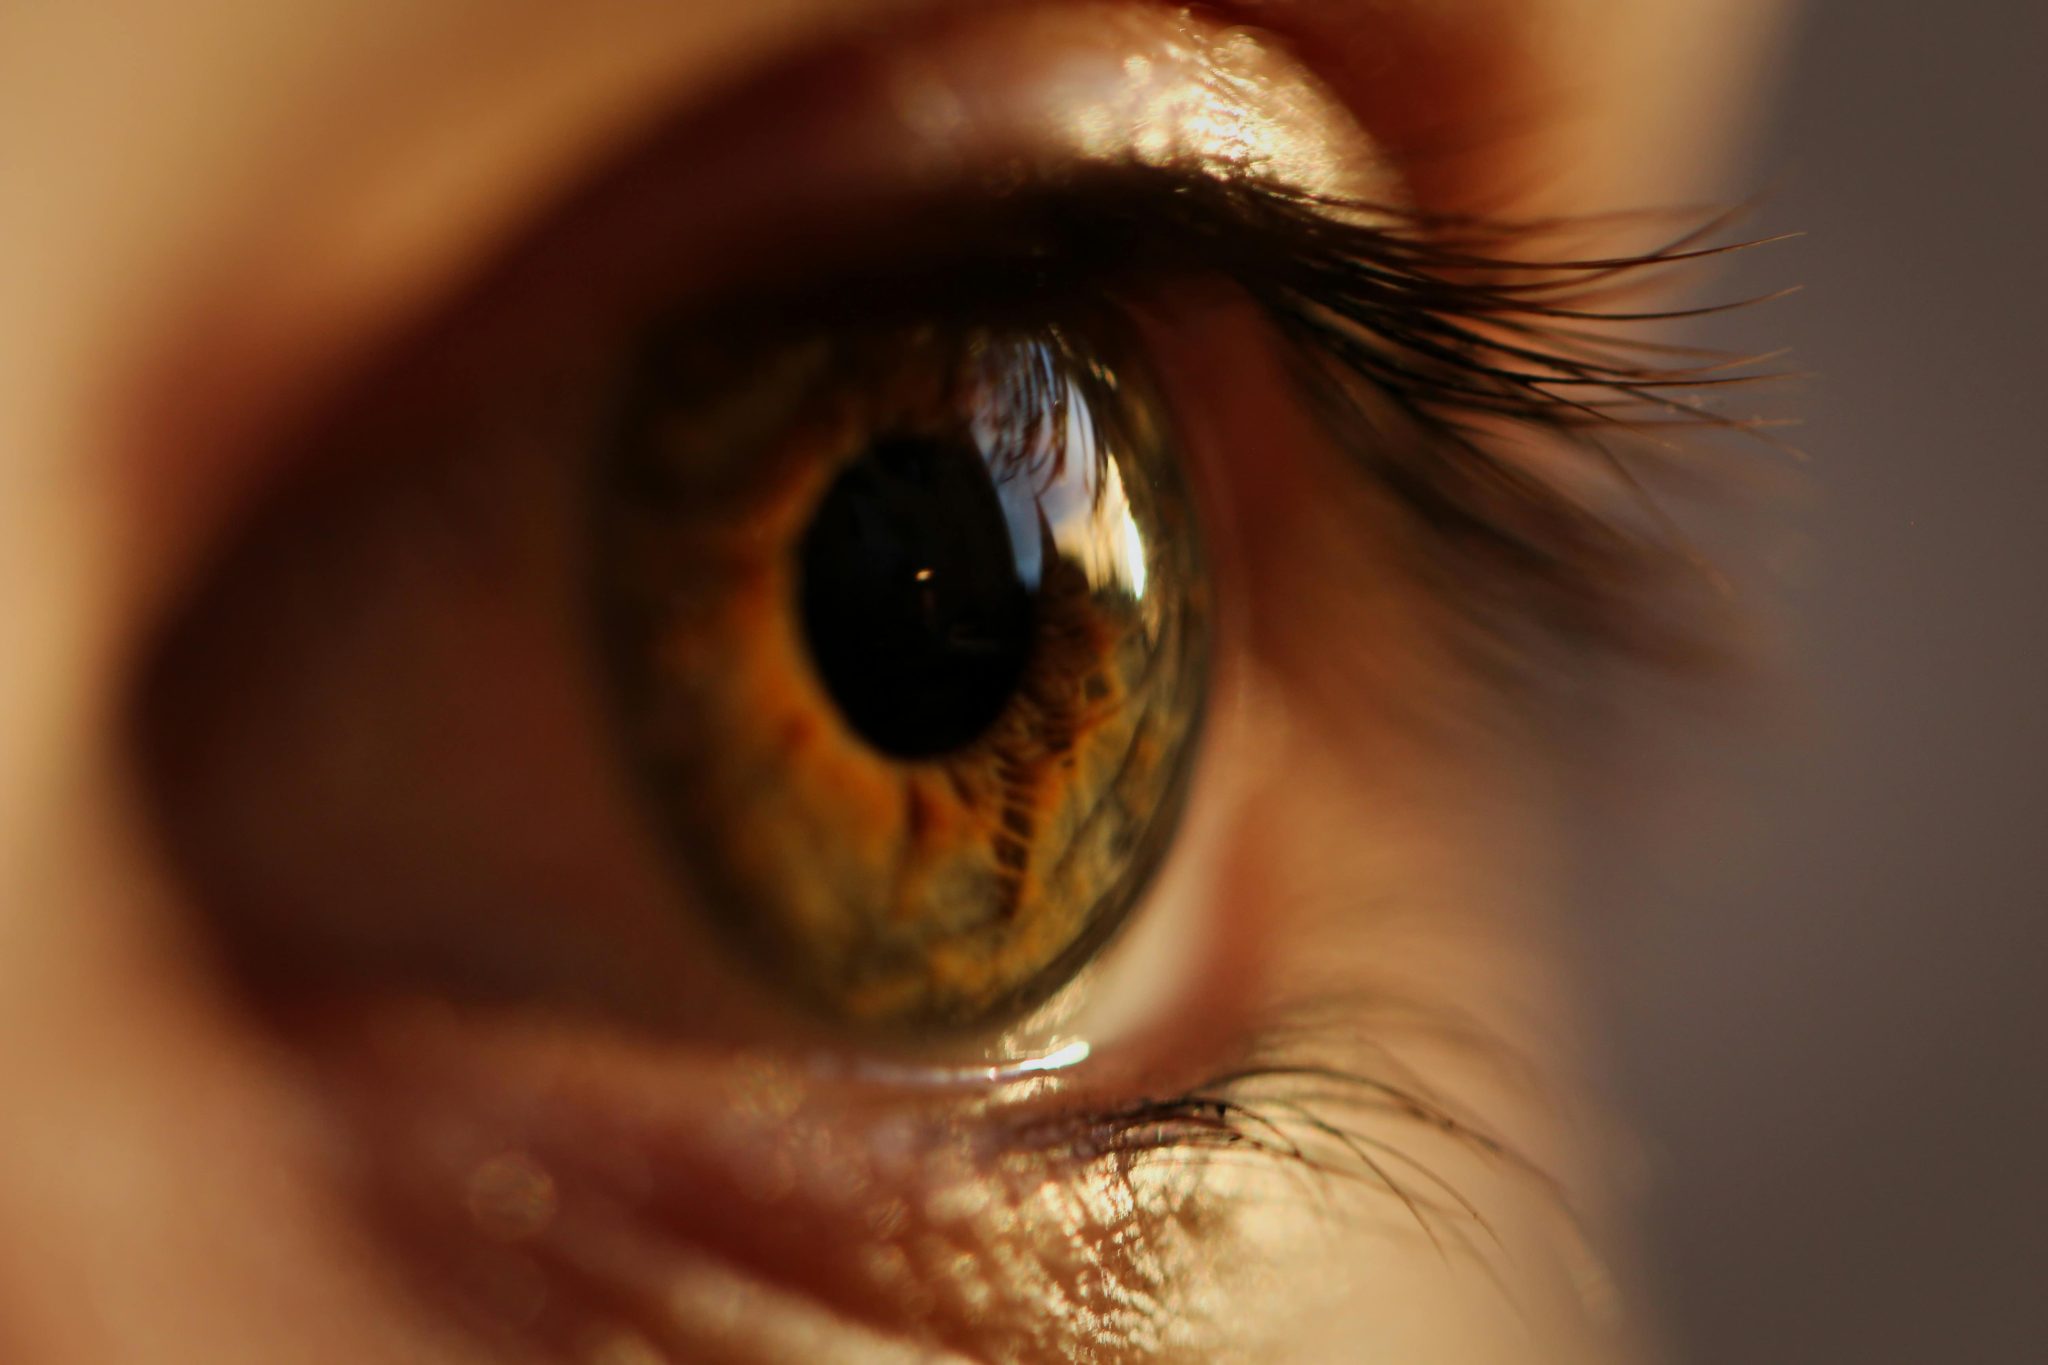
Understanding how to edit eyes in pictures begins with seeing the problem clearly, using 100% zoom on one eye. At this magnification, you can judge real detail: the edge of the iris, the texture in the whites, and whether you’re enhancing or just creating artifacts. Then, pan to the second eye and compare. When you fix eyes in a photo, it is important that the two eyes do not necessarily need identical adjustments of the same intensity.
Step 2: Clean the Whites
Start editing by addressing the whites of the eyes. It will set the foundation for more sophisticated enhancements. Aperty includes dedicated eye clean-up controls. They reduce redness, yellow tint, or uneven tone caused by fatigue, makeup reflections, or mixed lighting.
Pay attention to how the whites relate to the rest of the face. If they become brighter than teeth or highlights on the skin, then you should cancel your edit and redo it with a lower opacity. A good rule is to stop as soon as the eyes look rested rather than doll-like.
Step 3: Add Detail and Clarity
In Aperty, use the eye detail and clarity controls to define the iris texture and the lash line. If you see hard outlines or gritty noise around the pupil, it means that you have tweaked the slider too far, and you should decrease the effect. Crunchy eyelids, halo-like edges, and a sharpness that doesn’t match the skin can easily make your portrait unrealistic and unappealing. Luckily, Aperty’s non-destructive capabilities allow you to cancel your edits as many times as you want without risking losing the originals.
Work eye by eye rather than assuming both need the same strength. The eye closer to the light often already has more definition, while the shadow-side eye may need a touch more help.
Step 4: Enhance the Iris Color

If you want to know how to enhance eye color in photos using Aperty, nudge the brightness and contrast inside the iris. It is especially helpful in portraits shot in open shade, where eyes can look flat, or in soft studio light, where the iris texture can lose depth.
A small increase in saturation can bring life back to hazel, green, or blue eyes, but too much will make the color look painted on. If the iris starts to glow or the edge becomes too sharp compared to the skin and lashes, step back and reduce intensity.
Check both eyes together at a normal viewing size. Color changes can appear fine at 100% zoom but uneven at full-face view, especially if one eye is positioned deeper in shadow. If needed, bring the stronger eye down slightly instead of pushing the weaker eye up.
Step 5: Adjust the Shape
A slight head turn, a wide lens up close, or a momentary squint can make one eye appear smaller or less open. If that distracts from the portrait, a slight adjustment to openness or size with Aperty’s reshape controls can restore symmetry without altering the person’s identity.
Skip shape work entirely when the portrait is meant to feel documentary or character-driven. In those cases, small asymmetries are part of what makes the image honest.
Step 6: Blend Eye Retouching with the Rest of the Face
Step back and judge the face as a whole. If the eyes appear brighter or sharper than the surrounding skin texture, reduce clarity or brightness until they blend naturally within the scene’s lighting. Match the eyes to your overall contrast and color. If the portrait has soft, low-contrast lighting, keep eye definition gentle. If the image is crisp and punchy, you can allow a bit more detail, but only if it lets you stay consistent.
Finish with a quick “three-distance check.” Look at 100% for accuracy, 50% for balance, and full-screen for realism. If the eyes still appear natural at all three views, your retouch is blended. You can save your edits as a reusable preset for further projects and/or export the enhanced picture in your chosen format.
Conclusion
Retouching eyes in Aperty works best when you keep the workflow simple and the goal realistic. With the consistent step-by-step approach presented in this guide, you will deliver portraits where the eyes feel clearer, brighter, and more engaging.


