You know that feeling. After a wedding, family session, or big portrait job, you come back with a card full of images. You adore the outcome, but the idea of going through each and every face, fixing skin imperfections, and adjusting the lighting on all of the images scares you.
Fortunately, there are specialized programs to bulk edit photos. It means that they can process multiple images simultaneously and apply predefined adjustments to them all, saving you time and maintaining consistency across your collection.
The goal of this guide is straightforward: to show you, step by step, how to streamline a large portrait session into a smooth workflow, using the example of a portrait-specific AI-based batch photo editor called Aperty. You will learn how to edit photos faster without compromising quality, sync your signature look to the full shoot, and walk away with a consistent, professional result.
Step 1: Import Your Session
Before you batch edit photos, review your shoot in a viewer or your usual catalog tool. Remove test shots, misfires, and out-of-focus images. Once you are done, import the remaining photos into Aperty as a single session with an “Import” button.
Step 2: Choose Your Hero Portrait
Scan through the thumbnails and choose a single frame that you think best conveys the idea. It is intended to capture the overall feeling and effect of the entire photo session. Search for standard lighting, natural skin tones, and a pose that stands out. This hero image will serve as your visual cue for the next steps.
Step 3: Set the Reference
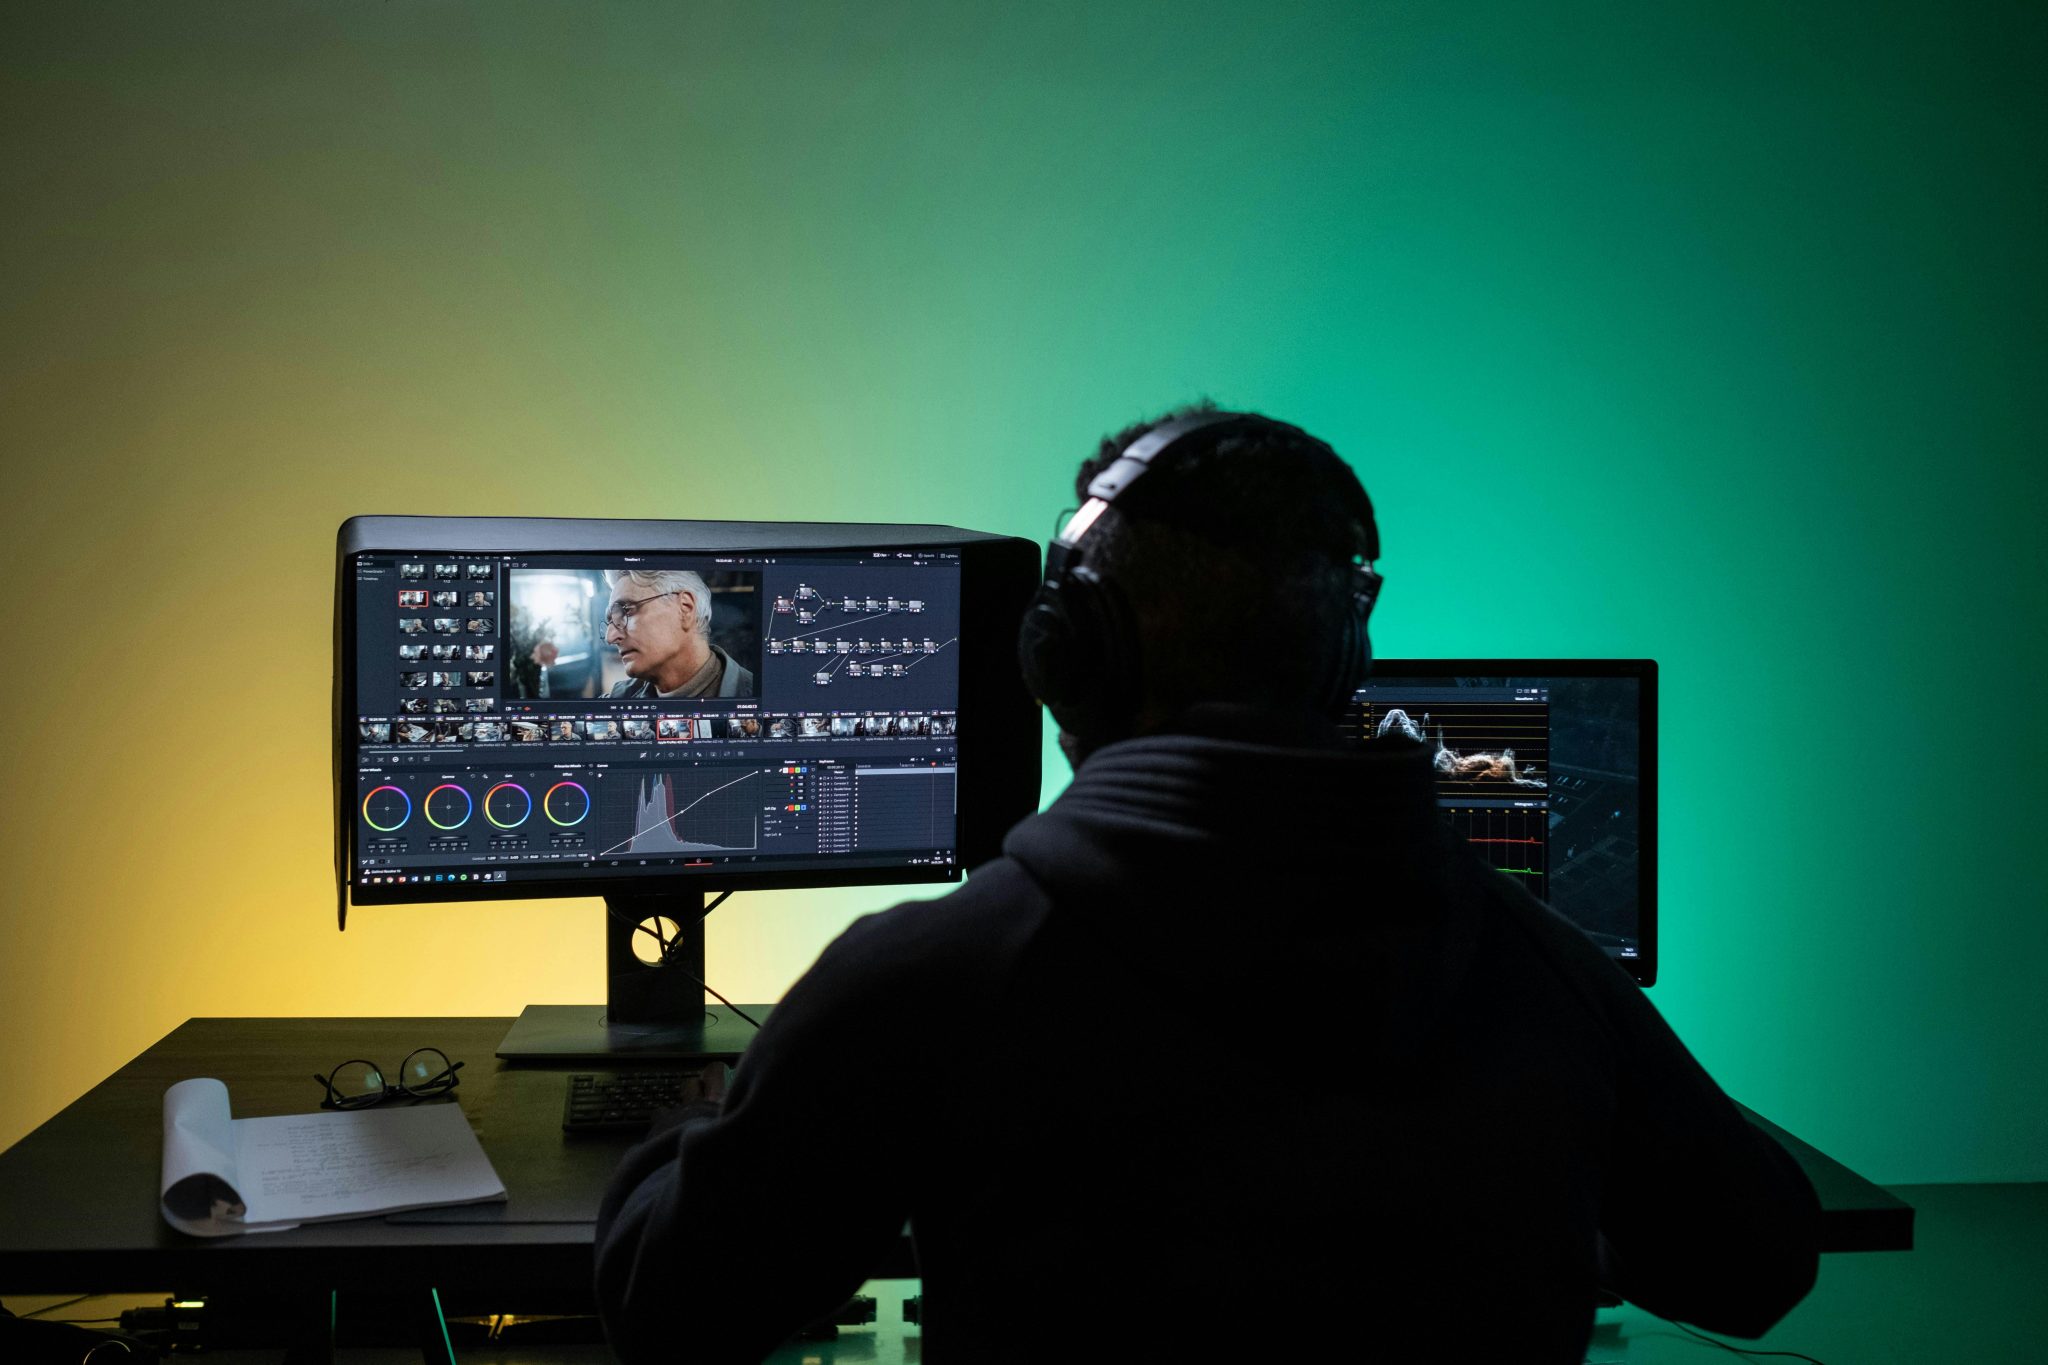
Open your hero shot in Aperty and fine-tune it. Begin by changing the exposure and contrast. Make the highlights and shadows have clear details. Then move to color balance. Adjust the sliders to make skin tones look natural. Your photo shouldn’t be too warm (orangish) or too cold (bluish).
Gently remove blemishes from the face, even out the skin texture, and enhance facial features. Utilize specific tools to accentuate the model’s eyes and lips. Here, photo editing tips suggest that you should be very careful, as an excessive amount of this can make the face appear artificial and unnatural. If you like the outcome, create a preset or reusable look based on these changes.
Step 4: Batch Process Your Images
Select the remaining portraits that share a similar lighting style and apply your saved preset, or copy the settings from the hero image to them. Aperty is an AI-based tool that automatically detects faces and applies the same type of corrections to every photo with just a few clicks. It is faster and more convenient than repeating the same steps manually many times.
Step 5: Fine-Tune Outliers and Groups
Scroll through the series and look for outliers. These include frames with stronger highlights, reflections in glasses, significantly different skin tones, or unusual poses. Open only these images and make small local changes on top of the batch adjustments.
Step 6: Export the Whole Set in One Pass
Select your finished images and export them all at once. Choose the format, resolution, and sharpening of the image that are most suitable for your needs. Create a uniform naming pattern to make files visually appealing to clients or platforms. There is no limit to the number of files or exports that Aperty can take care of, so you do not have to think about restrictions while you perform the whole session.
Common Mistakes to Avoid When Using Aperty
- Pushing too far. When skin is overly smoothed, pores disappear, and every face starts to look unrealistic and unappealing. To avoid it, zoom in, dial effects back a little, and ensure the person’s face remains recognizable.
- Neglecting lighting inconsistencies. A look built on soft window light will rarely work on hard midday sun. If your session has different lighting setups, think about making a separate hero image or preset for each group and using it as needed. It will keep your gallery consistent while still allowing for diversity and versatility.
- Trusting AI too much. Even strong AI can struggle with reflections from glasses, heavy makeup, or unusual angles. Always perform a quick review of the final set by opening a few random files from different parts of the session and making minor adjustments as needed.
- Changing your style drastically from one project to another. If every shoot gets a completely different treatment, your portfolio will feel scattered. Save your favorite Aperty looks, reuse them when they fit, and evolve them slowly as your skills develop. Develop your own style and unique creative vision that will make your work stand out and be recognizable.
Conclusion
With the help of AI-powered batch photo retouching tools, such as Aperty, you can significantly speed up your workflow when dealing with dozens of portraits. These utilities are designed to help photographers produce consistent, high-quality photos. The methodical, sequential process outlined in this guide will help you boost your production without eroding your creative identity. Keep practicing, avoid easy traps, and you will soon produce beautiful photo galleries quickly and easily.


