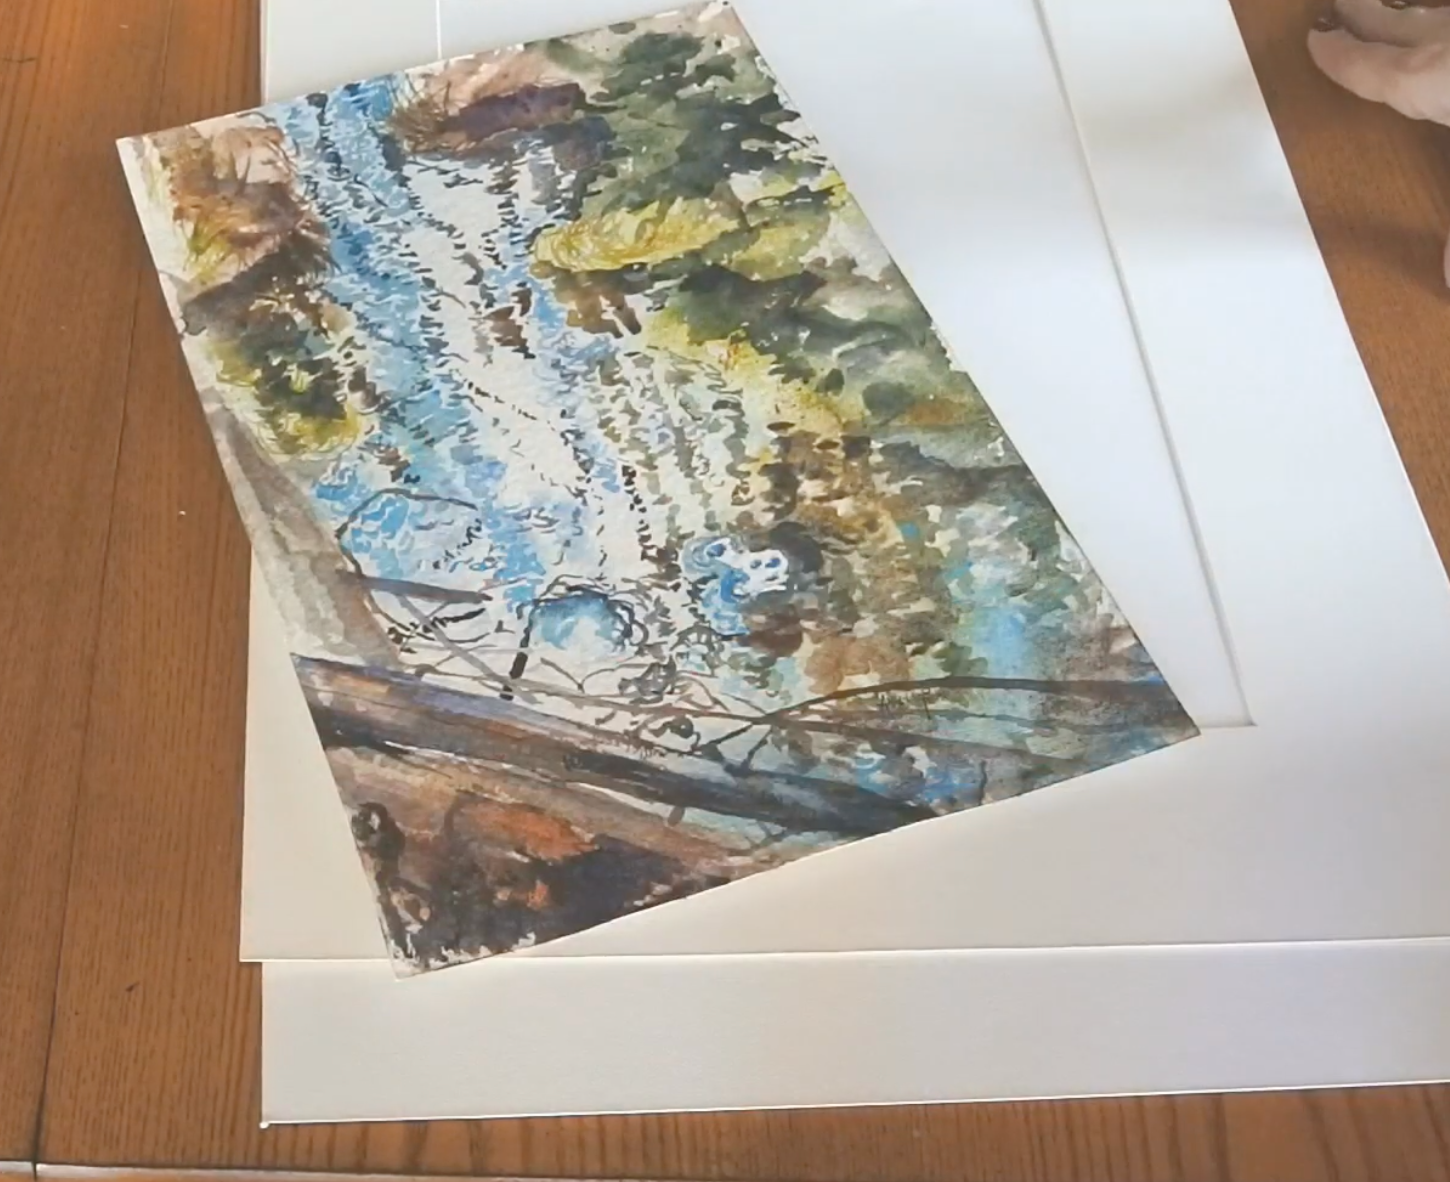
Framing a watercolor painting is one of the easiest ways to turn a meaningful piece of art-whether it’s something you painted, a family project, or a child’s proud creation-into décor that brightens your home. Even though it may look intimidating, the process is simple, affordable, and incredibly rewarding. With the right frame and supplies, your watercolor can take on a whole new life while staying protected for years to come.
This guide walks you through everything you need to know, step by step, in that friendly, no-stress, Optimistic Mommy style.
Why Frame a Watercolor Painting?
Watercolors are stunning but delicate. The paper is more vulnerable than canvas and needs a little extra care. Framing does more than improve how it looks-it helps your artwork last.
Framing protects your watercolor from:
- Fading from sunlight
- Dust and dirt
- Warping or bending over time
- Children’s curious hands (we’ve all been there!)
Plus, framing a piece painted by your child makes them feel proud and turns their creativity into part of your family’s story. It becomes more than décor-it becomes a memory.
What You’ll Need to Get Started
Before you begin, gather a few basics. Good materials protect your artwork and make the final result look polished and intentional.
You’ll need:
- A frame that fits your painting
- An acid-free mat (so your painting doesn’t yellow as it ages)
- Acid-free or archival tape
- UV-protective glass or acrylic
- A clean backing board
- Soft cloth for cleaning the glass
If you want beautiful, frame-worthy watercolors but need a dependable kit to start with, explore Tobios Watercolor Kits. These kits include high-quality paints and paper-perfect for creating art you’ll actually want to hang.
Prepping Your Watercolor for Framing

A little prep makes a big difference.
1. Let it dry completely.
Watercolors can look dry but still hold moisture. Give them at least 24 hours, or longer if the paper still feels cool.
2. Flatten it gently.
If the paper warped (which is common), place it between two sheets of clean paper and put a few heavy books on top overnight.
3. Clean your glass or acrylic.
Any smudge you miss now will haunt you later-clean it thoroughly with a microfiber cloth.
4. Use the right tape.
Only use acid-free tape, and tape the top edge of the painting to the backing. This allows the paper to expand naturally without buckling.
How to Frame Your Watercolor: Step-by-Step
Step 1: Disassemble the frame
Remove the backing and glass and lay everything out on a clean surface.
Step 2: Position your mat
Use an acid-free mat to keep your watercolor from touching the glass. The opening should be slightly smaller than your painting so the edges sit neatly behind it.
If cutting a mat feels intimidating, most craft stores offer inexpensive custom mat cutting.
Step 3: Attach your painting
Center your watercolor behind the mat, and use archival tape only along the top edge. This keeps the piece secure but allows natural movement.
Step 4: Assemble the layers
Place the clean glass into the frame first, then your matted artwork, followed by the backing board.
Step 5: Close the frame
Secure the tabs, flip everything over, and admire your beautifully framed piece.
Choosing the Right Frame for Your Space
Your frame should complement your watercolor and work with the décor in your home.
Consider these options:
- White frames – bright, clean, and perfect for kids’ art
- Natural wood frames – warm and earthy
- Black frames – simple, modern, and elegant
- Gold frames – great for florals or more decorative pieces
Watercolors tend to have soft edges and gentle transitions, so subtle frames often work best. If your home has a busy décor style, opt for something simple. If your space is more minimal, choose a frame with texture or warmth.
Common Mistakes to Avoid
Even with the best intentions, these errors can damage your artwork over time:
- Avoid regular tape – it yellows and leaves residue.
- Don’t expose the piece to direct sunlight – even with UV glass, watercolors fade.
- Never press the watercolor against the glass – it can stick or develop moisture spots.
- Don’t over-tighten your artwork – watercolor paper needs room to move.
Where to Display Your Framed Watercolor
Displaying art is where the fun begins! Watercolors work beautifully in:
- Hallways and gallery walls
- Reading nooks
- Bedrooms
- Kitchens (away from humidity)
- Above shelves or dressers
- Playrooms or craft rooms
Let kids help choose where to hang their artwork. It adds ownership and excitement and turns your display into a family experience.
How to Keep Your Art Looking Great
Maintaining your framed watercolor is easy:
- Dust the frame regularly
- Avoid strong glass cleaners-use a gentle wipe
- Keep the artwork away from bathrooms or steamy kitchens
- Check occasionally to make sure nothing has shifted inside the frame
A bit of care keeps your art bright and beautiful for years.
Final Thoughts
Framing a watercolor painting is a simple and meaningful way to bring personality into your home. With just a few materials and a little time, you can turn your favorite pieces into cherished décor that reflects your style, your creativity, and your family’s moments.
Whether you’re framing your child’s rainbow masterpiece or your own calming landscape, you’ll love seeing it on the wall-brightening your home and your day.


