Every home needs a reliable set of tools. With the right basics, you can hang shelves, fix a sticking door, swap a faucet, and paint a room without calling for help. Start with quality pieces, then add specialty tools as your projects grow. One note before you begin: protect yourself first. Keep safety glasses, hearing protection, and sturdy gloves within reach so you can grab them automatically.
This guide highlights tools that earn their space. Each section explains what to buy, why it matters, and how to use the gear with confidence. Mix these tools with simple planning, and your home will stay in great shape year-round.
Personal Safety Gear
A safe project starts before you plug in a saw or lift a hammer. Keep eye protection in the room where you work, not buried in a drawer. Choose wraparound lenses that meet ANSI Z87.1 standards and fit snugly without pinching. Add foam inserts for dusty jobs like sanding drywall. Pair eye protection with earmuffs or low-profile plugs that reduce noise without killing awareness of your surroundings.
Gloves deserve the same attention. Use cut-resistant gloves for demolition and sheet metal, and thinner nitrile-coated gloves for painting, sanding, and light assembly. A lightweight respirator with P100 or multi-gas cartridges helps during paint removal, mold cleanup, or strong adhesives. Store all protective gear together in a small tote so you can grab it in one motion when the project starts.
Good habits keep you out of trouble. Tie back long hair, remove rings and dangling jewelry, and wear closed-toe shoes with good traction. Keep a small first aid kit in your tool cabinet. A few adhesive bandages, antiseptic wipes, and tweezers solve most minor scrapes so you can finish the job safely.
Measure, Mark, and Layout
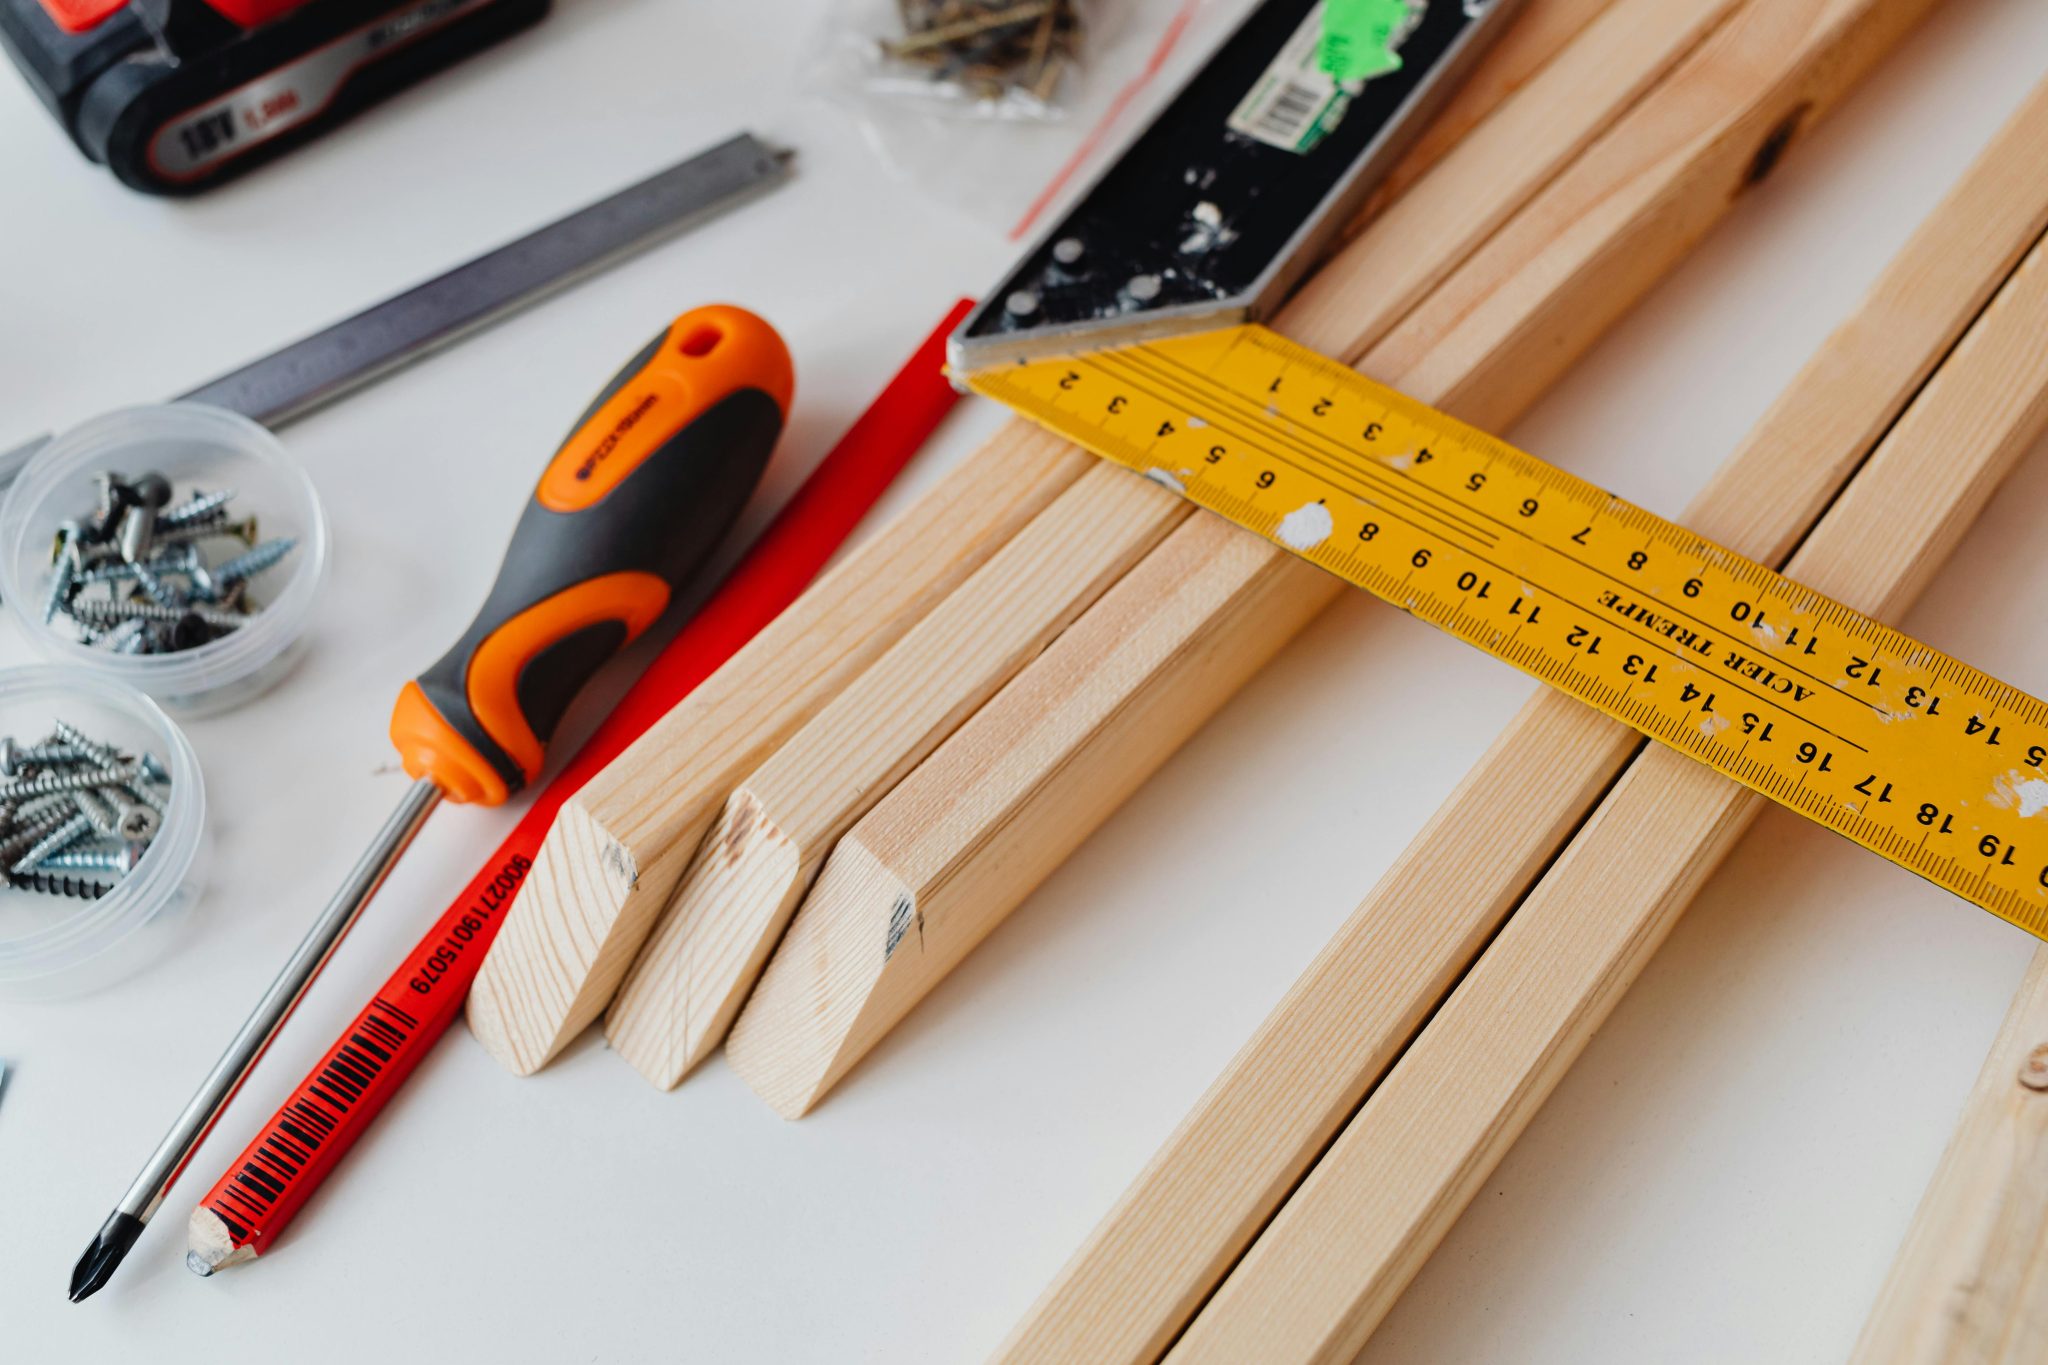
Accurate layout prevents rework. A 25-foot tape measure with a standout of at least eight feet makes solo measuring easier. Look for a sturdy hook with a true zero and a fractional scale that you can read at a glance. Pair the tape with a speed square for fast 90- and 45-degree checks on trim, deck boards, and saw settings. A small combination square helps set exact depths, reveal equal reveals, and transfer marks.
Marking tools matter more than most people think. Keep carpenter pencils, a fine mechanical pencil for detail work, and a washable chalk line for long runs. For cabinets and gallery walls, a two-vial torpedo level lives in your pocket, and a 24-inch level lives on the floor nearby. If you hang many photos or shelves, a cross-line laser level speeds the process and keeps lines straight through the room.
Layout improves with reference blocks. Cut a few scrap spacers at common gaps, such as 1⁄8 inch for tile joints or 3⁄16 inch for flooring expansion. These simple blocks keep spacing consistent and remove guesswork. Save them in a labeled bag for the next project.
Screwdrivers, Wrenches, and Pliers
Fasteners drive most repairs. A ratcheting multi-bit screwdriver with quality bits covers Phillips, slotted, square, and Torx heads. Add a precision set for eyeglass screws, smart thermostats, and small electronics. For repetitive drives, a stubby screwdriver fits under cabinets and inside tight mechanical chases.
Wrenches cover plumbing traps, appliance legs, and odd brackets. Start with an 8-inch and a 10-inch adjustable wrench, then add a small socket set in common metric and SAE sizes. Pliers round out the set. Linesman pliers cut and twist wire, needle-nose pliers reach inside fixtures, tongue-and-groove pliers grip nuts and pumps, and locking pliers steady stubborn parts during removal. Oil the joints twice a year so they move smoothly under load.
Organize these tools so the right piece shows up fast. A shallow drawer with foam or a roll-up pouch keeps sizes visible. Tossed pliers breed frustration, and frustration leads to stripped fasteners. A tidy kit saves both time and hardware.
Hammer, Pry, and Demolition Basics
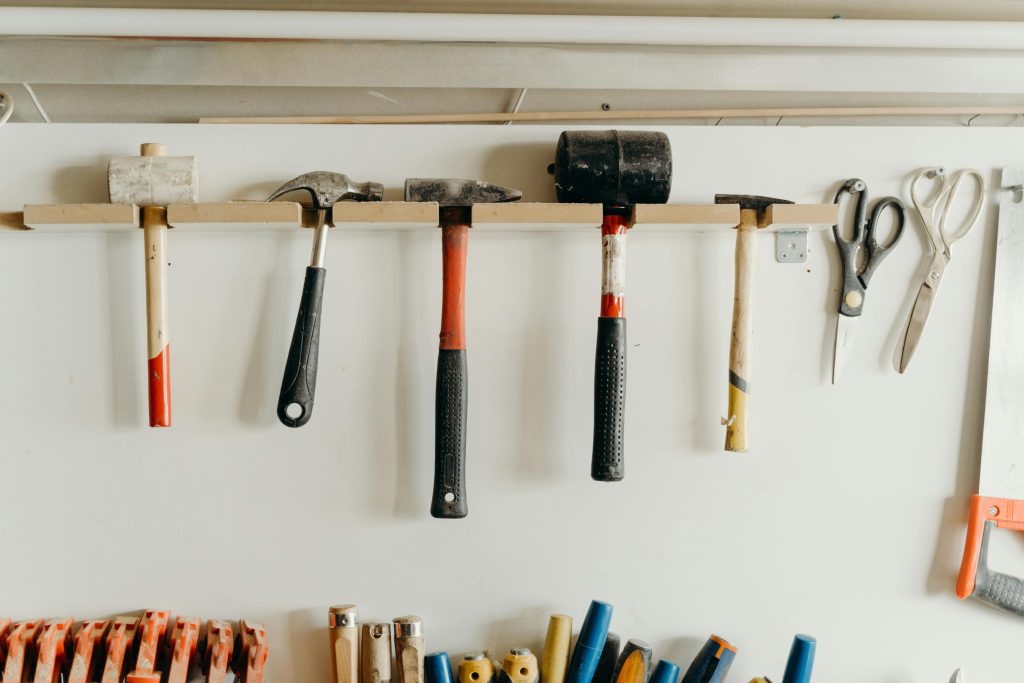
A 16-ounce curved-claw hammer handles most household work. The weight drives finish nails and taps trim into place without crushing wood fibers. Add a rubber mallet for coaxing parts together without denting them. A nail set in two sizes lets you sink finish nails below the surface for a clean fill and paint.
Prying calls for leverage and control. A flat pry bar slides behind baseboards and casing with minimal damage. A small cat’s paw pulls buried nails from subfloor and studs. When you remove trim for painting, score caulk with a utility knife first, then pry slowly, working along the length. Save good trim and label it by wall so reinstalling goes quickly.
Glue often fails before wood does. Warm stubborn adhesive with a heat gun on low and use a wide putty knife to ease parts apart. Wear eye protection and go slow. Careful demolition keeps your patch list short.
Drill/Driver and Impact Driver
Cordless tools transformed DIY work. A compact drill/driver handles pilot holes, countersinks, and hinge screws. Choose a brushless model with a clutch, two speed ranges, and a work light. The clutch prevents over-driving fasteners into soft wood and cabinet faces. Keep brad-point wood bits, twist bits, and a countersink in a small case so everything stays together.
An impact driver adds torque without stripping heads. Use it for deck screws, lag screws, and long fasteners in framing. Buy both tools on the same battery platform so packs swap freely. Two batteries and a fast charger keep projects moving, and you can expand into saws and sanders later without buying new chargers.
Bits make the difference. Hardened impact-rated bits last longer under load. A magnetic bit holder saves dropped screws on ladders and in tight cabinets. Inspect bits often and retire dull ones. Sharp bits track straight, protect motors, and produce clean holes that hold.
Painting and Surface Prep
Paint succeeds on preparation. A 6-in-1 painter’s tool scrapes, cleans rollers, opens cans, and digs out old putty. Pair it with a sharp utility knife and a carbide scraper for peeling trim. Fill nail holes with lightweight spackle, and use a flexible putty knife to feather edges. Sand with a sanding block or a random-orbital sander fitted with dust extraction to keep the room clean.
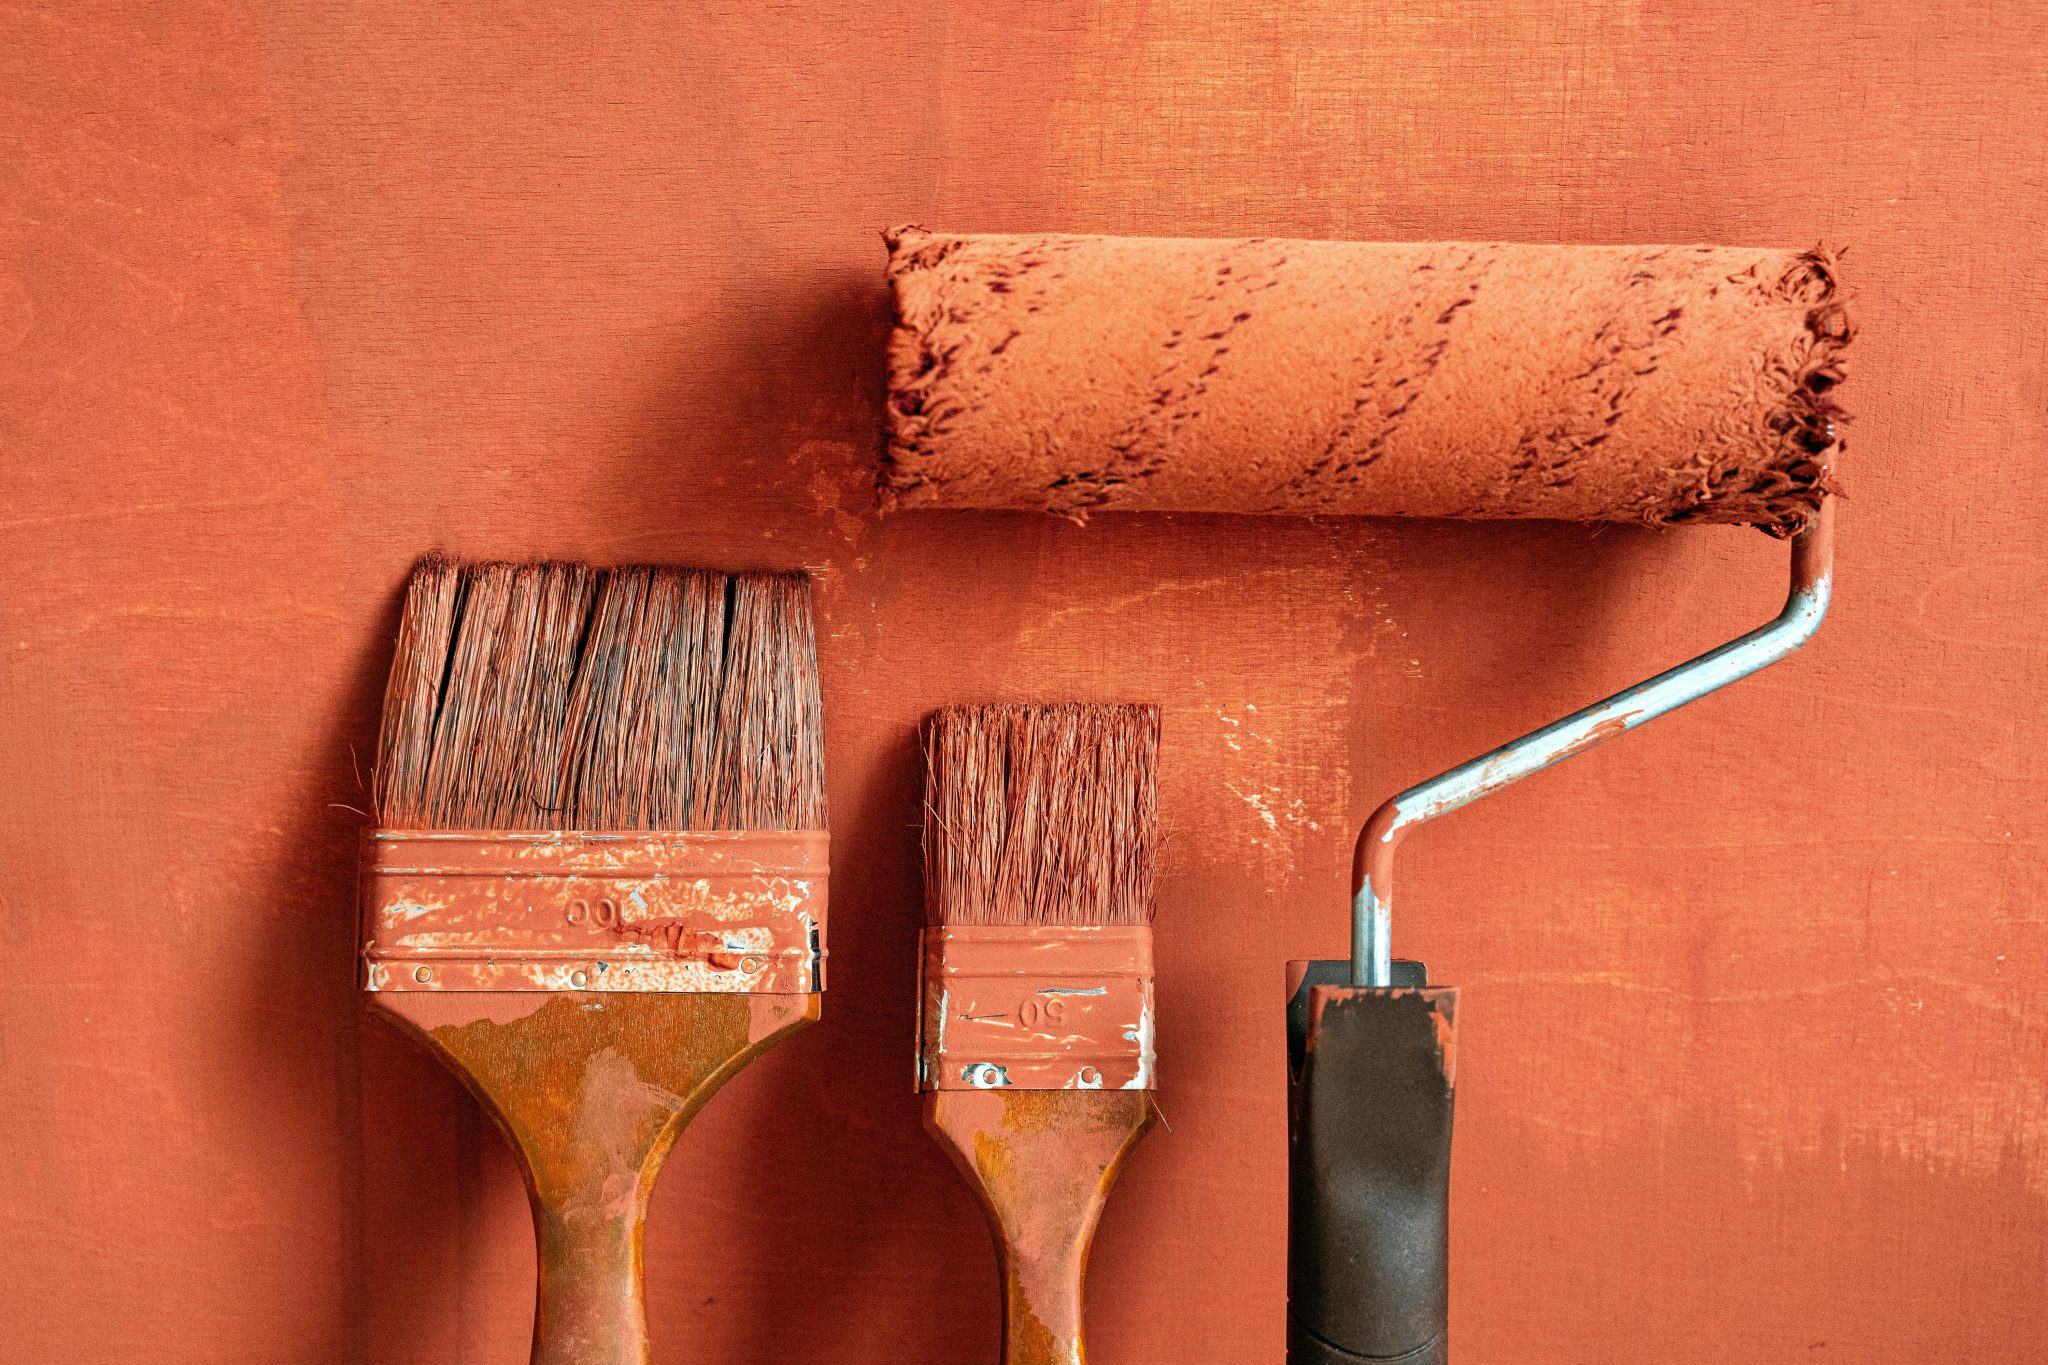
Good brushes pay off. A 2-inch angled sash brush cuts clean lines at ceilings and trim. Match nap to the surface: short nap for smooth walls and doors, thicker nap for textured surfaces. Blue or delicate painter’s tape protects clean edges. Press tape with a plastic card and remove it while the paint is slightly tacky for the sharpest line.
Caulk seals gaps around trim and windows. Use paintable acrylic-latex caulk for interior trim and silicone for wet areas. Cut the nozzle small, pull the bead toward you, then tool with a damp finger or caulk tool. Smooth beads look professional and keep drafts out.
Electrical and Plumbing Essentials
You can solve many minor issues safely with basic testers and hand tools. A non-contact voltage tester confirms that a circuit is dead before you loosen a screw. An outlet tester checks wiring on receptacles and finds open grounds fast. Wire strippers with marked gauges prevent nicked copper and weak connections. Always shut off power at the breaker and test again at the fixture before you touch a wire.
Plumbing basics fix leaks and upgrades. A basin wrench reaches faucet nuts behind sinks; tongue-and-groove pliers grip traps and supply lines. Keep PTFE tape for threaded joints, a plunger for clogs, and a small pipe cutter for copper repair. Compression fittings make fast, reliable joints on many sink and toilet supplies without heat. For PEX, use the connection system your home already has, so repairs stay consistent.
Follow local codes and know your limits. Replace like with like, and keep photos of the original setup. If you face gas lines, main panels, or anything beyond your comfort, call a licensed pro. Good tools help, and good judgment keeps your home safe.


